Showing posts with label baking. Show all posts

July 15, 2014

Cherry Blueberry Bran Muffins


Hope you're not sick of cherry season yet, because I've got another cherry recipe to share with you today! After making my roasted cherry brownies, I still some more cherries to use up, so I thought they would be the perfect addition to some healthy breakfast muffins.

I'd had my eye on a recipe for blackberry bran muffins from the Straight From the Earth cookbook, so I used that recipe as my inspiration for these cherry blueberry muffins!

Besides using different fruits, I made a few other minor changes to the recipe, including the method of mixing the ingredients, and reducing the sugar a bit. I also added a touch of maple extract to add a bit more sweetness along with the fruit.
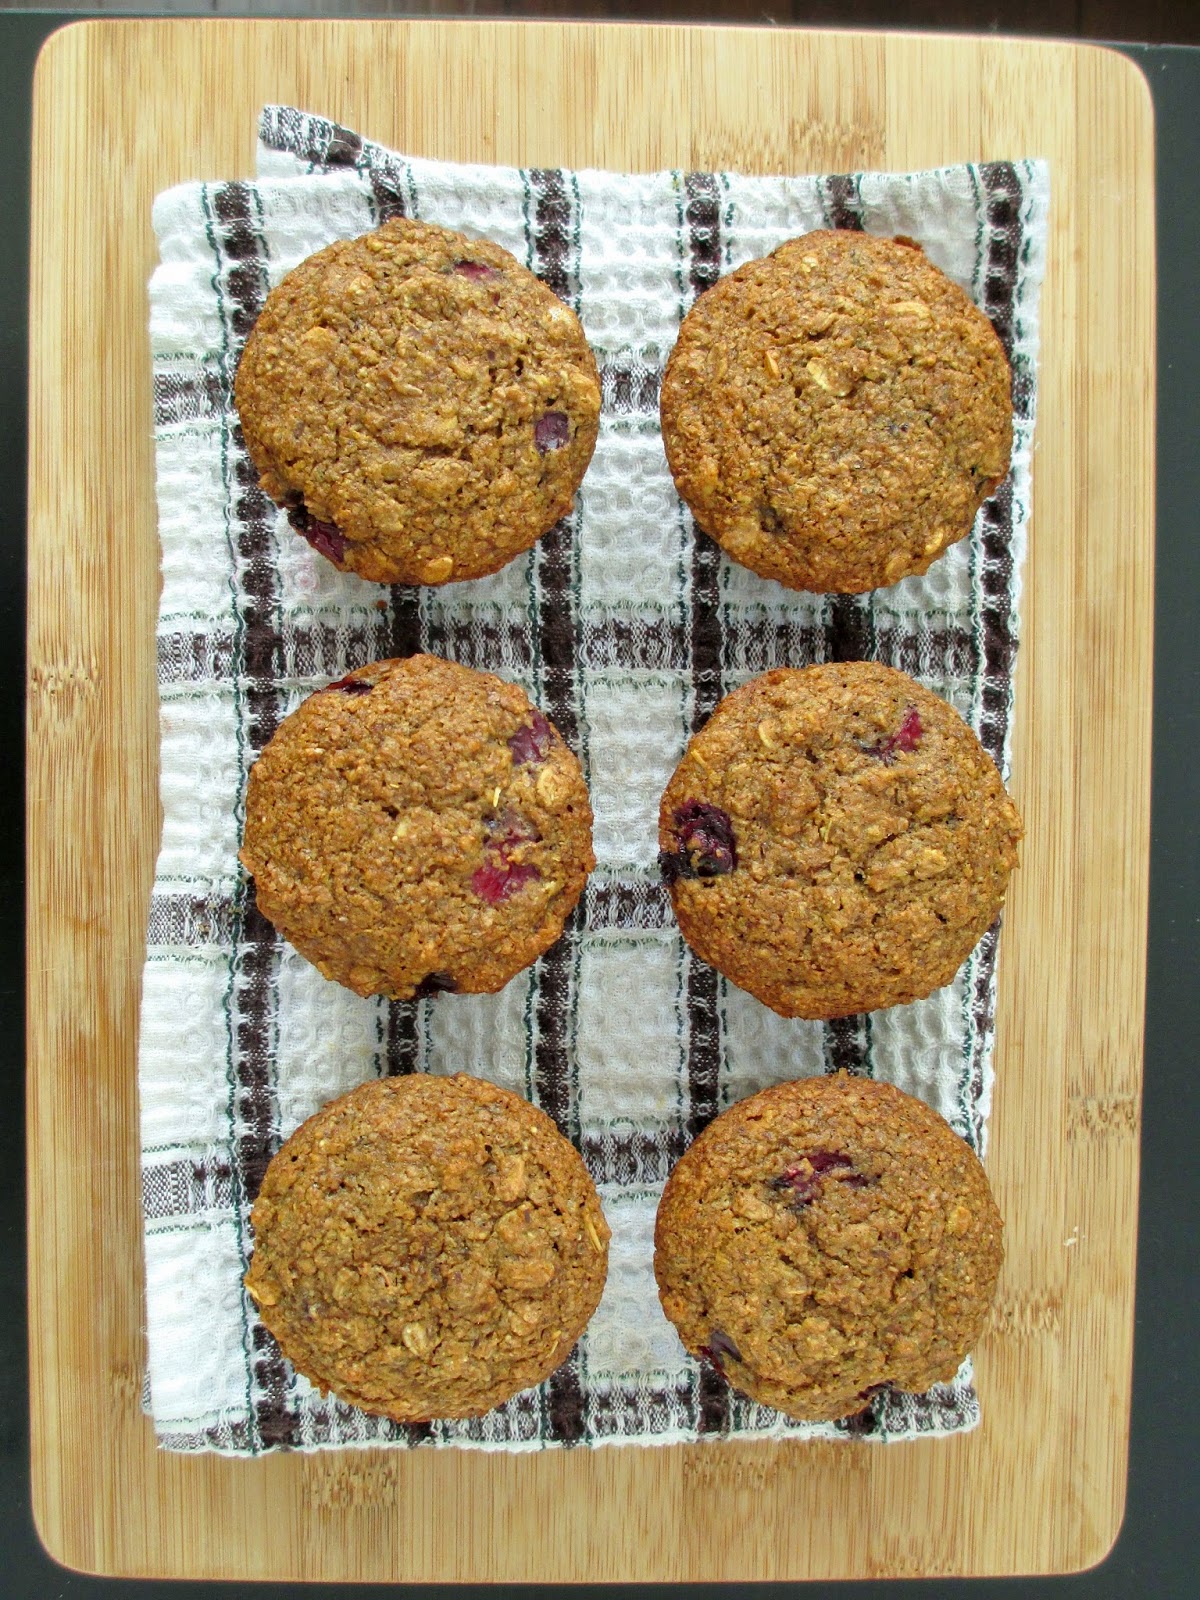

The bran was definitely the dominant flavour in these, so if you like bran muffins, you will love the flavour and texture of these muffins.

I liked how they tasted a bit nutty, they weren't too sweet, and they were just dense and hearty enough without being too filling. Of course, my favourite part was all the blueberries and cherries in every bite!

While bran muffins may not be the most popular muffin on the block, I ended up liking them a lot more than I was expecting to! And besides, if I'm going to eat a muffin for breakfast, I want it to still be somewhat nutritious, so I can feel good about eating one of these in the morning - my only complaint was that they were a little on the small side, but they still make a great addition to a smoothie or yogurt!


Cherry Blueberry Bran Muffins
Adapted from Straight From the Earth cookbook, as seen here

1 cup almond milk
1 tbsp vinegar or lemon juice
2 tbsp ground flax
1/4 cup warm water
2 cups wheat bran
1 1/4 cups whole wheat pastry flour
1/2 cup rolled oats
1 tsp baking powder
1 tsp baking soda
1/2 tsp cinnamon
1/2 tsp salt
1/2 cup sugar
1/2 cup unsweetened applesauce
1/4 cup melted coconut oil (can substitute another oil)
1 tsp vanilla extract
1/2 tsp maple extract (optional)
1/2 cup chopped fresh cherries (pit removed)
1/2 cup blueberries


Preheat oven to 350°F and spray a 12-cup muffin tin with cooking spray.

In a medium sized bowl, stir together the almond milk and vinegar and let sit for 5-10 minutes. In a separate small bowl, stir together the flax and water and let sit 5-10 minutes as well.

In a large bowl, whisk together the wheat bran, flour, oats, baking powder, baking soda, cinnamon, and salt.

Add the sugar, applesauce, oil, and extracts to the almond milk mixture and stir well to dissolve the sugar. Add the flax mixture and stir again. Pour wet ingredients into the dry ingredients and stir gently just until the dry ingredients are incorporated. Fold in the cherries and blueberries.

Divide batter into muffin cups, then bake in the preheated oven for about 25-30 minutes, until the muffins feel firm on top and a toothpick inserted into the centers comes out clean. Remove from oven and let cool in the pan for at least 5 minutes before removing muffins and transferring them to a wire rack to finish cooling.

Makes 12 small muffins.


July 09, 2014

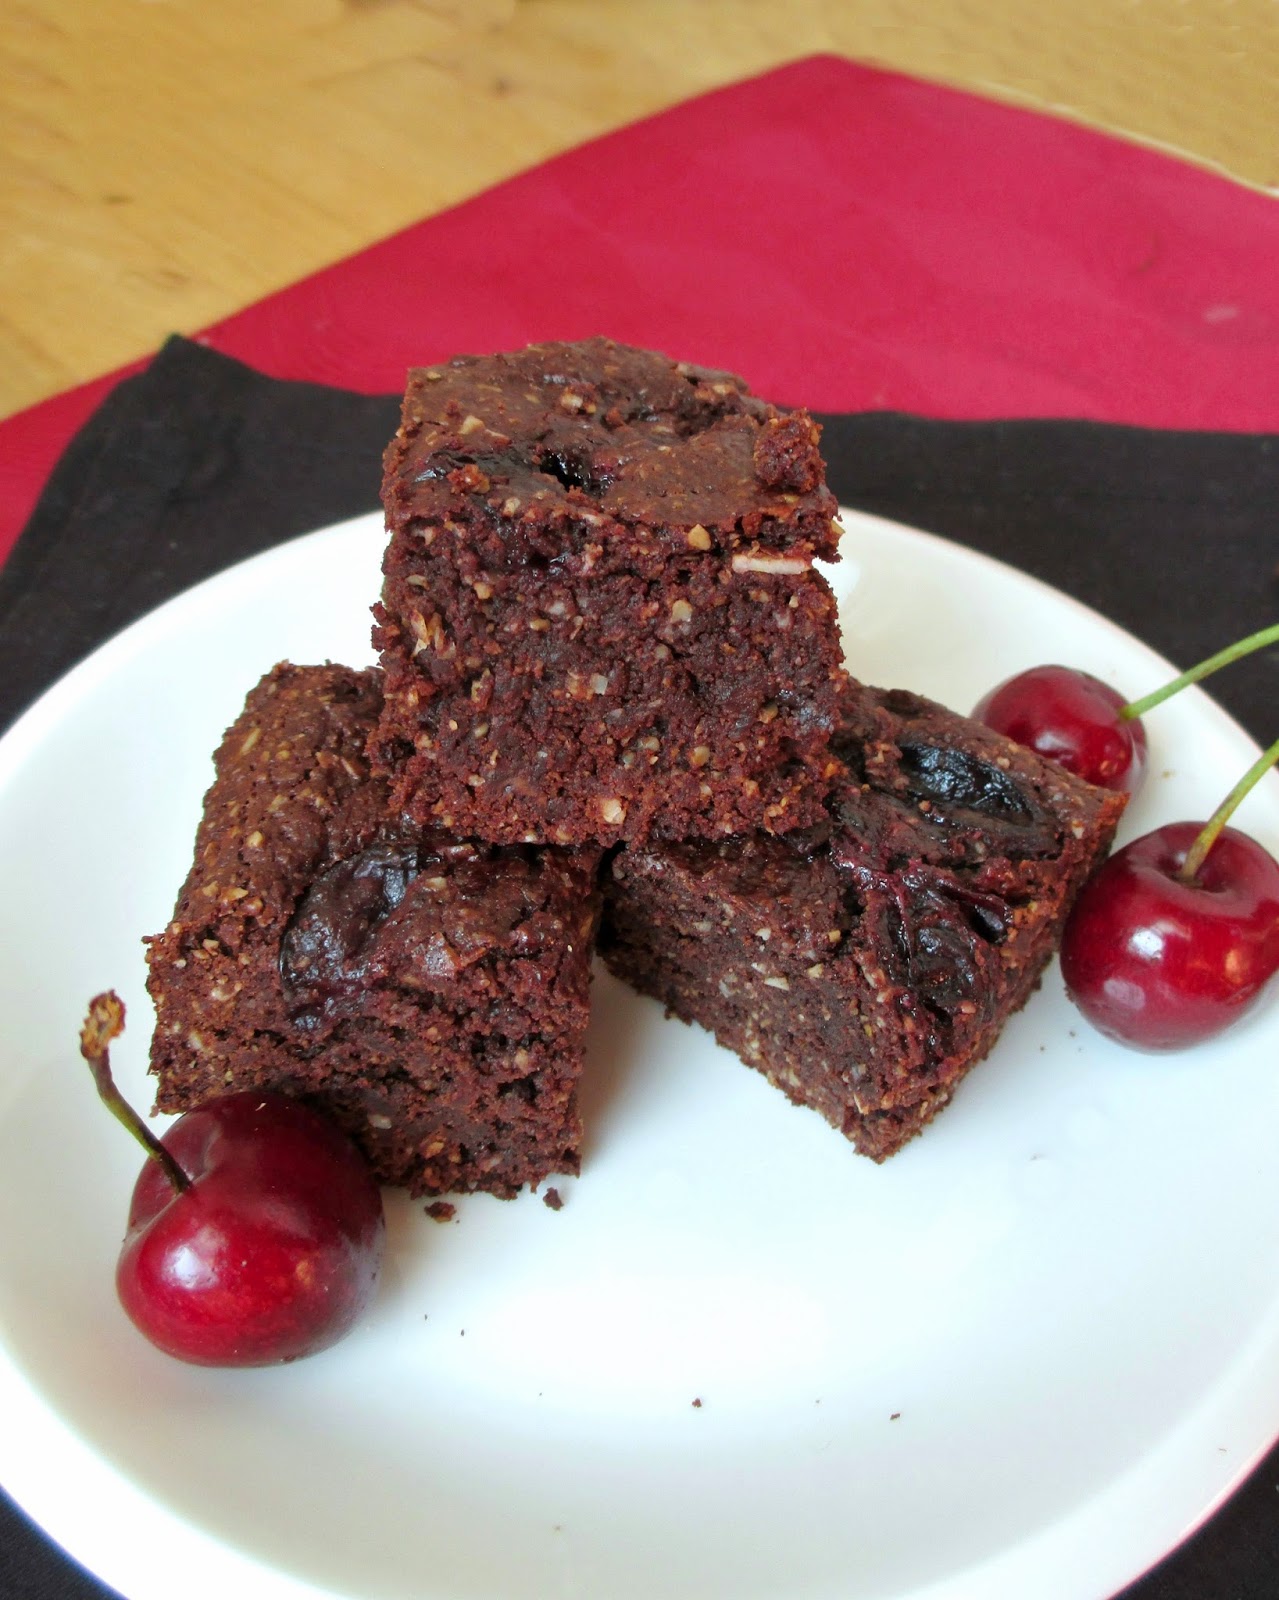
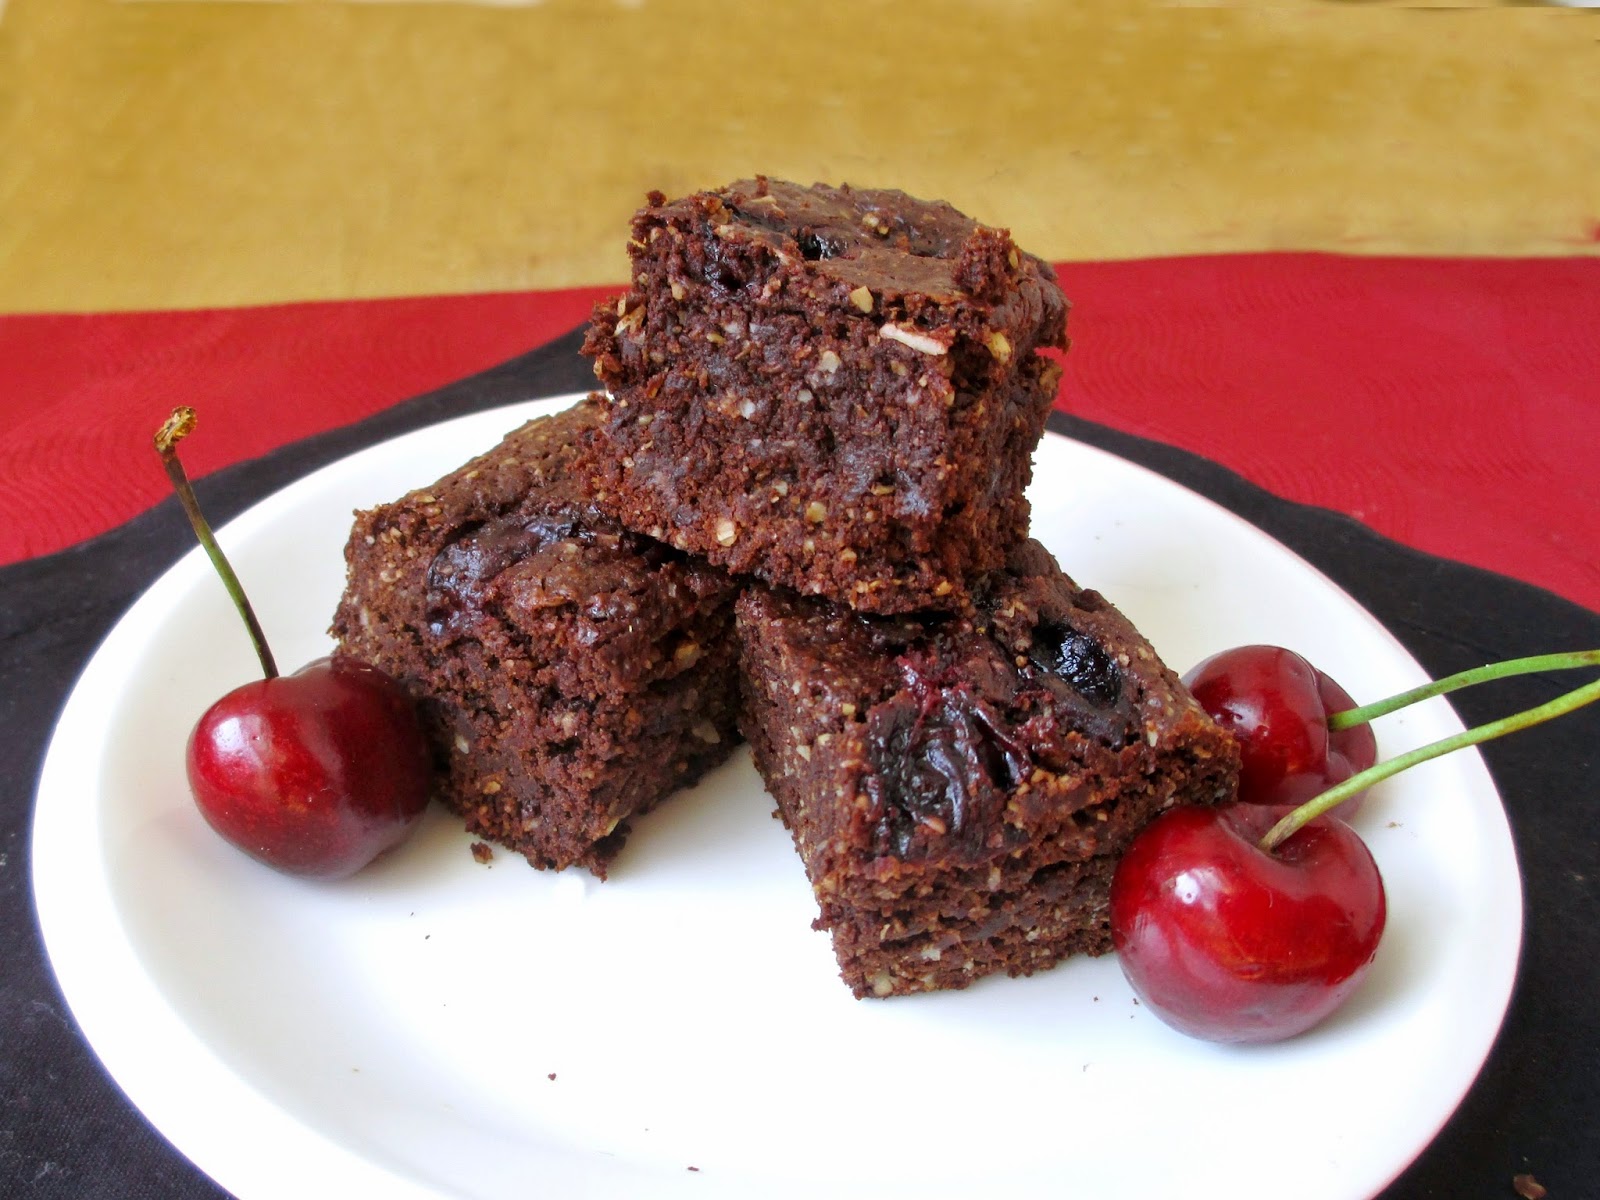
Vegan Roasted Cherry Brownies


This past weekend, I brought home a couple of containers of fresh local cherries from the market and immediately started thinking of ways to use them (besides just eating them on their own!).

I'm not sure why, but whenever I think about cherry recipes, I always want to pair them with chocolate - it's one of those combos that just goes together so well! So after enjoying a chocolate coffee cherry smoothie for breakfast on Sunday, I decided to make cherry brownies as a treat that I could bring into work the next day.

Since I'm not usually the biggest fan of chocolatey desserts myself, I don't have a lot of experience making brownies. Luckily, some of the experts on vegan baking in the blogging world have already perfected their own brownie recipes that I was able to use as guides!

For my brownie base, I mostly followed Oh She Glows' recipe (also in her cookbook that I own), with some of these tips from Edible Perspective, except that I used a mix of oat flour and all purpose flours instead of almond meal, so mine are not gluten-free.


Instead of just adding the cherries as is to the batter, I was inspired by Annie's Eats to roast them first with a bit of maple syrup so they were nice and sweet and juicy!

While my coworkers could still tell that these were a "healthier" brownie (or maybe they just guessed because they know me and my baking by now), I loved how they turned out!

They held together well (a problem with vegan brownies I've tried in the past), and they were definitely chewy and fudgy in a stick-to-the-roof-of-your-mouth kind of way, with just the right amount of chocolate flavour. I also thought the roasted cherries were the perfect addition to add some extra sweetness and cut the richness of the brownies a bit.

I've still got some cherries leftover, so if you have any other favourite cherry recipes or ideas that I can use, feel free to let me know!


Vegan Roasted Cherry Brownies
Adapted from Oh She Glows, Edible Perspective, and Annie's Eats

1 cup (heaping) fresh cherries
1 tbsp pure maple syrup
1.5 tbsp ground flax + 3 tbsp water
1 1/3 cups oat flour
3/4 cup all purpose flour
1/2 cup cocoa powder
1/2 tsp salt
1/4 tsp baking soda
100g dark chocolate, chopped (I used 1 Lindt bar), or ½ cup chocolate chips
1/4 cup + 2 tbsp coconut oil
1 cup sugar*
1/4 cup almond milk
1 tbsp instant coffee
2 tsp vanilla extract
1/4 cup chocolate chips


Preheat oven to 450°F. Slice the cherries in half and remove the pit (or use a cherry pitter). Places halved cherries in a small baking pan and toss with the maple syrup. Roast in the preheated oven for about 10 minutes, until they start to release their juices. Remove and let cool. Reduce oven temperature to 350°F.

Mix flax and water in a small bowl and set aside to thicken (I find it helps to let it sit in the fridge until all the water is absorbed).

In a large bowl, whisk together the oat flour, all purpose flour, cocoa powder, salt, and baking soda.

Melt the chocolate with the coconut oil, either in the microwave or over a double boiler on the stove. Add the sugar (*I followed Ashley's tip to grind it in the blender first so it's more powdery), almond milk, instant coffee, vanilla extract, and the flax mixture to the melted chocolate and stir well to combine.

Pour the wet ingredients into the dry ingredients and stir until all the dry ingredients are incorporated (batter will be very thick and dry). Fold in the roasted cherries (with their juices) and the remaining chocolate chips.

Pour batter into an 8x8 or 9x9 pan (I used an 8x8) lined with parchment paper. Bake for about 30-37 minutes, until the edges have hardened and the surface is just barely firm (I baked mine for 35 minutes). Remove and let cool in the pan for at least 30-45 minutes, then transfer to the fridge to cool completely (you can remove brownies from the pan first and transfer to a wire rack). Once completely cooled, slice into pieces.

Makes 20-25 small brownies 

June 04, 2014

Blueberry Banana Snack Cake


I can't believe it's already June, but I'm so excited because that means not only will summer officially begin this month, but local summer fruits and veggies will be here soon too! I only just had my first rhubarb treats this past weekend (a delicious strawberry rhubarb pie that my sister made, and a rhubarb sauce that I made to eat on toast and in yogurt), and I can't wait for strawberries to arrive next!

Two years ago, I made a healthy strawberry banana snack cake that I really loved, so when I was looking through my old recipes for inspiration the other day, I wanted to try that cake out again.

This time, since local strawberries weren't available yet, I decided to use blueberries instead. I made a couple of other small changes to the recipe, like replacing the spelt flour with oat flour for a slightly different flavour and texture, adding cinnamon, a bit of lemon juice and zest, and a touch of coconut oil, and leaving out the nuts and extra sugar to make this cake less sweet.


I had mentioned in my original post that I thought blueberries would work well in this cake, and now I can say for sure that they do!

I loved the way all the fruit bursts after baking, and the blueberries paired perfectly with the coconut and banana flavours. I also love the chewy, dense texture of this cake, and how light it tastes at the same time - so you can easily eat a couple pieces for a mid-morning or afternoon snack!

As I mentioned in my last post, I'm still getting used to a new oven, so my cake browned just a tad too much even at the minimum baking time. Just be sure to keep an eye on yours, and in the meantime I'll have to test my oven temperature!


Blueberry Banana Snack Cake
Adapted from my previous recipe for Strawberry Banana Snack Cake

1 cup whole wheat flour
1 cup oat flour (I ground my own rolled oats in the blender)
1/2 cup unsweetened shredded coconut
1 tsp cinnamon
1 tsp baking powder
3/4 tsp baking soda
1/2 tsp salt
3 ripe medium-sized bananas, mashed
1/3 cup unsweetened applesauce
1/4 cup pure maple syrup*
1 tbsp melted coconut oil
1 tsp lemon zest
1 tbsp lemon juice
1 tsp vanilla extract
1 cup blueberries

*Note: You may want to add an extra 2 tbsp of sugar or cane sugar if you prefer a sweeter cake. 


Preheat oven to 350°F. Spray an 8x8 pan with cooking spray.

Whisk the dry ingredients in a large bowl (flours through to salt). In a separate bowl, mix the wet ingredients (mashed banana through to vanilla extract).

Add the wet ingredients to the dry ingredients and stir just until the dry ingredients are incorporated.  Gently fold in the blueberries.

Pour batter into prepared pan and bake in the preheated oven for about 35-45 minutes, until the sides start to brown and pull away from the pan, the top feels firm, and a toothpick inserted into the center of the cake comes out clean.

Let cool in the pan for a few minutes, then invert onto a wire rack to finish cooling before cutting into squares.

Makes about 16 squares. 


May 01, 2014

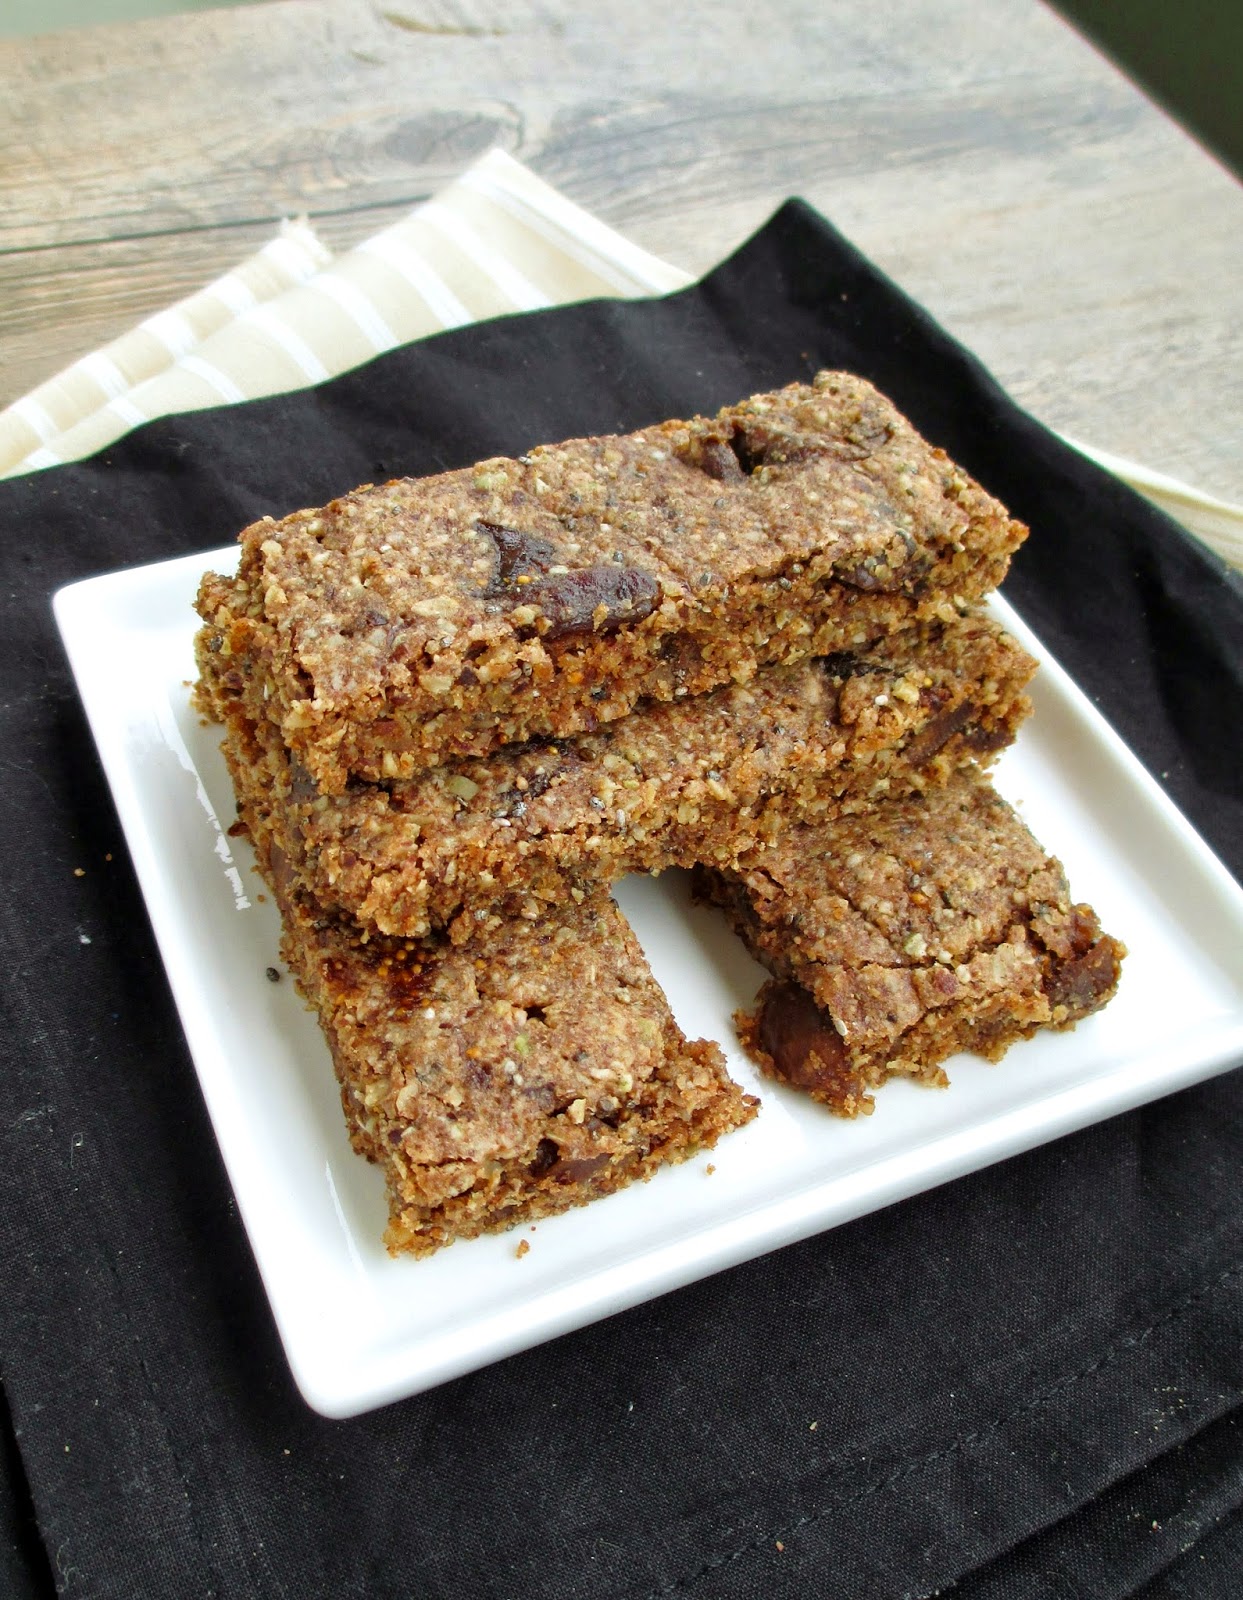
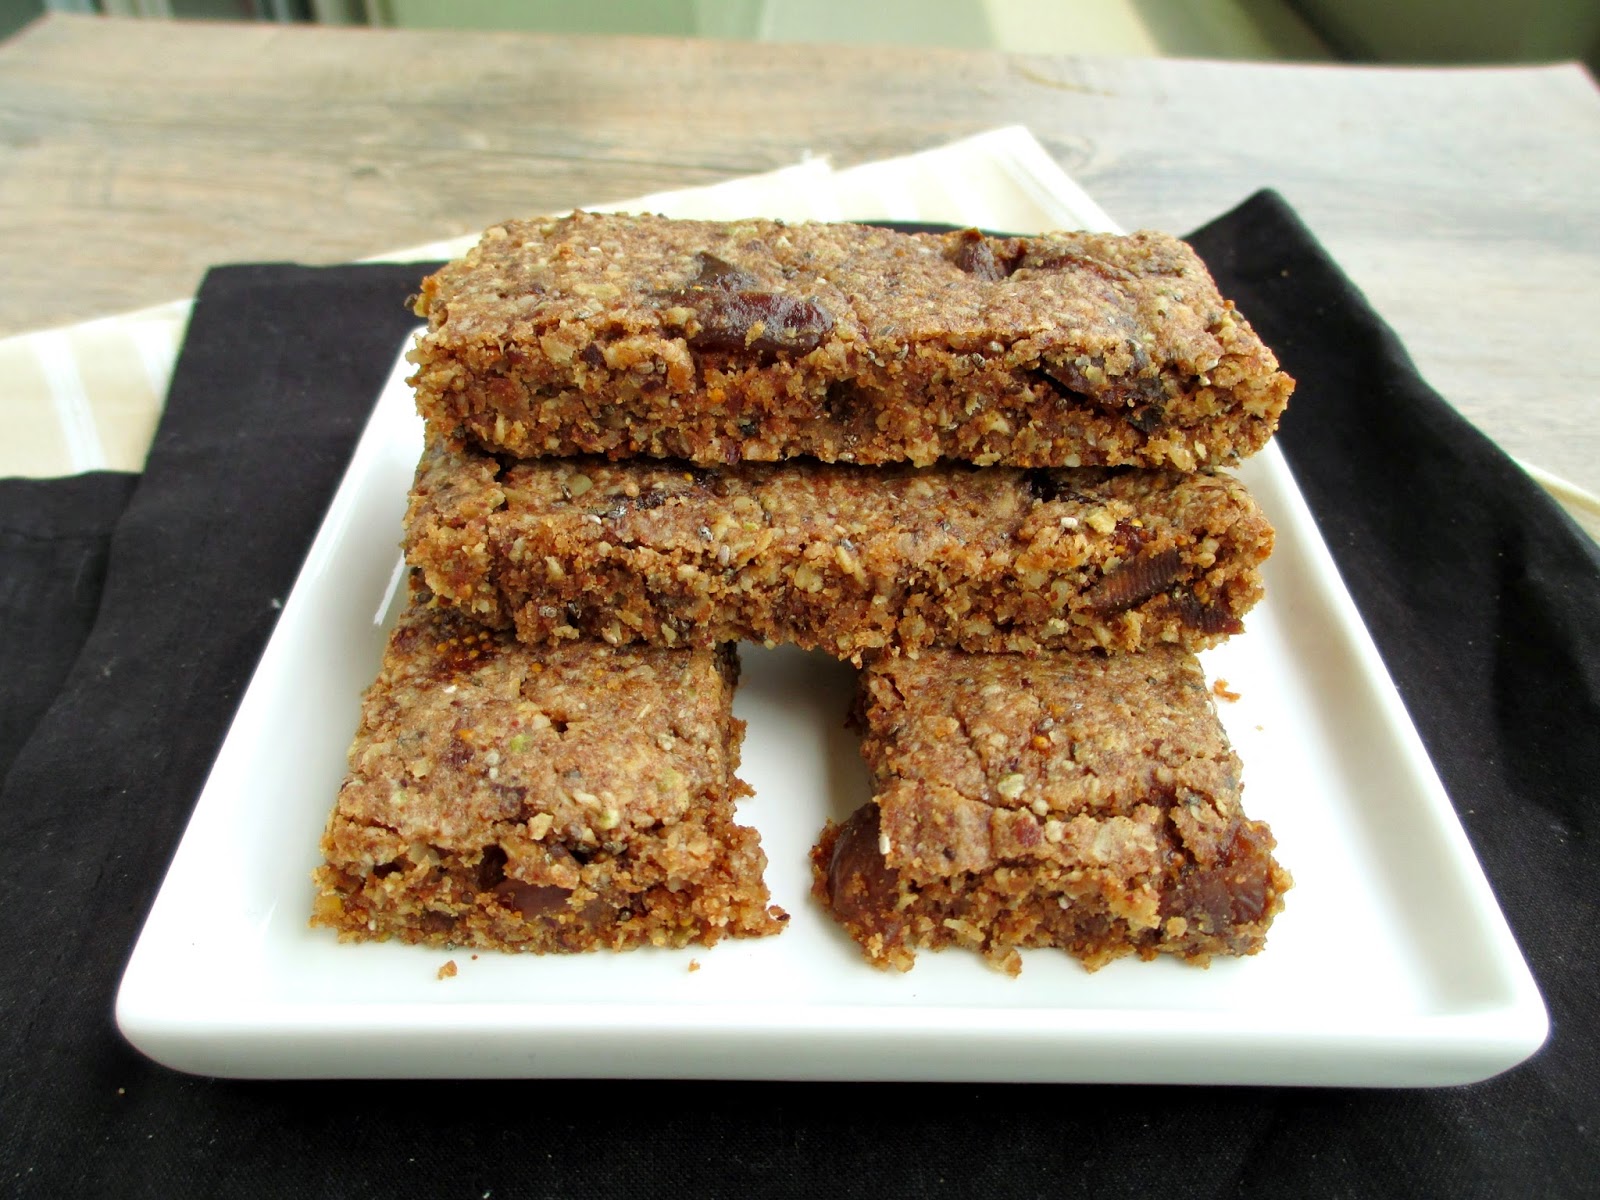
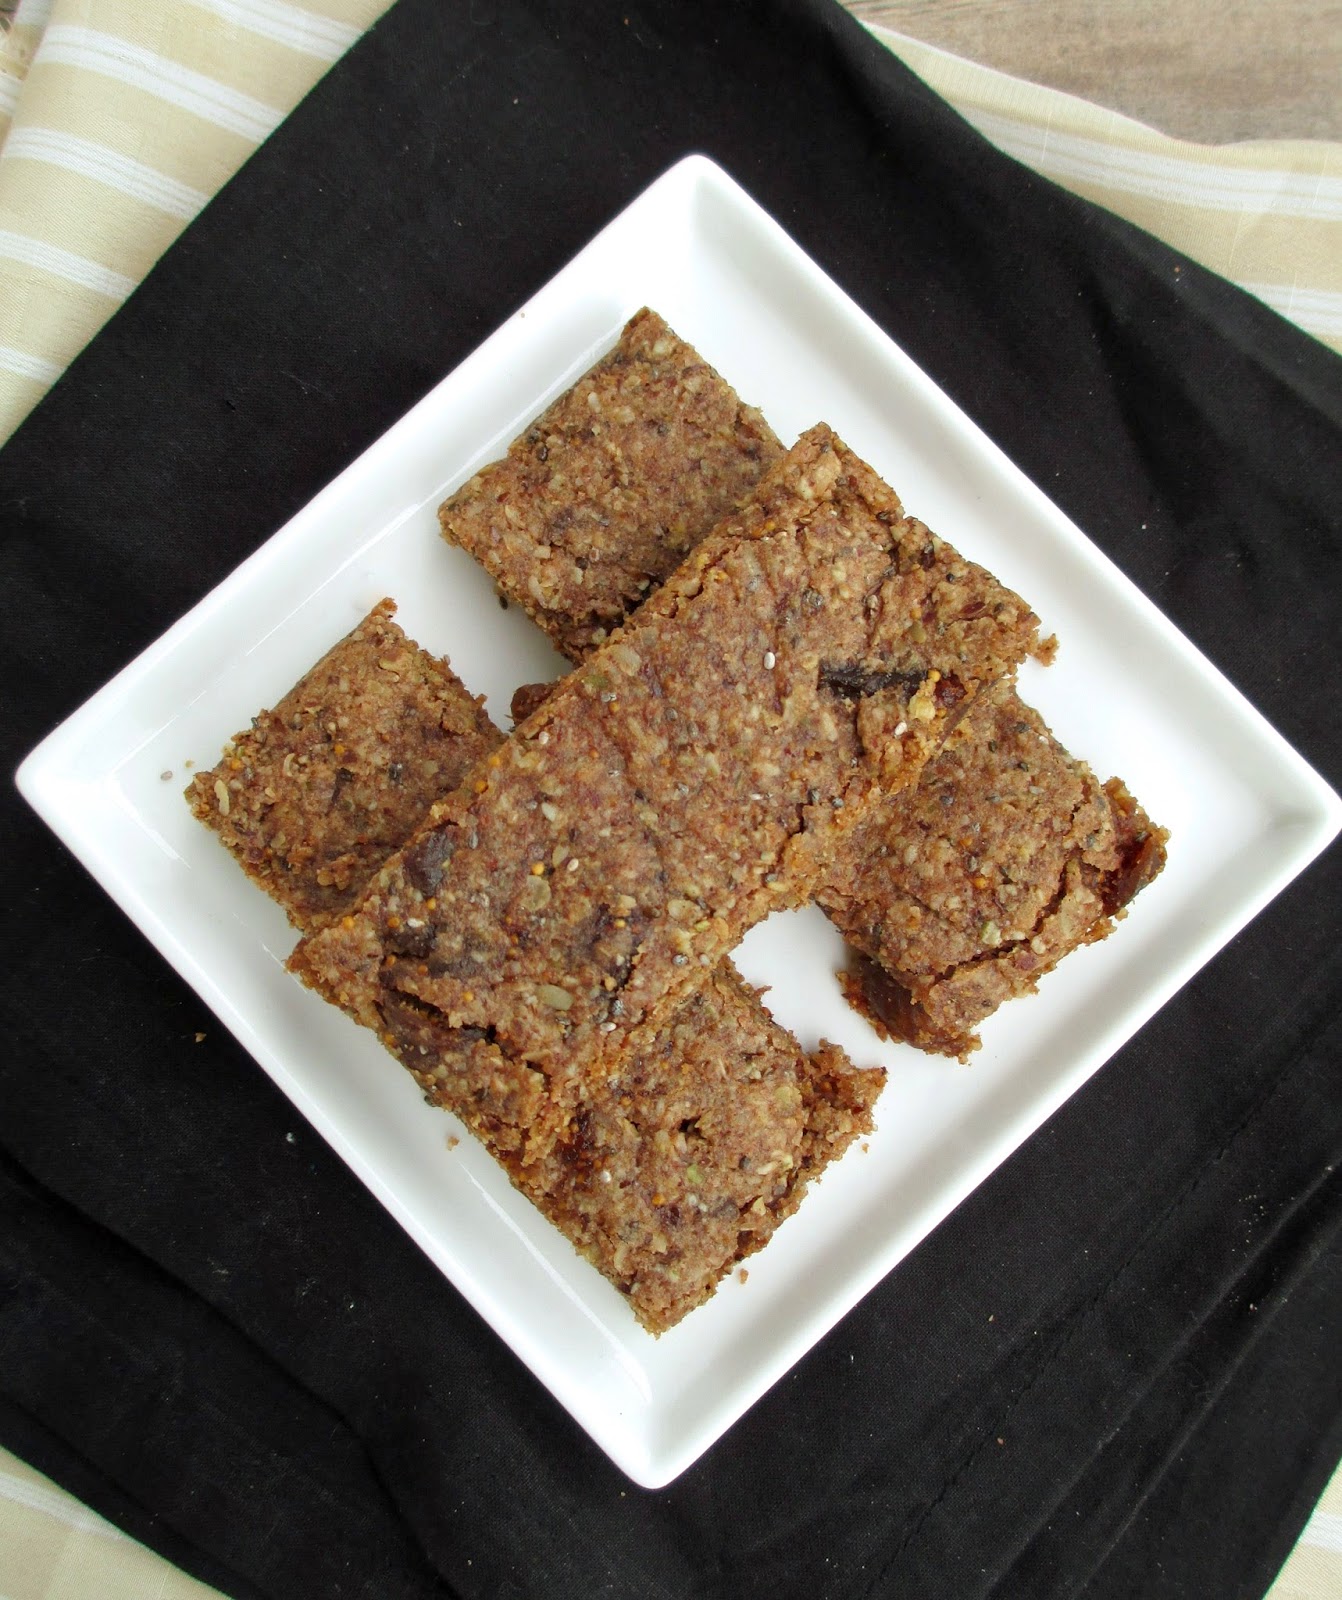
Soft-Baked Fig, Hazelnut & Pumpkin Seed Granola Bars


This past couple of weeks have been extra busy for me, as I've been trying to balance a stressful time in my graduate studies with other family and social events like Easter, my own birthday and my Dad's birthday which we are celebrating belatedly this weekend!

During times like this when I'm too busy to worry about cooking or grocery shopping, I like to make sure I have still have enough healthy and nutritious food options easily available, and homemade snacks like today's recipe are the perfect way to get in a boost of energy to keep me going!


I've tried a lot of granola bar recipes in the past, and while I've enjoyed all of them, I tend to prefer the chewy, soft-baked kind. I also like when they have an interesting texture and when their sweetness comes from fruit rather than added sweeteners.

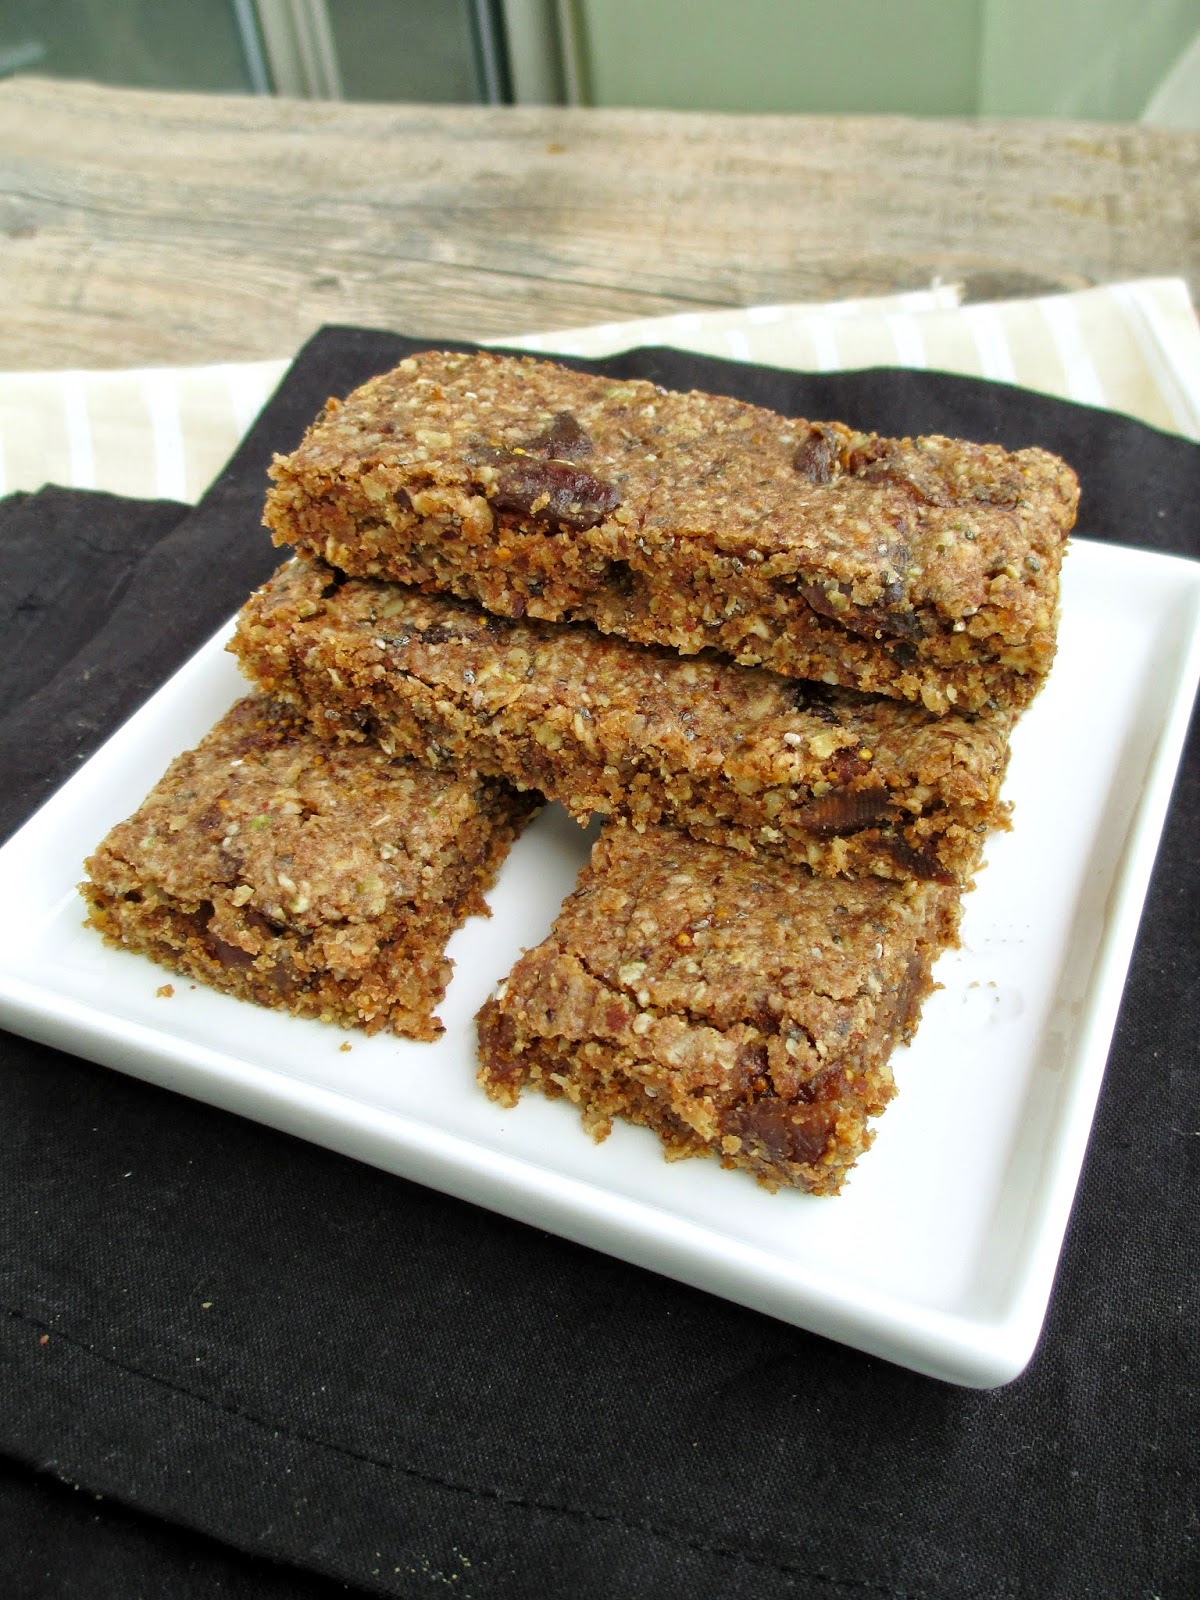
So these dried fig, hazelnut, and pumpkin seed granola bars that I made recently were definitely my kind of tasty and healthy snack!


Not only are they soft and chewy while still holding together well, but the base of them is made up of a mix of ground hazelnuts and pumpkin seeds with oats and rice crisp cereal, giving them a lot more nutty flavour and texture than a regular oat-based granola bar.

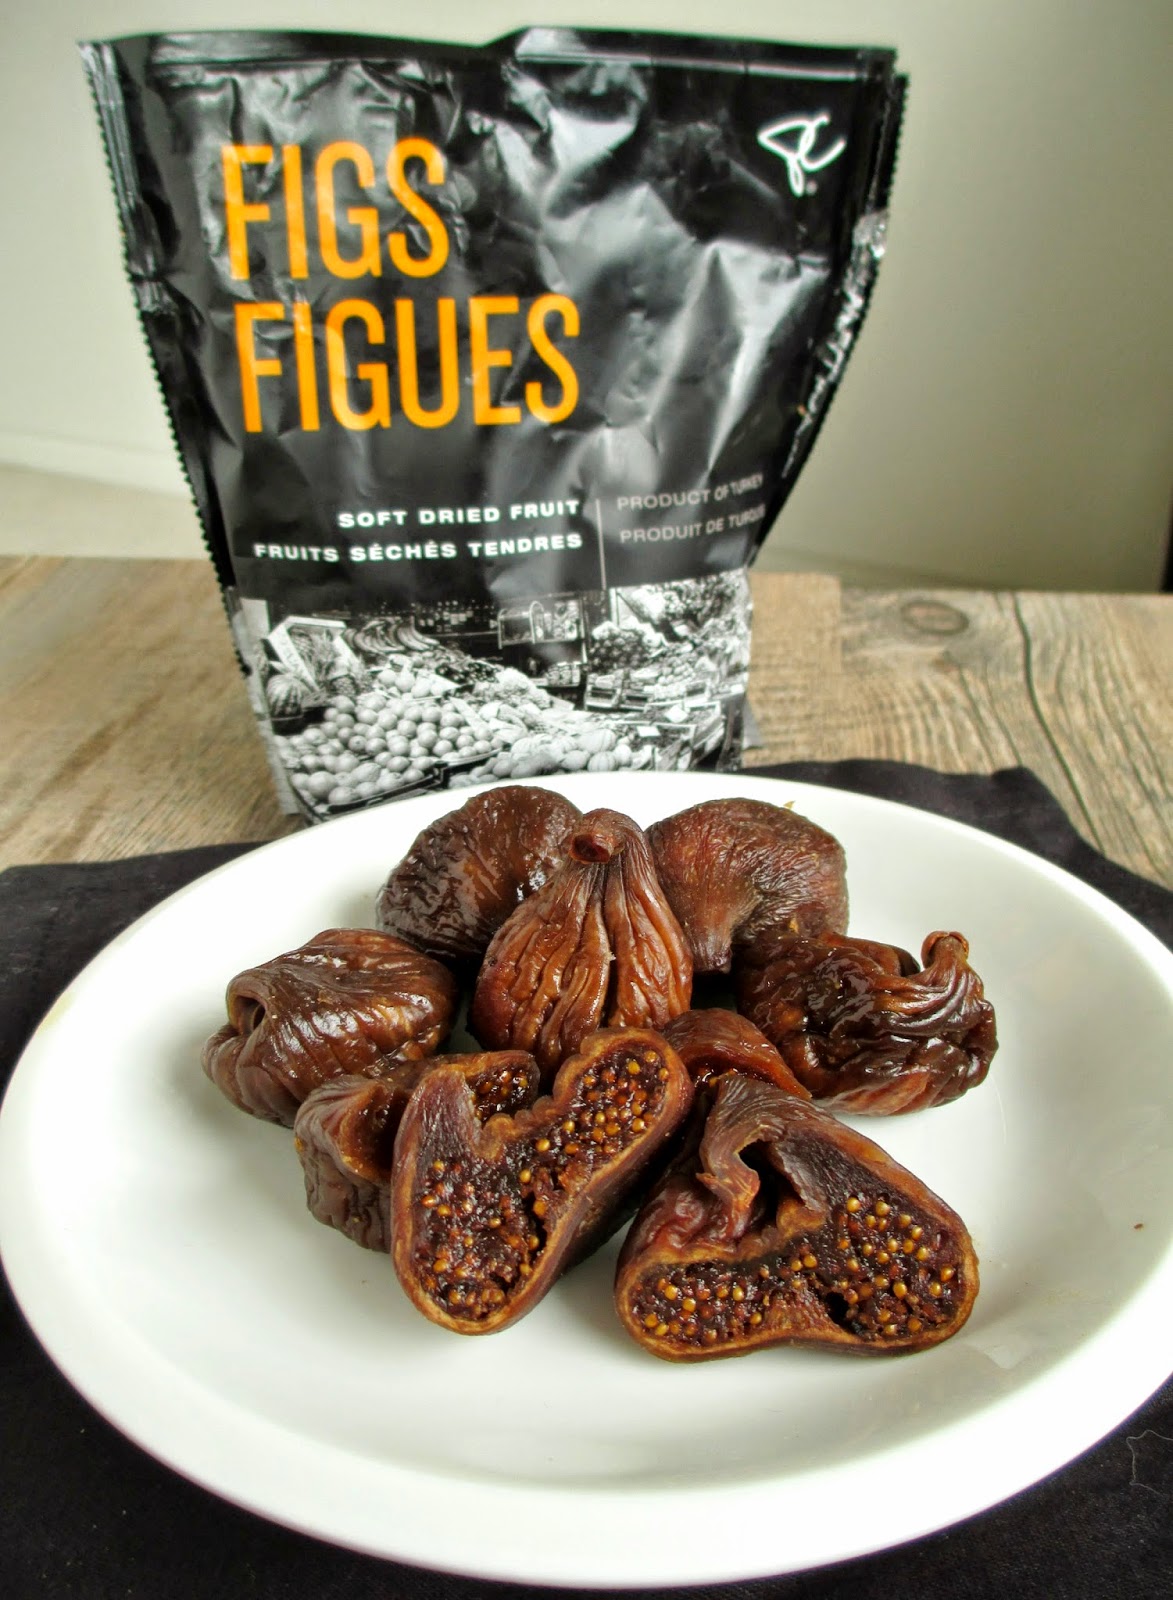
They're also held together with some almond butter to add more richness and a bit of maple syrup for sweetness. What really made these unique though was the addition of dried figs. I've never really eaten dried figs before, but these dried black mission figs changed my mind - if you can find the black mission ones, they really make all the difference because they're so soft and sweet!


The original recipe for these bars called for only pumpkin seeds instead of any nuts, and used all rice cereal without any oats, so I was happy that they still turned out so well even after the changes I made. 

While these involve a somewhat long list of ingredients and some more expensive ingredients than other homemade granola bars, I thought they were worth it! 

Feel free to make some substitutions though, like using a different type of nut than the hazelnuts, or leaving out the chia seeds and cocoa powder (these were additions that I made but they're not necessary). You could also add extra fruit like raisins or currants, but I don't recommend skipping the dried figs!


Soft-Baked Fig, Hazelnut & Pumpkin Seed Granola Bars
Adapted from Daily Bites

2 tbsp ground flax, divided
3 tbsp water
Scant 1/2 cup raw hazelnuts
1/4 cup pumpkin seeds (pepitas)
1/2 cup rolled oats
1 cup rice crisp cereal
1 tbsp chia seeds
1 tsp cinnamon
1.5 tsp cocoa powder
1/4 tsp baking powder
1/4 tsp salt
1/2 cup chopped dried black mission figs
1/4 cup + 2 tbsp almond butter (I used a homemade almond butter)
2 tbsp pure maple syrup (or up to ¼ cup if you prefer a sweeter snack)
2 tbsp almond milk
2 tsp balsamic vinegar
1 tsp vanilla extract


Preheat oven to 350°F and line an 8x8 square baking pan with parchment paper.

Mix 1 tbsp of the ground flax with the water and set aside to thicken.

In a food processor, process the hazelnuts and pepitas until roughly ground. Add the oats, rice crisp cereal, remaining 1 tbsp of flax, chia seeds, cinnamon, cocoa, baking powder, and salt and process until everything is finely ground. Transfer mixture to a large bowl and stir in the chopped figs.

In a separate bowl, whisk together the almond butter (you may need to microwave it a bit if yours isn’t very liquidy and smooth), maple syrup, almond milk, vinegar, and vanilla until smooth.

Pour liquid mixture into dry ingedients and stir with a rubber spatula or spoon until everything is mixed well. Transfer mixture to the prepared pan and press down firmly with your hands and/or a rubber spatula so that the mixture is evenly spread out across the pan.

Bake in the preheated oven for 15-18 minutes, until the edges are starting to crisp. Remove and let the pan cool on a wire rack. Once cool, carefully remove the bars by pulling on the parchment paper (you might want to run a knife around the edges first) and cool completely before cutting into bars.


Makes 10 bars. 

April 01, 2014

Dirty Chai Breakfast Cookies


A chai latte has always been one of my favourite drinks to order at coffee shops, but most of the time when I go Starbucks or other places, I'm in need of a bit more of a caffeine kick so I end up ordering some kind of latte (for those of you in Canada, I recommend the new maple macchiato!).

For those times when you're craving a chai latte but also want a bit more caffeine, a "dirty chai" - chai latte with a shot of espresso - should do the trick!  Or if don't feel like going out to a coffee shop, you could make these cookies inspired by that drink (and by these caffeinated cookies from Healthy Food for Living) instead!


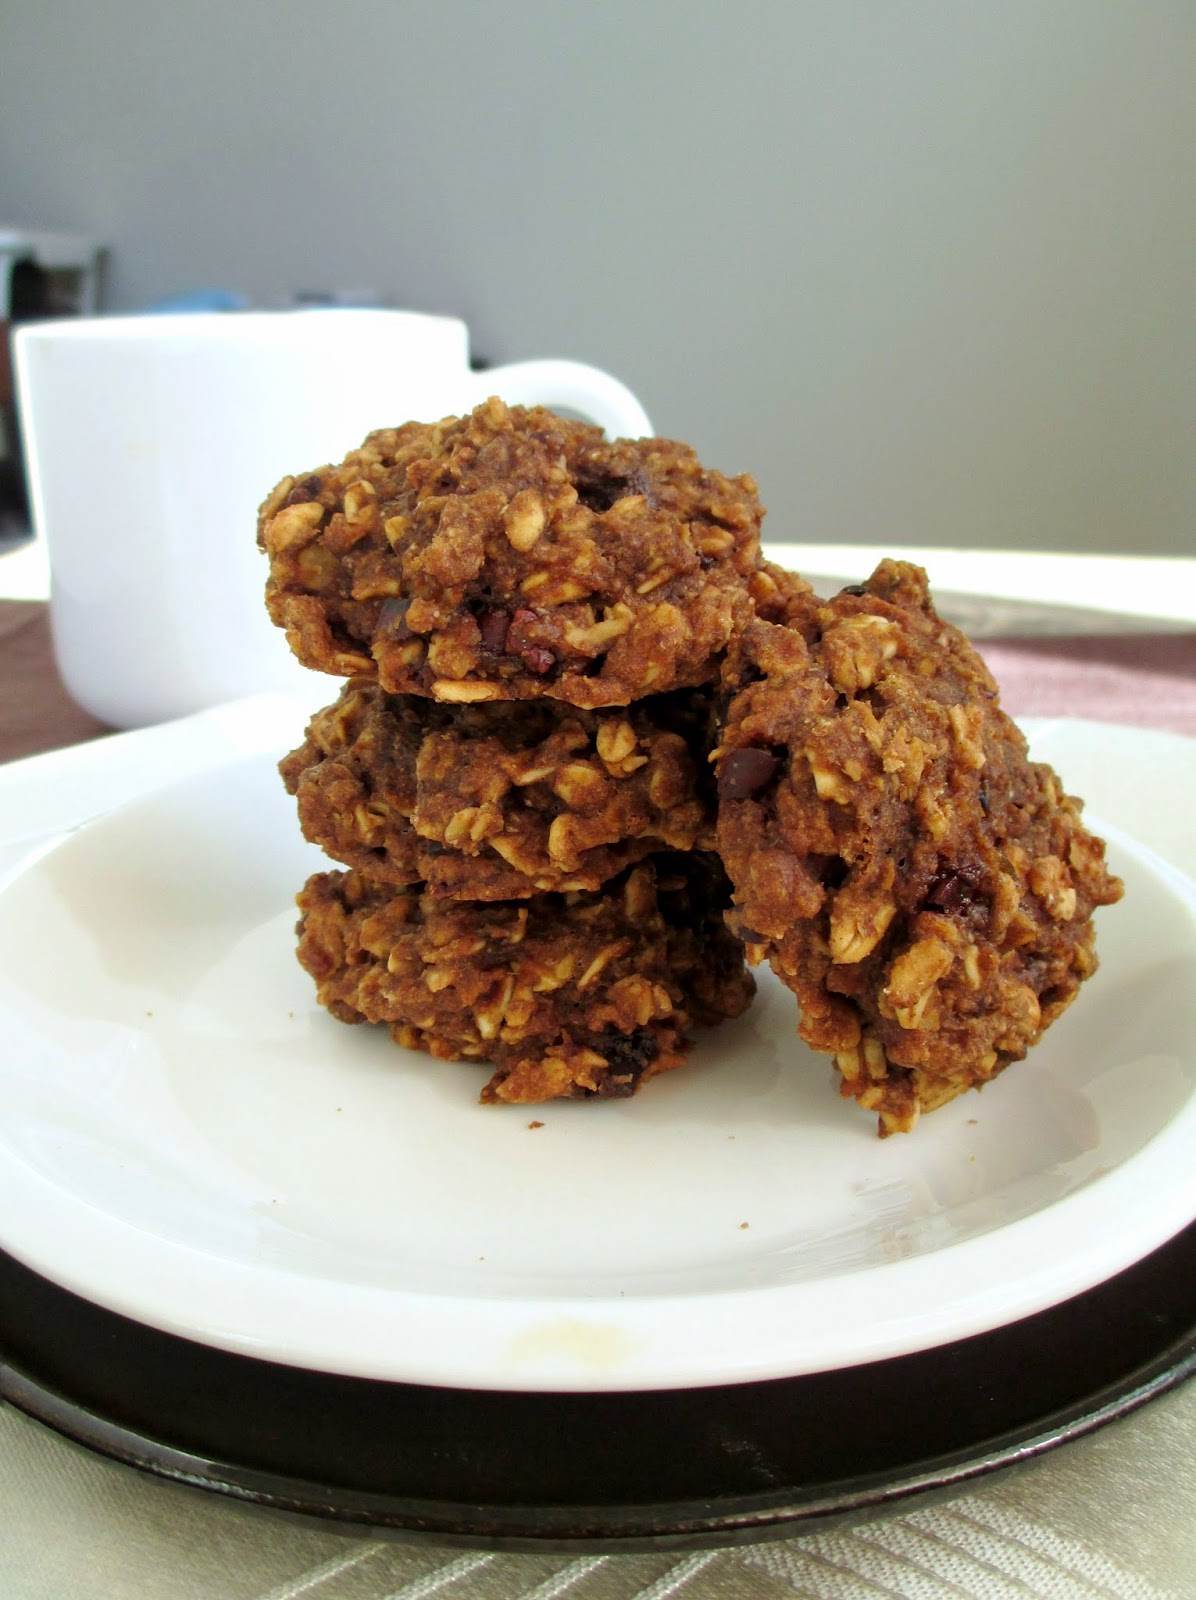
The original recipe was for healthier oat cookies with a dose of both brewed coffee and instant espresso in them. For my version, I used strong brewed chai tea for the liquid, with both instant chai and instant coffee added to the dry ingredients. And for even more chai flavour, I added some spices like cinnamon, ginger, allspice, and cardamom.

The first time I made these, I found them a bit too dry and not quite strong enough in the coffee flavour, so I adjusted the recipe a bit by reducing the flour and increasing the amount of coffee, and they came out just how I wanted - a soft and cakey cookie with a mix of both chai and coffee flavours!

I also replaced the oil with coconut oil and reduced the amount a bit to keep these cookies healthy enough to eat for breakfast, or any time of the day when you need a bit of an energy boost!


Dirty Chai Breakfast Cookies
Inspired by Healthy Food For Living

3/4 cup whole wheat flour 
1 cup rolled oats
1 tbsp instant coffee 
1 tsp dry chai mix powder (optional)
1/4 tsp baking powder
1/4 tsp baking soda
1/4 tsp salt
1/4 tsp cinnamon
1/4 tsp ginger
1/8 tsp allspice
Dash of cardamom
1/2 cup strong chai tea (I steeped one bag in ½ cup boiling water for about 5 minutes)
2 tbsp pure maple syrup
2 tbsp brown sugar 
2 tbsp melted coconut oil
1/2 tbsp ground flax
1/2 tsp vanilla extract
2 tbsp finely chopped dates (about 3 dates)
2 tbsp cacao nibs


Preheat oven to 350°F and line a baking sheet with parchment paper.

In a large bowl, whisk together the dry ingredients (flour to cardamom).

In a separate bowl, stir together the chai tea, maple syrup, brown sugar, coconut oil, flax, and vanilla. Let cool a bit, then pour this mixture into the dry ingredients and stir until the dry ingredients are incorporated. Mix in the dates and cacao nibs.

Drop spoonfuls of the cookie mixture onto the prepared baking sheet and press down slightly to form a cookie shape. Since the dough will still be a bit warm (from the tea), place the baking sheet in the freezer for about 5 minutes so the cookies firm up. Bake in the preheated oven for about 12 minutes. Let sit on the pan for a few minutes, then transfer to a wire rack to cool completely.

Makes 12-13 cookies.


March 12, 2014

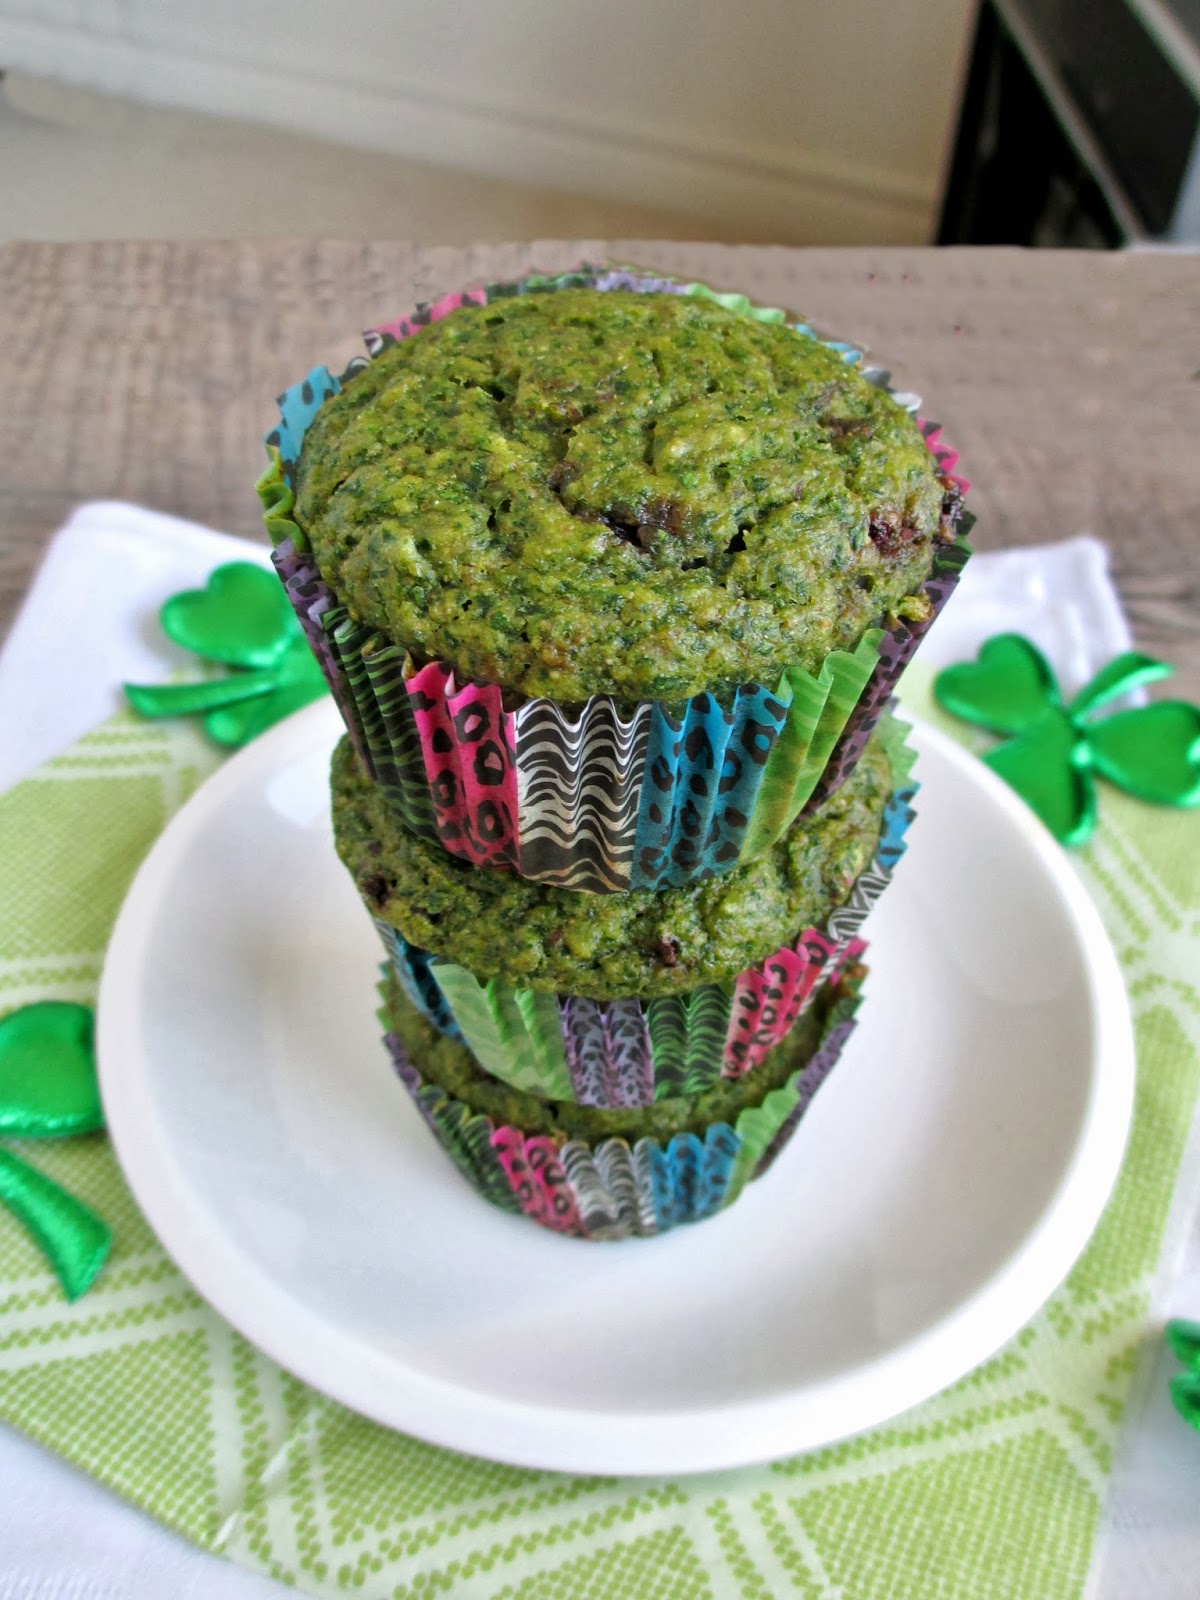
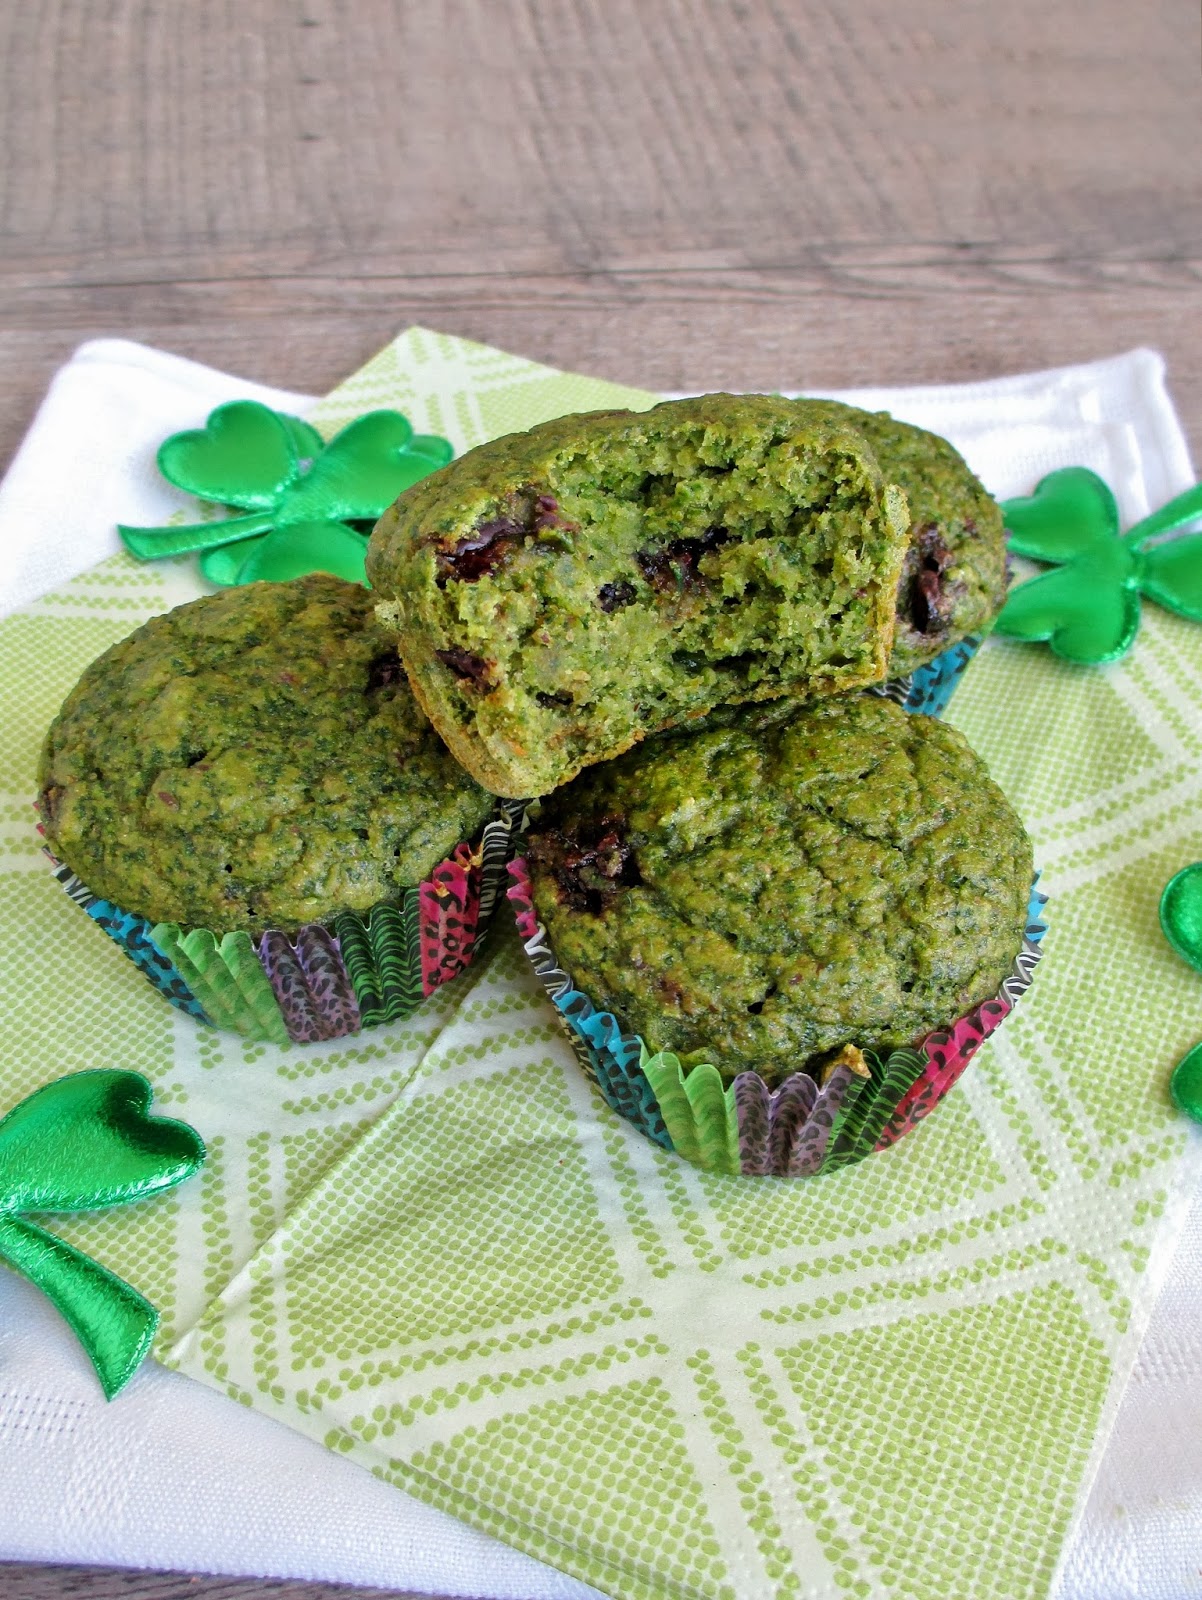
Green Spinach Banana Muffins for St. Patrick's Day


With St. Patrick's Day coming up in less than a week, I've been trying to think of something green and festive to make for it. I don't usually celebrate the holiday itself in any special way (I think I've only gone out to an Irish pub once), but I do like to wear green at least! 

We're also doing a green-themed potluck in our office, so it should be fun to see what everyone comes up with! Last year I made pasta salad with a green avocado yogurt sauce, and this year I'm thinking of cucumber rollups (like these), but we'll see!


Besides the potluck, I wanted to share something green on my blog too. I figured that if blended spinach can make a green smoothie, why not use it in another breakfast food - healthy muffins! 

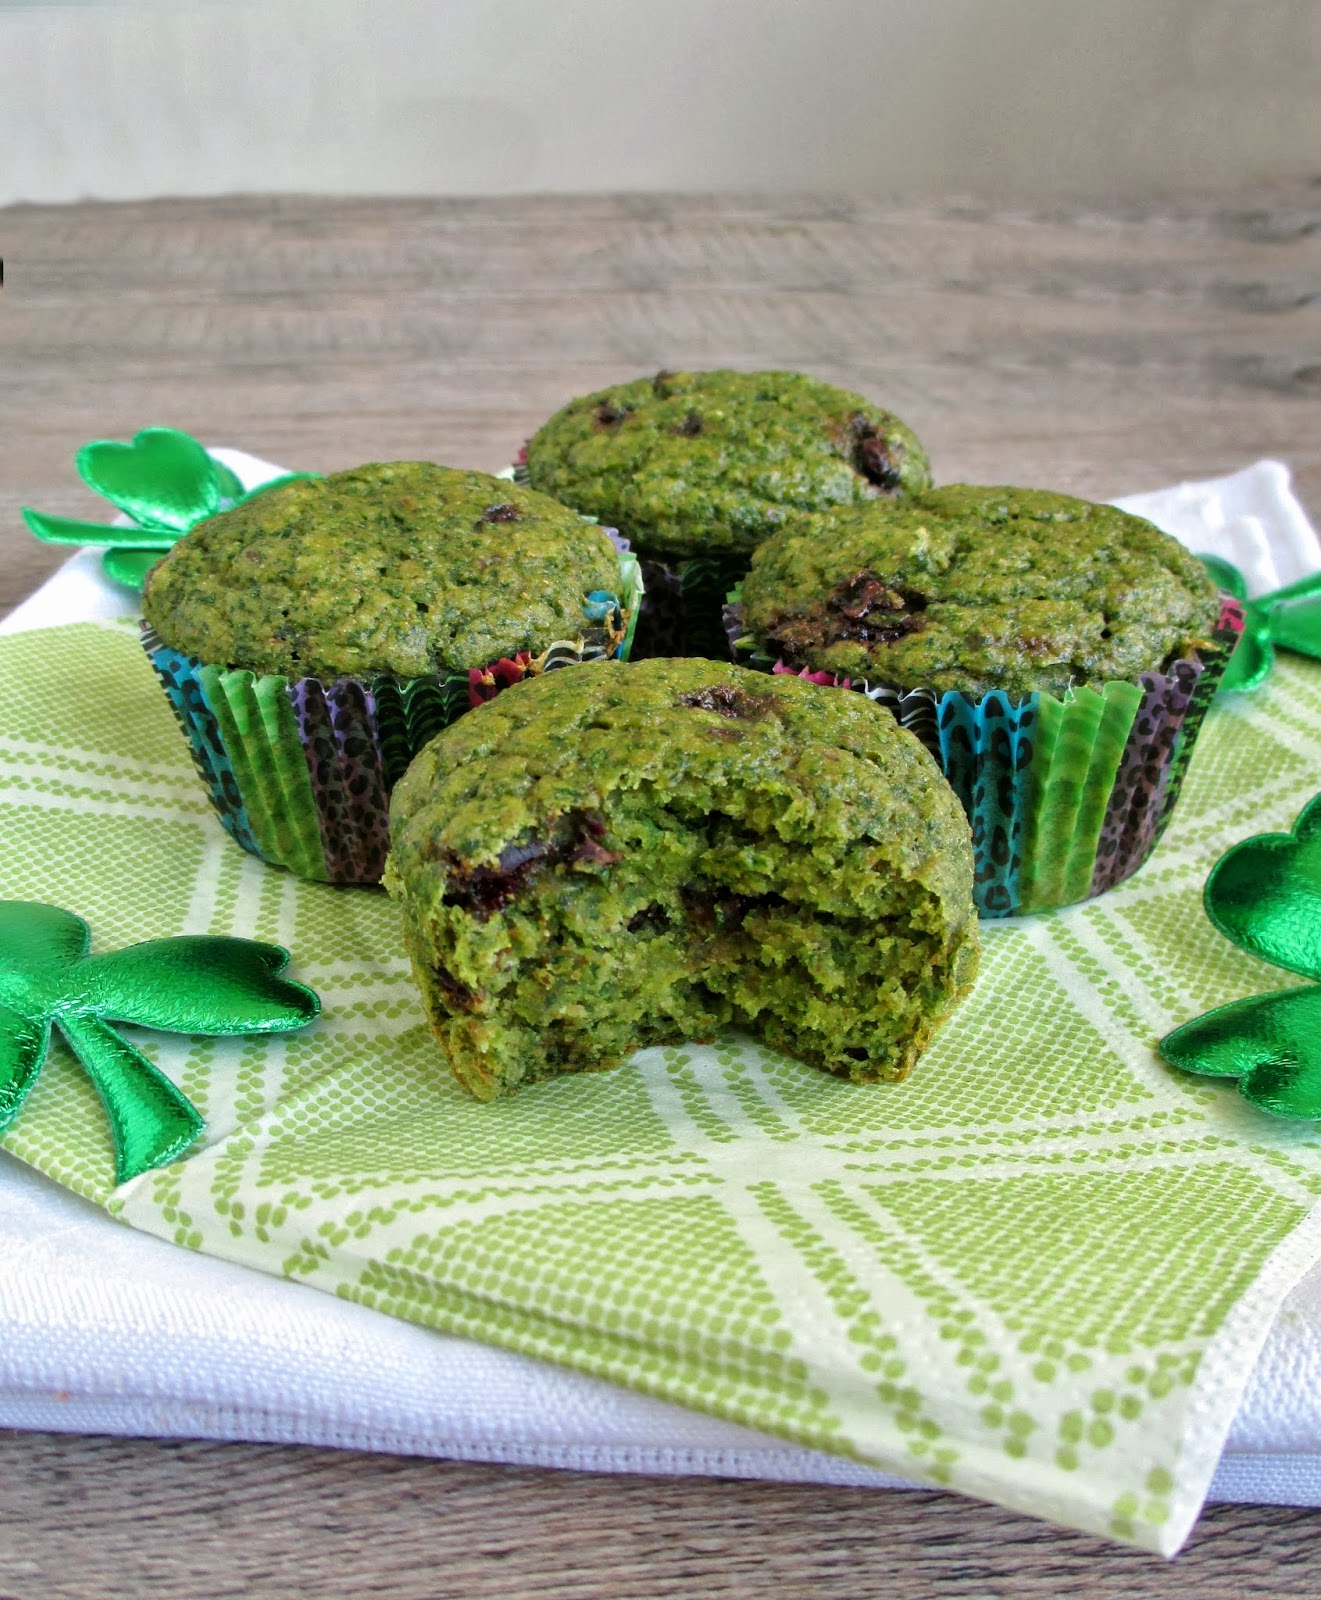
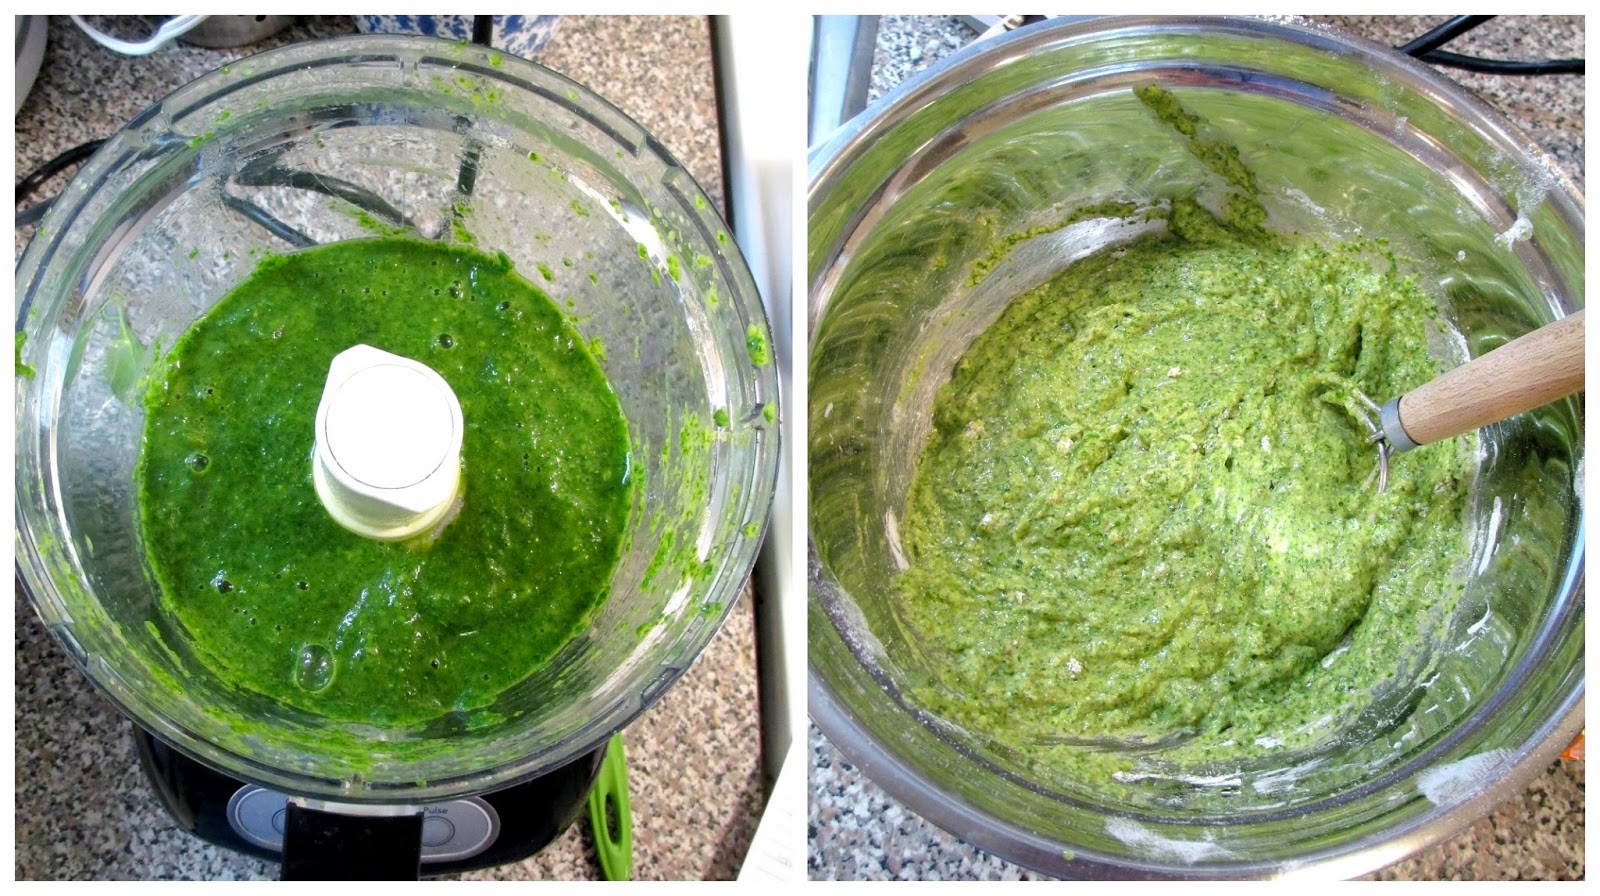
It turns out I'm not the only one to try this idea, and this recipe for popeye muffins from The Green Forks looked perfect for adapting into my own version. By pureeing baby spinach with the wet ingredients, you end up with a pretty intense green batter (see below) that actually keeps its colour after baking. 


To make my muffins a bit more nutritious, I reduced the sugar in the original recipe from 3/4 cup down to just 1/4 cup, since the recipe also uses a ripe banana to add some natural sweetness, and I replaced the oil with applesauce to make them fat-free. I also used a mix of spelt and whole wheat flours, added a flax egg, and mixed in some cacao nibs for a bit of chocolately crunch (chocolate chips would work really well too!). 

I loved the texture of these muffins - fluffy and moist inside, and they had a nice mild taste with a hint of banana. And if you're worried about the spinach, I couldn't really taste it (although I did detect a slight spinach smell by the second day). 

These would make a fun treat for St. Patrick's Day, or a healthy snack any time!


Spinach Banana Muffins
Adapted from The Green Forks

1 tbsp flax + 3 tbsp water
1 cup whole wheat pastry flour
1 cup light spelt flour (or all purpose, or more whole wheat)
1/4 cup cane sugar (increase to 1/2 cup if you like a sweeter muffin)
2 tbsp baking powder
1/2 tsp baking soda
1/2 tsp salt
1 (5-6 oz) container baby spinach
1/2 cup mashed ripe banana (1 large banana)
1/4 cup unsweetened applesauce*
3/4 cup almond milk (or other non-dairy milk)
1.5 tsp vanilla extract
2 tbsp cacao nibs (can substitute desired amount of chocolate chips)

*Note: If you don't like the texture of fat-free baked goods, feel free to use oil instead of the applesauce. You can also make these less "healthy" tasting by increasing the sugar and adding chocolate chips!


Preheat oven to 350°F and prepare a 12-cup muffin tin by lining with paper cups and spraying with cooking spray.

In a small bowl, stir together the flax and water and let sit for at least five minutes to thicken.

In a large bowl, whisk together the dry ingredients (flours to salt). In a blender or food processor, add the spinach, banana, applesauce, milk, and vanilla and puree until smooth. Pour the spinach mixture into the dry ingredients and add the flax mixture. Stir gently just until all the dry ingredients are incorporated. Fold in the cacao nibs.

Divide batter evenly into the muffin cups, filling each one about 2/3 full. Bake in the preheated oven for 20-25 minutes, until the muffins feel firm on top and a toothpick inserted in the center comes out clean.

Let muffins sit in pan for a few minutes, then remove them from the pan and let cool on a wire rack.

Makes 12 small muffins.

December 04, 2013

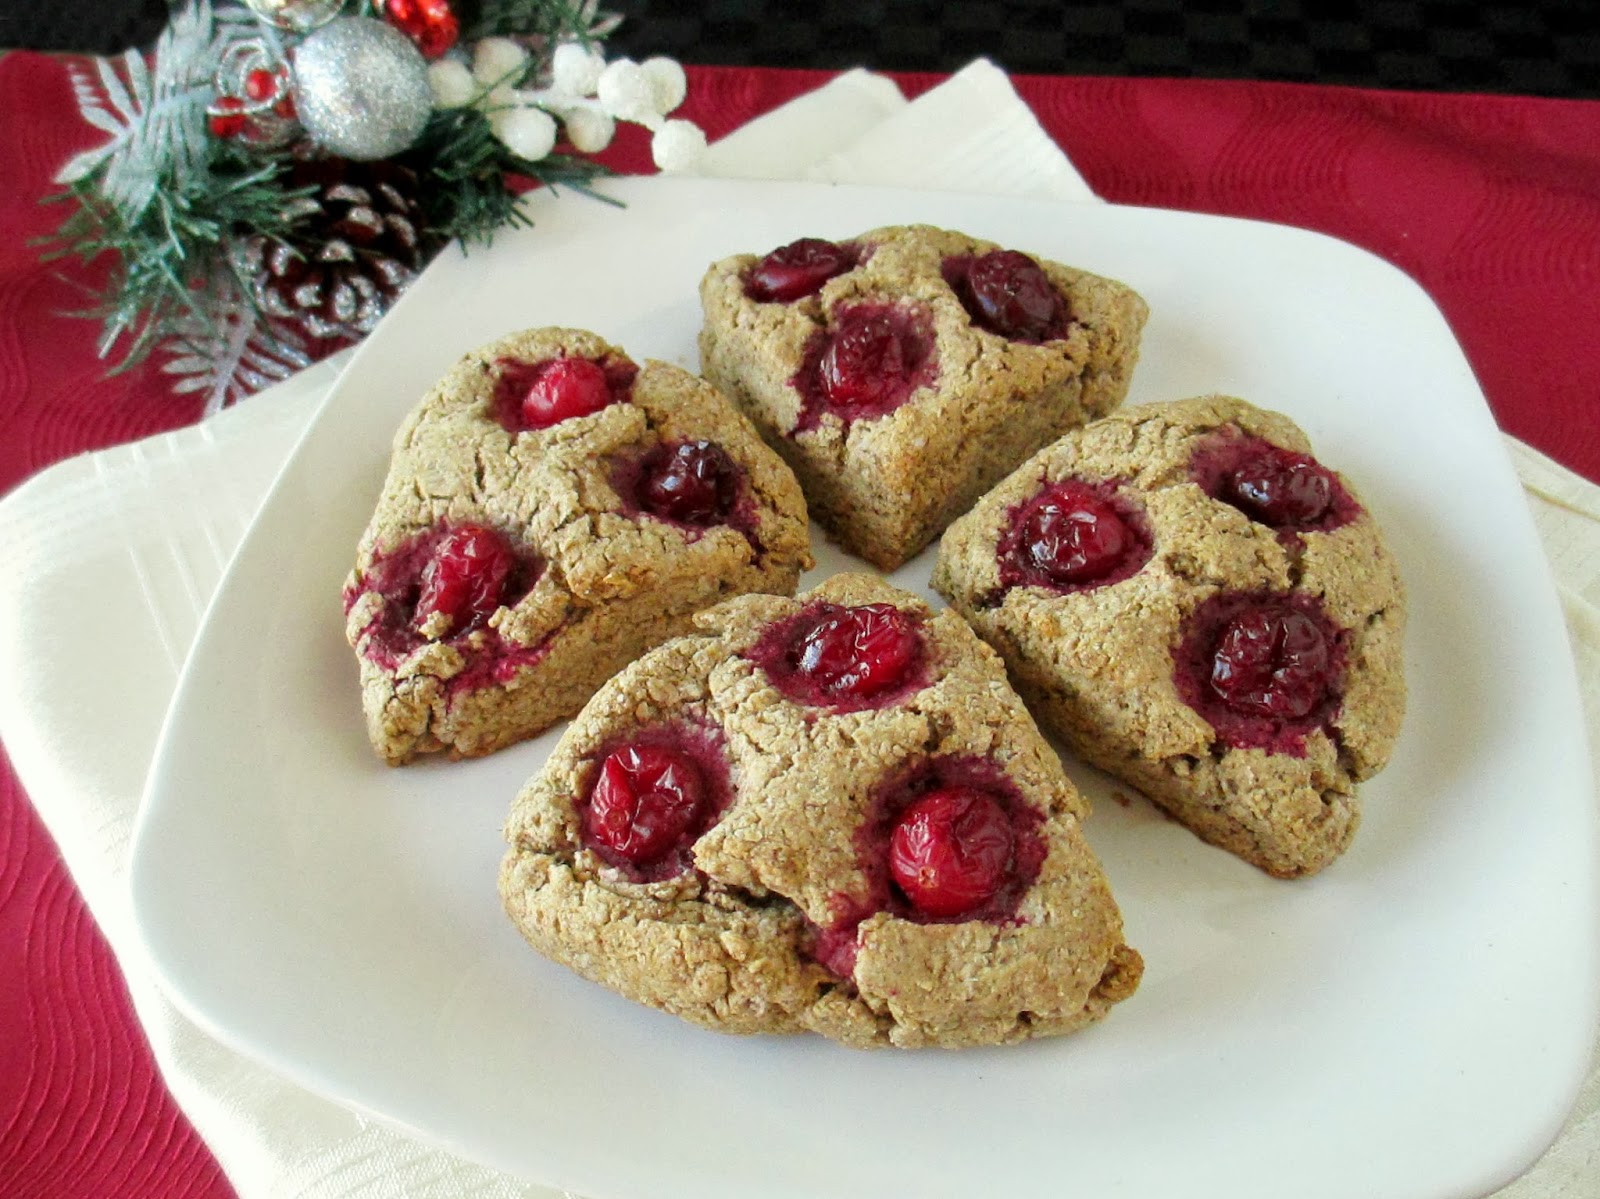
Vegan Gingerbread Rye Scones


For my first post of December, I thought it would only be appropriate to share a holiday recipe! As I'm sure you've all noticed, as soon as American Thanksgiving was over last week, bloggers couldn't wait to get into the Christmas spirit, and I'm definitely one of those bloggers! 

My holiday baking started last week with our annual cookie swap at school, and even though I had just gotten back from a conference and didn't have much time to prepare for it, I couldn't miss the opportunity to try out a Christmas cookie recipe - and to sample everyone else's Christmas baking! 

I brought these cranberry apple crumble squares from Sweet Twist of Blogging, and I loved how they turned out! And for the record, I think it was our best cookie swap yet, everyone's treats were so good (as evidenced by the rate at which my stash disappeared afterwards)!


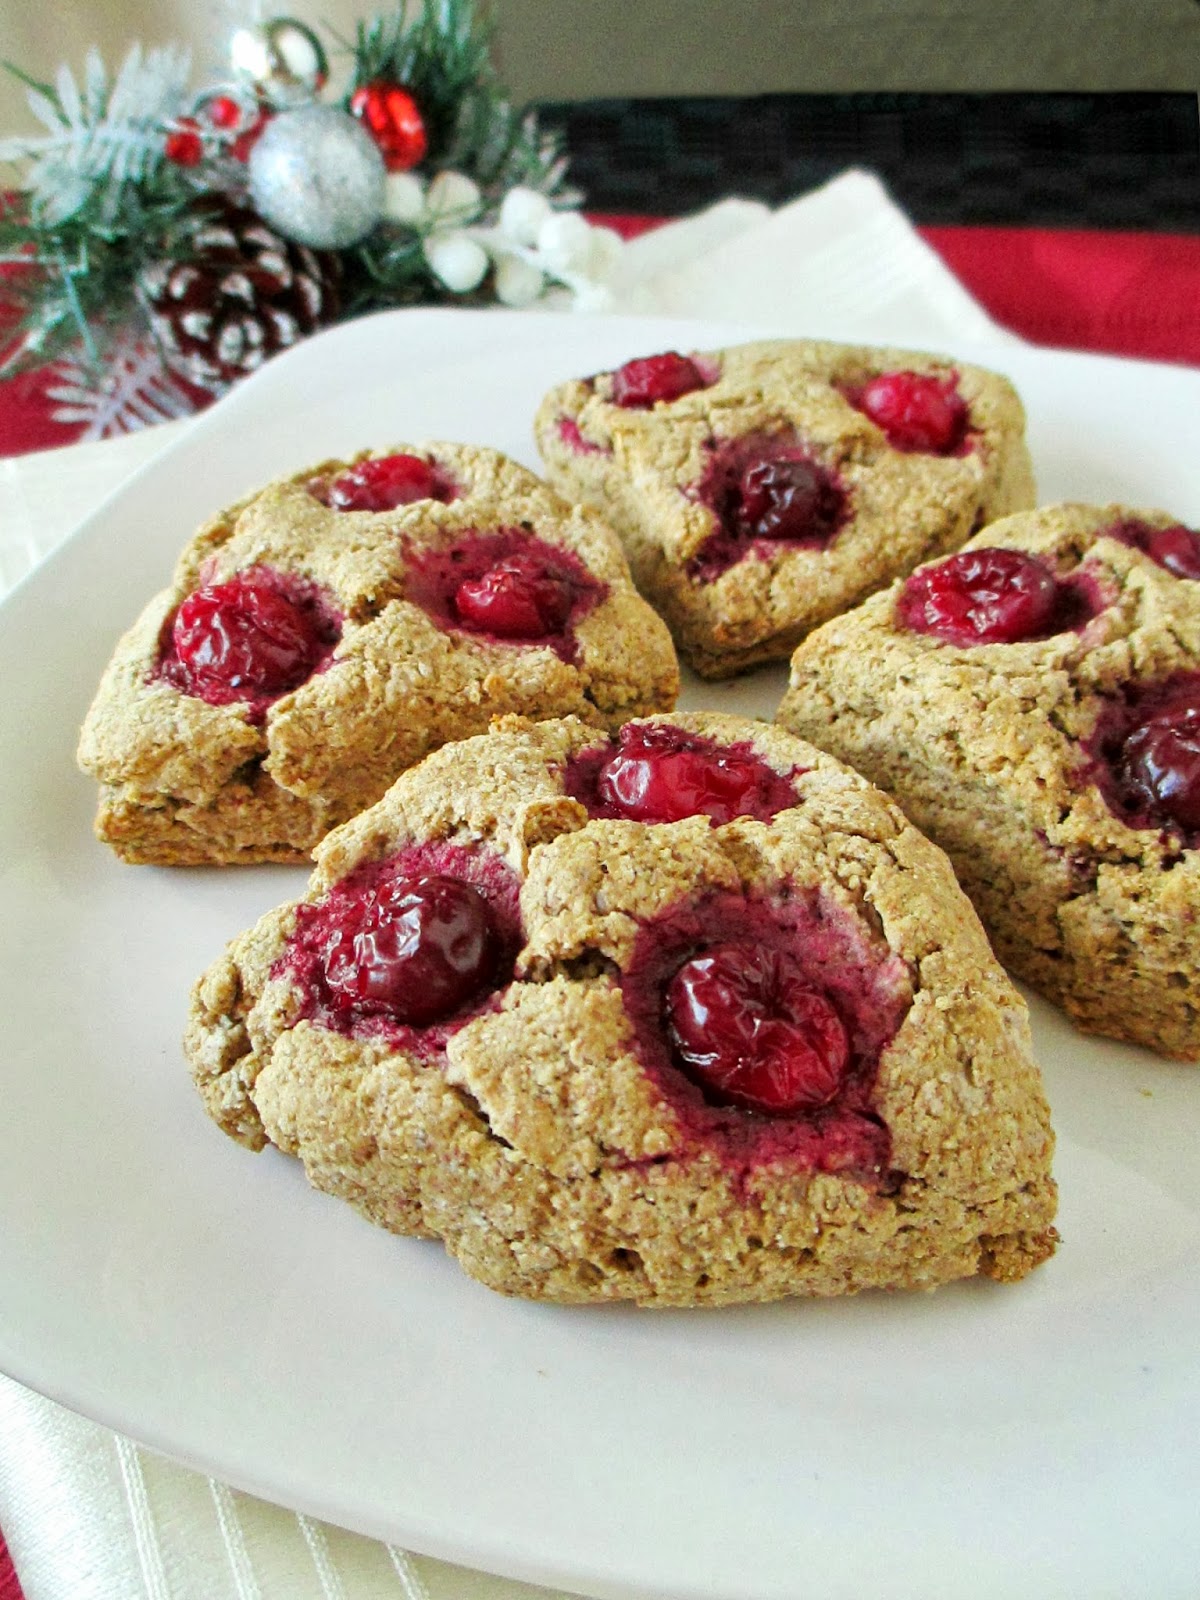
My second holiday themed treat so far this year were these gingerbread scones. These aren't your average fluffy white scones, since they're made with a mix of whole wheat and rye flour and use coconut oil instead of butter. I liked how the darker flours gave the scones a bit of a deeper flavour though and complemented the gingerbread notes well too.

Lightly sweetened with a bit of maple syrup and molasses and spiced with both ground and fresh ginger, these scones have a subtle kick to them. You could leave them plain to highlight the gingerbread, or you could add a few whole cranberries to each scone like I did to double up on the Christmassy flavours! 

Hopefully I'll have more treats to share with you in the next few weeks!


Gingerbread Rye Scones
Adapted from Gnom-Gnom

1/2 cup whole wheat pastry flour
1/2 cup dark rye flour
1/2 tbsp baking powder
3/4 tsp ground ginger
1/2 tsp allspice
Dash of salt
3 tbsp solid coconut oil
3 tbsp almond milk
2 tbsp maple syrup
1 tbsp molasses
1/2 tbsp vinegar or lemon juice
1/2 tsp grated fresh ginger
1/2 tsp vanilla
~1/4 cup fresh or frozen cranberries (optional; if frozen let them thaw a bit first)


Preheat oven to 350°F and line a baking sheet with parchment paper.

In a large bowl, whisk together the dry ingredients (flours to salt). Add the coconut oil and use a fork or a pastry cutter to cut the coconut oil into the dry ingredients until it is fully broken down and the dry ingredients are crumbly.

In a separate bowl, mix the almond milk, maple syrup, molasses, vinegar, ginger, and vanilla. If your molasses is really thick, you can blend the ingredients in a blender until smooth (I used this method). Pour the wet ingredients into the dry ingredients and stir just until the dry ingredients are incorporated.

Transfer mixture to a clean surface and pat it into a thick round circle. Cut into four equal wedges. Press a few cranberries into the tops of each scone if desired.

Place scones on the prepared baking sheet and bake in the preheated oven for 17-20 minutes, until they are browned on the bottom and firm on top. Let cool on a wire rack.

Best served warm, spread with a bit of margarine or vegan butter.

Makes 4 small scones (recipe can be doubled for a larger batch - just cut the dough circle into 8 wedges instead of 4).


November 05, 2013

Pumpkin Recipe Round Up 2013

I got a late start to my pumpkin baking this year, but once I opened my first can, I made sure to squeeze in as many pumpkin goodies as I could! I've heard people say before that they're going to turn into a pumpkin from eating too much of it, and now I understand how they feel...Not that I'm complaining - personally, I can't get enough of anything and everything pumpkin this year!

And instead of keeping all the goodies I've tried to myself, I thought I would post a round-up of the pumpkin recipes I've tried this season, similar to last year's post. Most of them were adapted from other blogs, so be sure to check out their sites too!


Pumpkin Stuffed Energy Balls


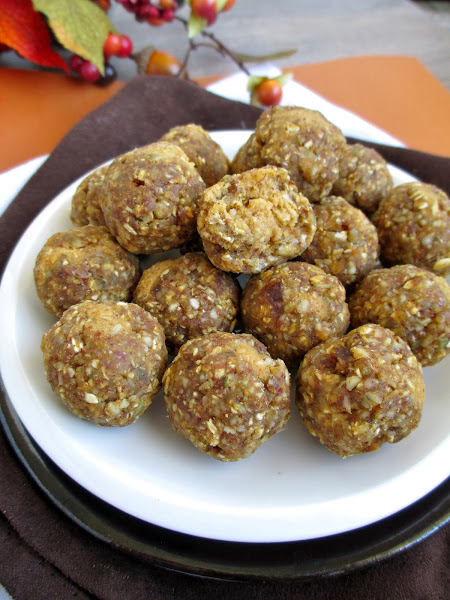
With all of the pumpkin recipes that I bookmark, there's never a shortage of ideas from other bloggers that I want to try. But the one pumpkin recipe of my own from this year were these pumpkin stuffed energy balls. With the "dough" made from raw nuts and dates, and a filling of pumpkin hummus, these made a healthy and tasty snack!


Pumpkin Pancakes


For breakfast a couple of weekends ago, I used some of my leftover pumpkin puree to make these vegan pumpkin pancakes from Daily Garnish. They turned out a bit thinner than my usual pancakes and took a while to make with my limited set of skillets (which is why I started making mini ones, seen on top in the photo), but they were worth the wait! They had a nice amount of pumpkin flavour and the pancakes themselves weren't very sweet, making them the perfect base for lots of maple syrup!


Pumpkin Coffee Smoothie


When I'm in the mood for a cold drink in the morning instead of hot coffee, I like to add instant coffee to a smoothie. This smoothie also had pumpkin puree and pumpkin spice to make it more appropriate for fall. I didn't really measure ingredients this time, but you can check out this post from last year for a recipe.


Pumpkin Banana Coffee Cake


One of my favourite pumpkin recipes that I've tried so far this year was this pumpkin banana breakfast cake from The Pancake Princess. The only changes I made were to use coconut oil instead of olive oil, chopped walnuts in the topping instead of ground, and I replaced the spices in the cake with 1.5 tsp pumpkin pie spice. I loved the texture of the cake, and I liked that it tasted light and not too sweet, so that you could eat it as a relatively healthy snack any time of day!


Mini Pumpkin Muffins


Another healthy baked good that I made with pumpkin were these mini vegan pumpkin muffins from Eating Bird Food. They were nice and fluffy and moist inside, despite having very little oil, and even though they looked a bit plain, I thought they still had lots of flavour!


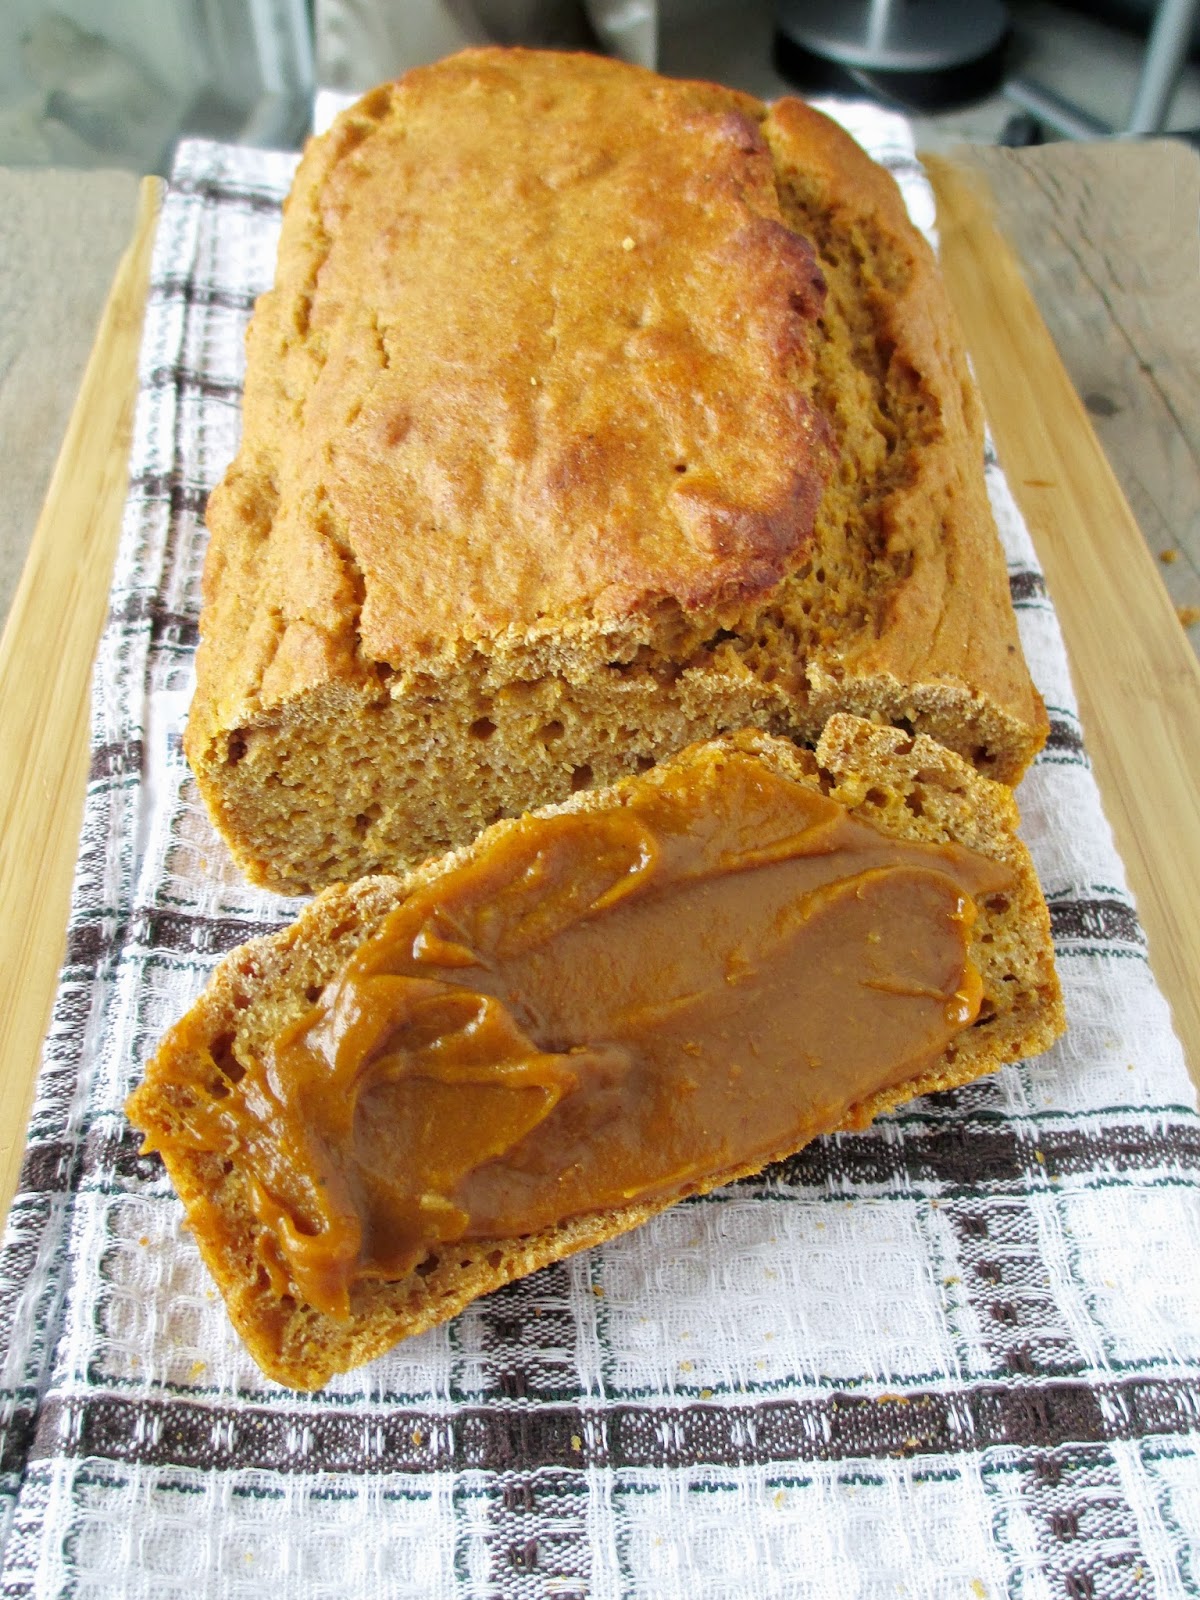
Pumpkin Beer Bread with Pumpkin Butter


I've had a large bottle of this pumpkin beer sitting in my fridge for awhile, and since it was a relatively strong one, I decided to use some of it in a recipe rather than drinking the whole thing myself! I've been wanting to try making beer bread for awhile too, so when I saw this recipe for pumpkin beer bread on Gimme Some Oven, it was the perfect opportunity! With pumpkin puree, pumpkin spice, and pumpkin beer, this bread had a nice amount of pumpkin flavour, while still being more on the bread side than a sweet breakfast loaf cake. Unfortunately, my bread ended up with an unpleasant bitter aftertaste from using a dark, strong beer, so next time I would make this with a lighter pumpkin beer. 


To cover up some of the bitter taste, I made a thick, spiced pumpkin butter to spread on it, which was the perfect combination! I only had a small amount of pumpkin puree left in my can, so I roughly followed a couple of recipes that I'd seen for pumpkin butter, just guessing on amounts of spices and sweetener. Luckily, pumpkin butter isn't very finicky so it still turned out great! For actual recipes, I would recommend looking at these ones from Oh She Glows and Hidden Fruits and Veggies (I used a less sweetener in mine though).


Pumpkin Granola


I've made pumpkin granola in the past and remembered loving it, so I wanted to make another batch this year. I followed this recipe from Two Peas and Their Pod, except I left out the brown sugar because I didn't want it to be too sweet, and I added some coconut flakes near the end of the baking time. This was nice and crunchy and it was good for both snacking and eating with yogurt!


Pumpkin Swirl Brownies


Last but not least were these vegan pumpkin swirl brownies from The Balanced Platter. I'm not usually one for chocolate treats, but these had a good balance of richer chocolate with lighter spiced pumpkin. They turned out more like a snack cake than brownies, and were definitely more on the healthy side than a decadent dessert, but I loved them more for those reasons! I need to work on my swirling skills (and learn not to flip the cake upside down onto a wire rack, leaving lines all over them), but I would definitely make these again!


Of course, not all of the pumpkin treats that I've enjoyed this year have come from my own kitchen.  In addition to too many Starbucks' pumpkin spice lattes, my favourite storebought treats recently have been a pumpkin pie square, a pumpkin butter tart, and classic pumpkin pie (all pictured above).

Even though it's now November and holiday drinks and treats have made their way into every store and cafe, I still plan on enjoying pumpkin for as long as I can!


September 04, 2013

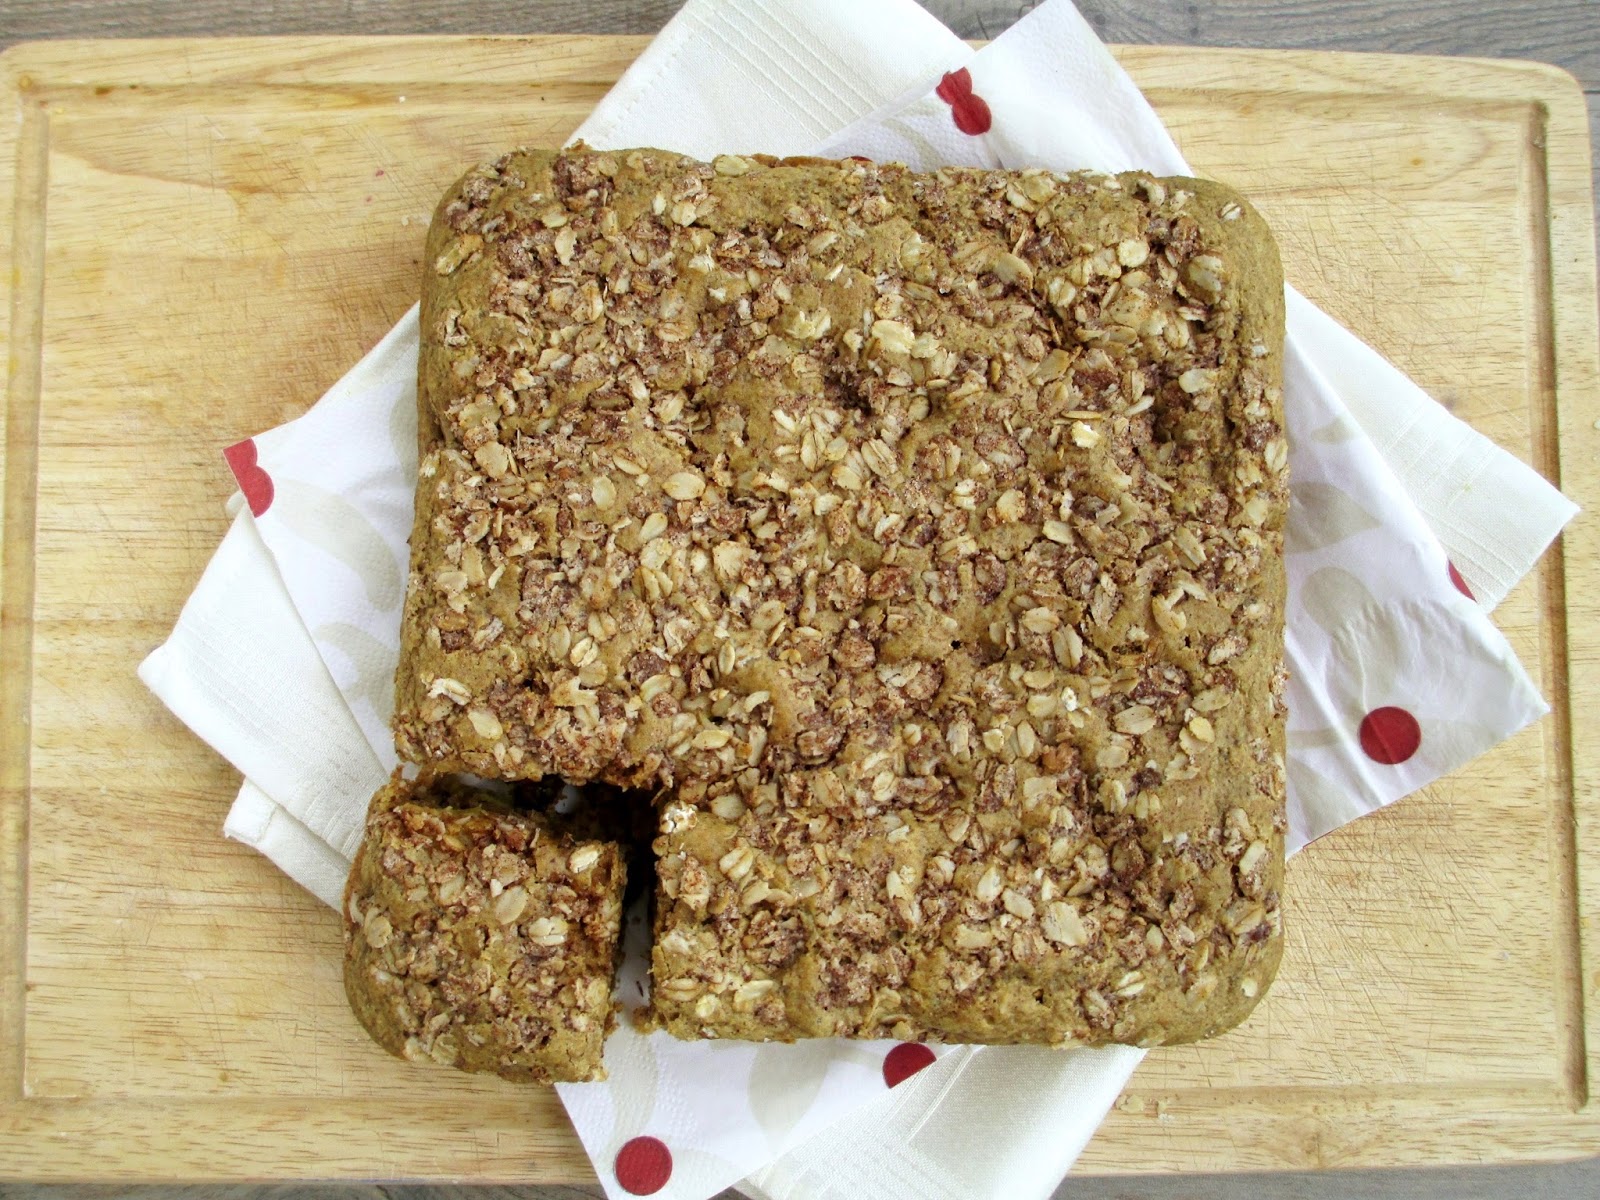
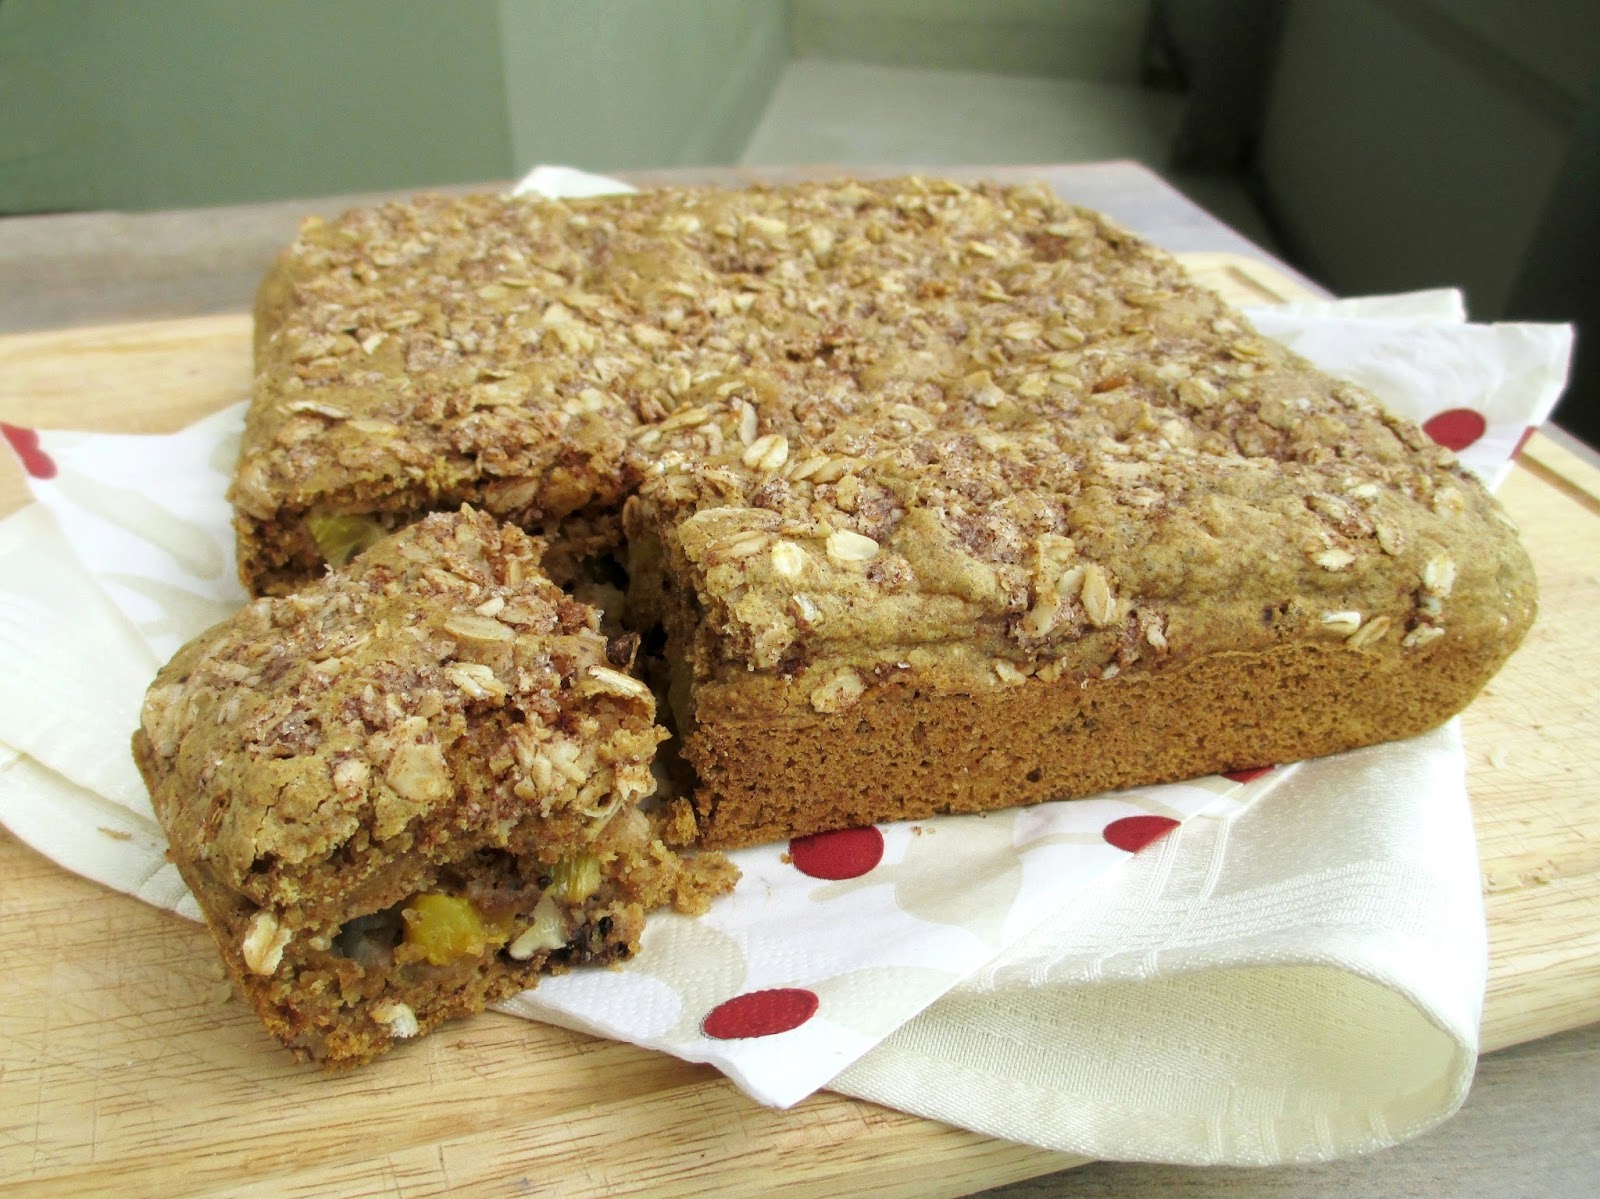
Peach Snack Cake


I know a lot of bloggers are already moving on to Fall recipes now that it's September, but I still have one more summery recipe that I made a couple of weeks ago to share before I can even start thinking about Fall!

Both of my sisters have already tried their first Starbucks pumpkin spice lattes of the season (a sure sign for me that Fall has arrived!), but I'm still trying to make the most of things like corn, zucchini, and tomatoes. I do love Fall, but I also want to hold onto summer for as long as I can!


So before I get into baking with apples, I wanted to share this snack cake highlighting fresh local peaches.

I love making snack cakes because they tend to be super easy, requiring only one pan and a single layer, and I like being able to slice off as much or as little as I want at a time!

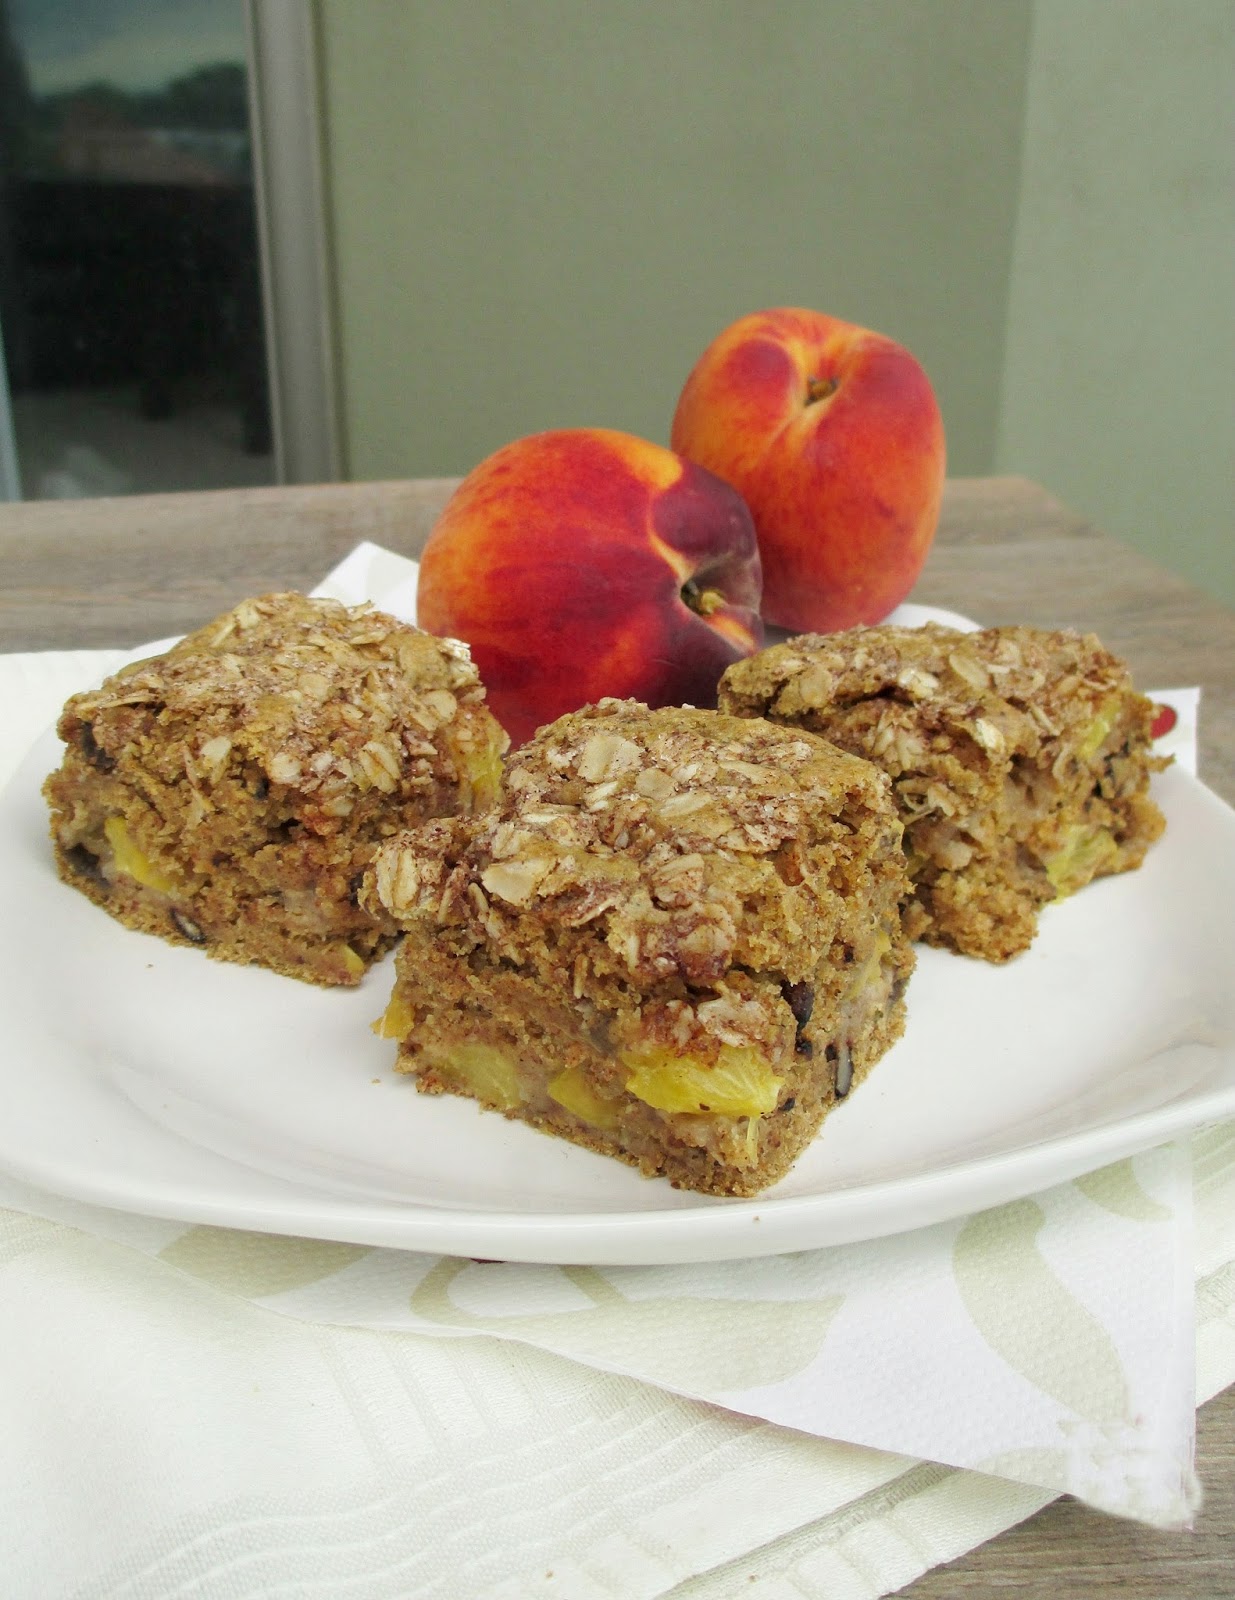
This peach snack cake is soft and fluffy inside, kind of like a muffin, with chopped walnuts throughout and a light oat crumble on top for a bit of extra texture. There's very little oil in it, which gives it a texture that I personally love in low-fat baked goods.


I also loved the pockets of juicy peaches in each piece, which helped add some sweetness to the cake so that I could keep the amount of sugar lower.

As far as cakes go, this is a pretty light and healthy option that would make a great after-school snack if you have kids, or a morning snack to eat at your desk.  September is looking to be a busy month, so I'll need lots of healthy snacks to get me through it!


Vegan Peach Snack Cake

1 tbsp ground flax
3 tbsp water
1 ¼ cup non dairy milk
2 tsp lemon juice
2 tsp vanilla extract
2 tbsp melted coconut oil
2 cups whole wheat pastry flour
2 tsp baking powder
1 tsp baking soda
1 tsp cinnamon
1/4 tsp nutmeg
1/4 tsp salt
1/4 cup cane sugar (use up to 1/2 cup total for a sweeter cake - I found mine not quite sweet enough with only 1/4 cup of sugar)
2 ripe peaches, diced
1/4 cup chopped walnuts

Topping
1/4 cup rolled oats
1 tbsp cane sugar (can substitute brown sugar)
1/2 tsp cinnamon
1 tbsp softened coconut oil


Preheat oven to 350°F and spray an 8x8” square pan with cooking spray.

In a small bowl, stir together the ground flax and water. Set aside to thicken as you prepare the other ingredients.

Mix the milk and lemon juice and let sit for about 5 minutes, then add the vanilla extract and melted coconut oil. Stir in the flax mixture.

In a large bowl, whisk together the dry ingredients (whole wheat flour to cane sugar). Add the milk mixture to the dry ingredients and gently mix until the dry ingredients are incorporated. Fold in the diced peaches and walnuts.

To make the topping, mix together the oats, sugar, and cinnamon. Use a fork to mix in the coconut oil until most of the oats are moistened.

Pour cake batter into prepared pan, using a rubber spatula to smooth out the top if necessary. Sprinkle the topping evenly over the top of the batter and gently press it down with your hands so that it sticks.

Bake in the preheated oven for 30-35 minutes, until the top feels firm, the edges are lightly browned, and a toothpick inserted in the center comes out clean.

Let cool in the pan on a wire rack for about 5 minutes, then invert the pan and let cool completely before slicing.

Makes 16-20 squares.

Note: I found this did not freeze very well, so it's best to eat it all within a few days!

July 16, 2013

Blueberry Breakfast Muffins with Quinoa


This past weekend, I did my first blueberry picking of the season (and actually, my first blueberry picking in years - I can't remember the last time I did that!).  Since the blueberries had just become ready, I was worried that they wouldn't be very good yet, but I was wrong!

They were perfectly sweet, and I had a hard time stopping myself from eating them right off the branches. Actually, the only thing that stopped me from staying and picking all the blueberries (besides how much it would cost) was the insane heat wave we've been having here in Southern Ontario these past few days, which has been keeping me from spending too much time outside lately.

But with this heat, I'm craving refreshing fruit all the time, so it's a good thing that blueberries, cherries, and raspberries are just coming into season here now!


Besides just eating them on their own, one of my favourite ways to eat blueberries is in muffins. I'm not a huge fan of blueberry desserts like pie or cobbler, but I love biting into muffins bursting with juicy blueberries.

I actually made these muffins before the local ones were available, but they still turned out so good that I wanted to share them now, so that you can go make them with those fresh local blueberries (although I know they're not in season for all of you right now)!

The recipe for these muffins was adapted from BitterSweet blog. I loved her idea of adding quinoa to make breakfast muffins even healthier and full of protein so that they can sustain you a bit longer.

As usual, I made some changes to the recipe to suit my own tastes, like adding lemon juice and zest instead of orange juice, reducing the sweetener, using pecans instead of walnuts, and adding some buckwheat flour for a deeper flavour.


I loved the texture of these muffins - they were dense and hearty, with some chewiness from the cooked quinoa and a bit of crunch from the pecans. They weren't very sweet either, which meant those bursts of juicy blueberries really stood out even more! 

The muffins didn't rise much in the oven so they turned out to be a bit on the small size, making them a good snack muffin or a pretty healthy breakfast along with some fruit or yogurt. 

I can't wait to try out more blueberry recipes before their season is over!


Blueberry Breakfast Muffins with Quinoa
Adapted from BitterSweet

1/4 cup dry quinoa + 1/2 cup water
3/4 cup whole wheat pastry flour
1/4 cup buckwheat flour (can substitute with another flour)
1/4 cup rolled oats
1/2 tbsp ground flax
1/2 tsp cinnamon
1/2 tsp baking powder
1/4 tsp baking soda
1/4 tsp salt
1 tsp lemon zest
1/4 cup chopped pecans
1/2 cup blueberries
1 small ripe banana, mashed
1/4 cup almond milk
2 tbsp pure maple syrup (add 1-2 more tablespoons if you like a sweeter muffin)
2 tbsp fresh lemon juice
1/2 tsp vanilla extract
Turbinado sugar (optional)

First, prepare the quinoa: Bring 1/2 cup water to a boil. Add the quinoa and cook on low heat, covered, for about 15 minutes. Remove from heat and let sit for 5 minutes, then remove lid and fluff with a fork. You should have about 1 cup cooked quinoa (it's okay if you have a little less).

Preheat oven to 375°F and prepare a muffin tin by spraying with cooking spray.

In a large bowl, whisk together the flours, oats, flax, cinnamon, baking powder, baking soda, and salt. Add the lemon zest and pecans and whisk again. Gently stir in the blueberries.

In a separate bowl, mix the mashed banana, almond milk, maple syrup, lemon juice, and vanilla. Stir in the cooked quinoa.  Pour this wet mixture into the bowl of dry ingredients and gently mix with a rubber spatula just until all of the dry ingredients are incorporated.

Divide batter into prepared muffin tin, filling each cup almost full (mine filled 7 muffin cups). Sprinkle the tops with a bit of turbinado sugar if desired (this will make the tops crunchy). Place muffin pan in preheated oven and bake for 22-25 minutes, until a toothpick comes out clean and muffins feel firm on top. Let sit in the pan for a few minutes before transfering the muffins to a wire rack to cool.

Makes 7 small muffins.


June 27, 2013

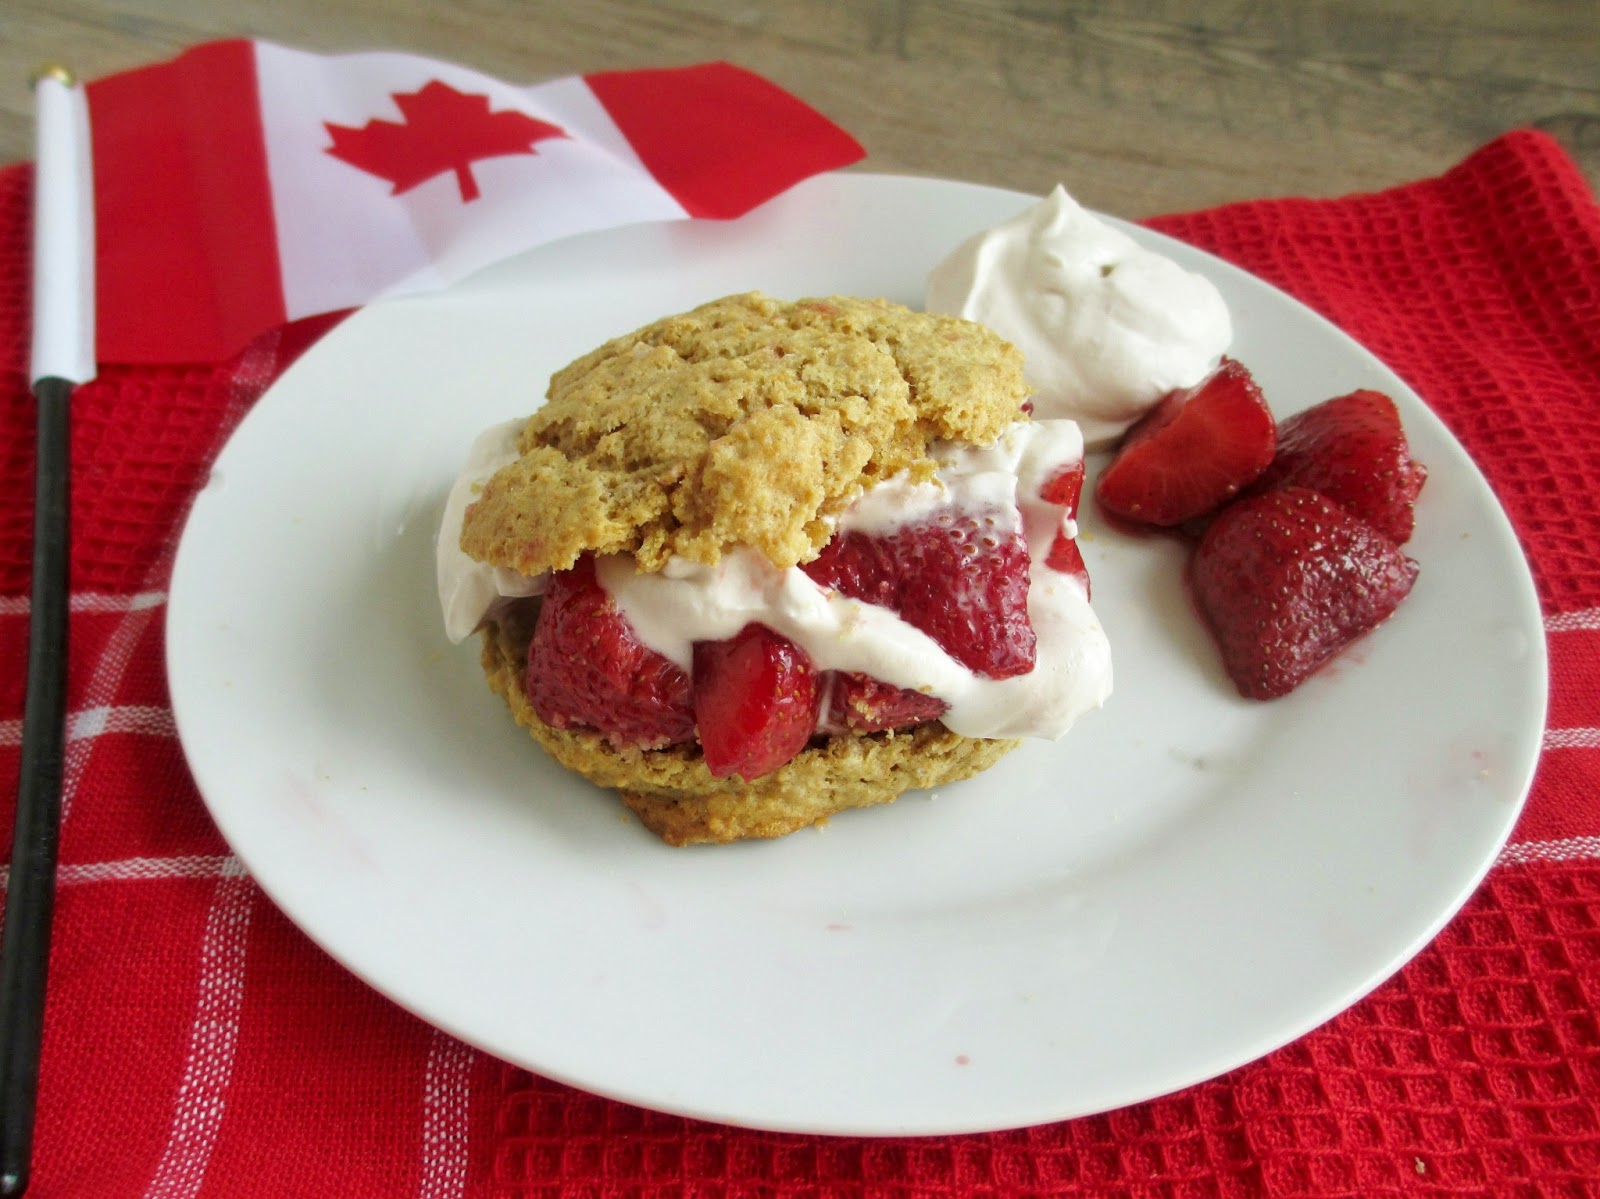
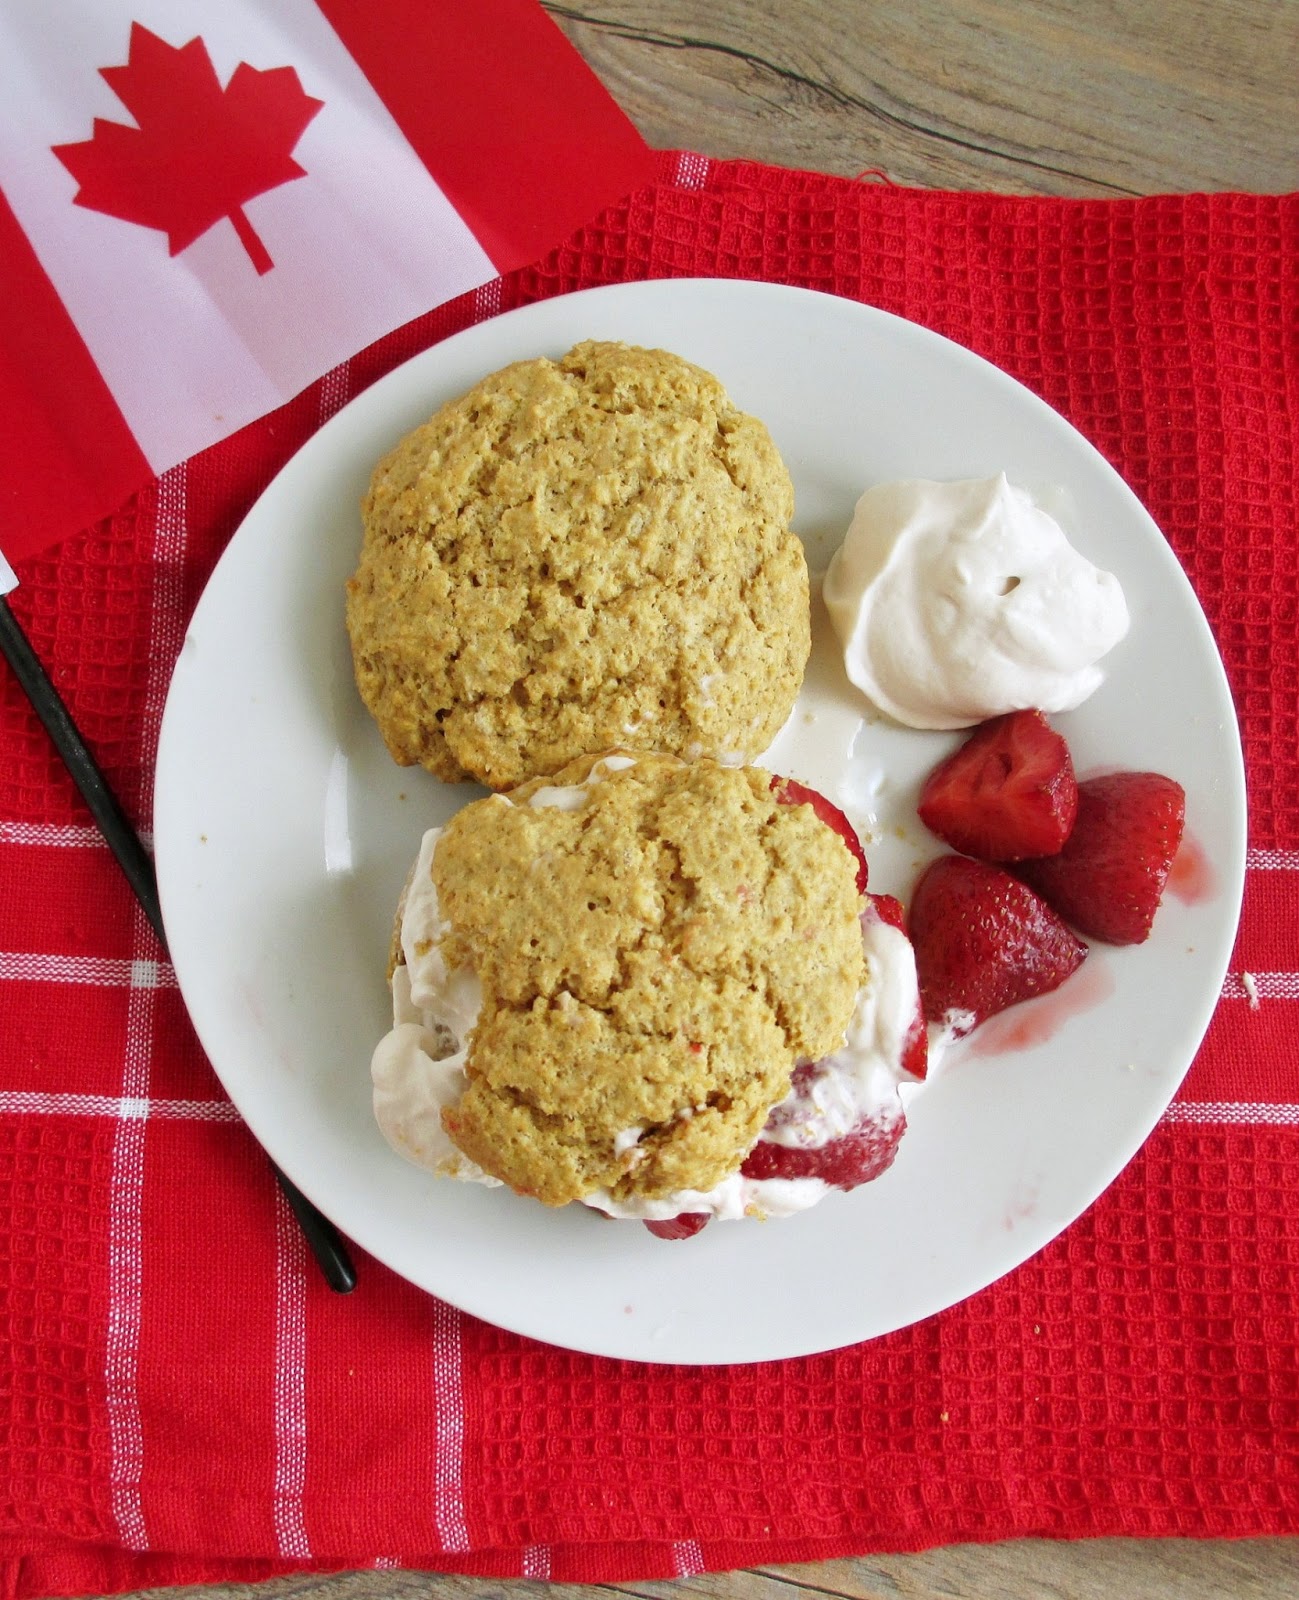
Maple Strawberry Shortcakes with Coconut-Maple Whipped Cream


As my Canadian readers know, this weekend is a holiday weekend with Canada Day falling on the Monday.  For many of us, that means a fun weekend full of BBQs, camping, fireworks, the beach, and spending time with friends and family.  I'm not sure how many of those things I'll get to squeeze in, but I'm looking forward to a relaxing long weekend!

And to celebrate the holiday on my blog, I wanted to share some kind of treat that would work either as a Canada Day recipe or just as a regular treat (since I know most of my readers are not Canadian).

Strawberry shortcake isn't necessarily known as being a "Canadian" dessert, but it's something I grew up with and have always loved. To me, it's a symbol of both Canadian summers and the local strawberry picking season - both of which have always seemed far too short!

Every time we came home with a basket of freshly picked strawberries, my sisters and I would request strawberry shortcake for dessert - a pillow of buttery, flaky biscuit topped with sliced strawberries and lots of whipped cream. I remember savouring every bite as we sat outside enjoying the warm weather, and trying to coordinate each of my bites so that I wouldn't run out of strawberries too quickly!


Now that I'm a bit older, I still love the traditional strawberry shortcake that I grew up with, but I wanted to create a new version using all vegan ingredients, since I prefer baking without dairy.

I also wanted to play up the Canadian theme, so I incorporated maple syrup - one of the well-known culinary symbols of Canada - into every component: the shortcakes, the strawberries, and the whipped cream!

The shortcakes, based off a recipe from The Healthy Everythingtarian, are made with coconut oil and soy milk instead of butter and cream, and I added a bit of maple extract for extra flavour.

Next was the strawberries - rather than just slicing them up, I wanted to make them a bit more special by roasting them in the oven with maple syrup and vanilla to get an even more concentrated flavour and make them nice and soft and juicy.

Finally, I made a fresh batch of coconut milk whipped cream (see posts from other blogs here and here if you're not familiar with this idea).  Instead of flavouring it with powdered sugar and vanilla like I usually would, I used maple syrup as the sweetener, along with a splash of maple extract.


Eating the maple shortcakes together with the roasted strawberries and maple whipped cream brought back memories of all the summers past when I would enjoy my strawberry shortcake desserts, but with new tweaks and flavours that made this version memorable in its own way.

I couldn't wait to dig in as soon as I finished taking photos of it, and I loved everything so much that I immediately went back for a second serving, telling myself it's acceptable to eat two helpings for breakfast!

I was impressed with the texture of the shortcakes - they were soft yet crumbly, and I loved the sweetness of the maple to make them more of a treat than plain biscuits. The maple flavour was subtle throughout but still noticeable, and I loved the way the roasted strawberries just melted into the shortcake and the whipped cream.

I think this would make a great addition to a Canada Day meal for those of you who are celebrating the holiday this weekend, or just a great finish to a summertime meal any day!


Maple Strawberry Shortcakes with Coconut-Maple Whipped Cream
Shortcakes adapted from The Healthy Everythingtarian; everything else my own

Roasted Strawberries
2 cups halved strawberries (slice berries in half, then measure)
1 tbsp pure maple syrup
1/2 tsp vanilla extract

Shortcakes
1/3 cup non-dairy milk (I used vanilla soy milk)
1 tsp lemon juice
1 cup whole wheat pastry flour
1 tsp baking powder
1/4 tsp baking soda
1/4 tsp kosher salt
2 tbsp organic cane sugar
3 tbsp solid coconut oil
1/2 tsp maple extract

Whipped Cream
1 can coconut milk, chilled in the fridge for at least 1 day
2-3 tsp pure maple syrup
1 tsp maple extract


Preheat oven to 400°F.

Toss the halved strawberries with the maple syrup and vanilla. Transfer mixture to a small baking dish and roast in the preheated oven for 15-20 minutes, until the berries are softened (but still hold their shape). Remove from oven and set aside. Keep the oven turned on.

While strawberries are roasting, prepare the shortcakes. First, mix the milk and lemon juice together and set aside for at least 5 minutes. In a medium sized bowl, whisk together the flour, baking powder, baking soda, salt, and sugar. Add the coconut oil and use a fork or pastry cutter to cut it into the dry mixture, until it becomes dense, moist crumbs. Add the milk mixture and maple extract and stir just until the wet ingredients are incorporated. 

Use a 1/4 cup measure to divide batter into four equal biscuits.  Drop biscuits on a baking sheet lined with parchment paper, patting the dough into round shapes. (Tip: If your kitchen is warm, you might want to stick the baking sheet in the freezer for 5 minutes before baking to help the biscuits keep their shape and prevent them from spreading too much in the oven). Place baking sheet in the oven and bake for 12-15 minutes, until biscuits are lightly browned and a bit firm on top. Let cool on a wire rack.

While shortcakes are baking, prepare the whipped cream: Open the chilled can of coconut milk and scoop out the thickened cream portion on top into a bowl (leave the water in the can behind - you can drink it or discard it). Use a stand mixer or hand mixer to whip the cream until it becomes thick. Add the maple syrup one teaspoon at a time, beating it in after each addition, until you reach your desired sweetness level. Add the maple extract and beat again, until you have semi-stiff peaks (mine didn’t get quite as firm as regular whipped cream, but it will thicken up more in the fridge).

To serve, place a warm biscuit on a plate (you can slice it in half horizontally if you want). Top with one-quarter of the roasted strawberries and a generous helping of whipped cream. Repeat with remaining biscuits.

Makes 4 servings, plus extra whipped cream*.

*Note: the leftover whipped cream goes really well as a dip for fresh strawberries on their own too!

June 24, 2013

Thumbprint Energy Cookies with Apple Butter


One question I get asked the most as a blogger is where I get the inspiration for my recipes. My answer is never a simple one, as my inspiration comes from many different sources: the farmer's market, the seasons, cookbooks, and other blogs.

With these cookies though, my inspiration was super specific, since I wanted to try to recreate an energy explosion cookie that I had tried recently.  I'm not sure if they're only a local treat, but I've seen them around town at organic stores and bakeries, sold as a healthier treat option.

The version that I tried was gluten-free, made with brown rice rice flour, ground almonds, sesame seeds, and a bit of maple syrup and cinnamon for flavour. What I liked the most about them was the rich, velvety apple butter filling in the centre, which made these different from the usual thumbprint cookies that are filled with jam.


It took me a few tries to get my cookies right (which is why they look slightly different in these photos!), going from dry and overbaked to too soft and muffin-like with no flavour. While the final version is still not exactly like the original, I'm happy with my homemade knock-off!

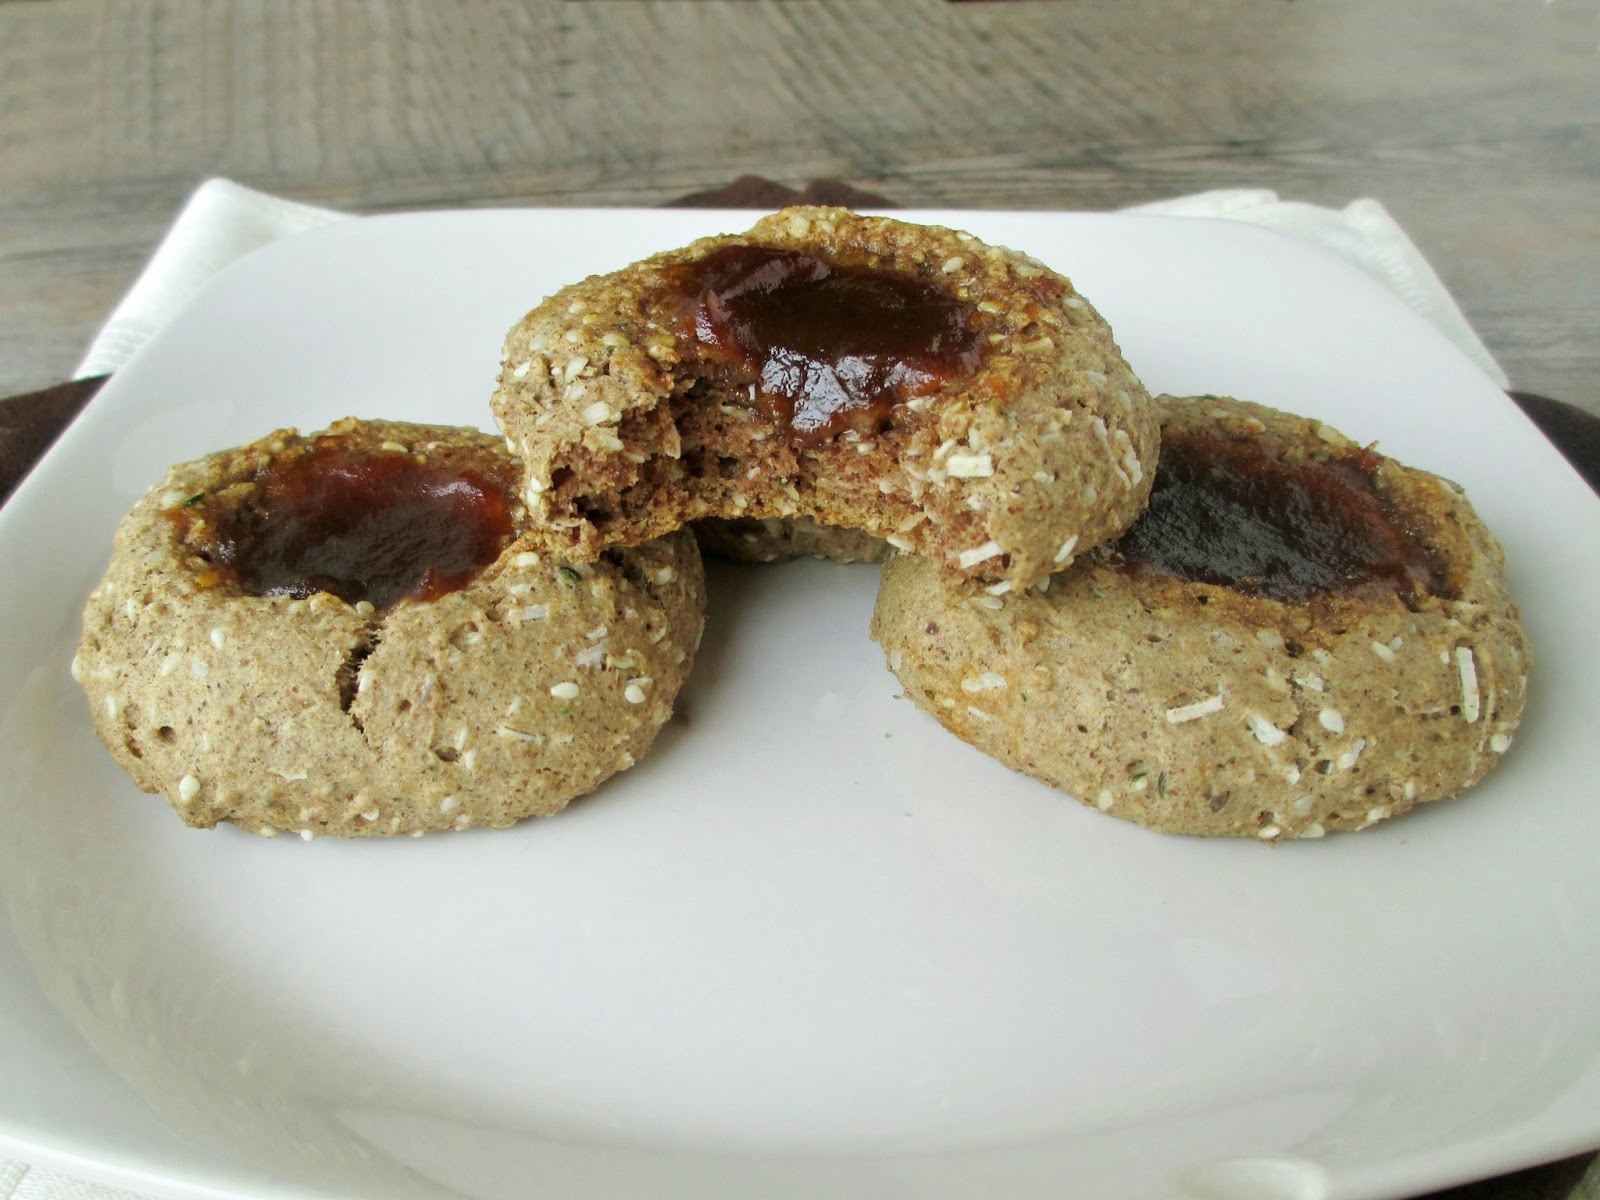
My cookies are made with whole grain spelt flour, with a mixture of sesame seeds, hemp seeds, and coconut for texture. I added a bit of almond butter and pure maple syrup for flavour, and a generous spoonful of apple butter in the middle.

I liked that the cookies themselves aren't too sweet, since the apple butter adds plenty of natural sweetness in each bite. These are more of a soft cakey cookie, with lots of texture from the seeds and coconut. And the best part is that all of the ingredients are healthy, especially the hemp seeds which are full of protein, fibre and vitamins, so you can feel good about eating these as a nutritious snack!


Thumbprint Energy Cookies with Apple Butter
Inspired by these "Energy Explosion" Cookies and Kitchen Grrrls' Thumbprint Cookies

1 cup whole grain spelt flour
1 tsp baking soda
1 tsp cinnamon
1/8 tsp salt
1/4 cup unsweetened shredded coconut
2 tbsp shelled hemp seeds* 
2 tbsp sesame seeds
1/4 cup pure maple syrup
2 tbsp almond butter
2 tsp vanilla extract
1/4 cup unsweetened almond milk
1 tbsp melted coconut oil
~2-4 tbsp organic apple butter (I got mine from Bulk Barn)

Preheat oven to 350°F and prepare a baking sheet by lining with parchment paper.

Whisk the dry ingredients (flour to sesame seeds) together in a medium sized bowl.  In a separate bowl, mix the wet ingredients (maple syrup to coconut oil). Gently mix the wet ingredients into the dry ingredients, stirring just until the dry ingredients are incorporated. Place dough in the fridge for 10-15 minutes to firm up.

Roll dough into equal sized balls (I got eight balls) and set them on the prepared baking sheet. Press down in the centre of each ball using a 1/2 tsp measure or your thumb to flatten the cookie and make an indentation. Fill each indentation with a heaping 1/2 tsp of apple butter.

Bake in the preheated oven for 11-13 minutes, until firm and lightly browned. I like to add a bit more apple butter to the centres once they come out of the oven because the filling will have reduced a bit in the oven. Let cool on a wire rack.

Makes 8 large cookies.

*Note: hemp seeds can have a slightly bitter taste, so if you've never used them before or you don't like the taste, you can just leave them out of the recipe (I didn't notice any bitterness, but my sister did when she tried one of the cookies). 

LinkWithin

Related Posts Plugin for WordPress, Blogger...