Showing posts with label salsa. Show all posts

January 28, 2014

Vegan Taco Chili Layer Dip


It's the end of January, and that means it's time for my annual Super Bowl recipe post! 

For the past two years, I've posted new versions of layer dips because that's my favourite thing to eat while watching the big game (or maybe I just like having an excuse to eat chips and dip for dinner!).

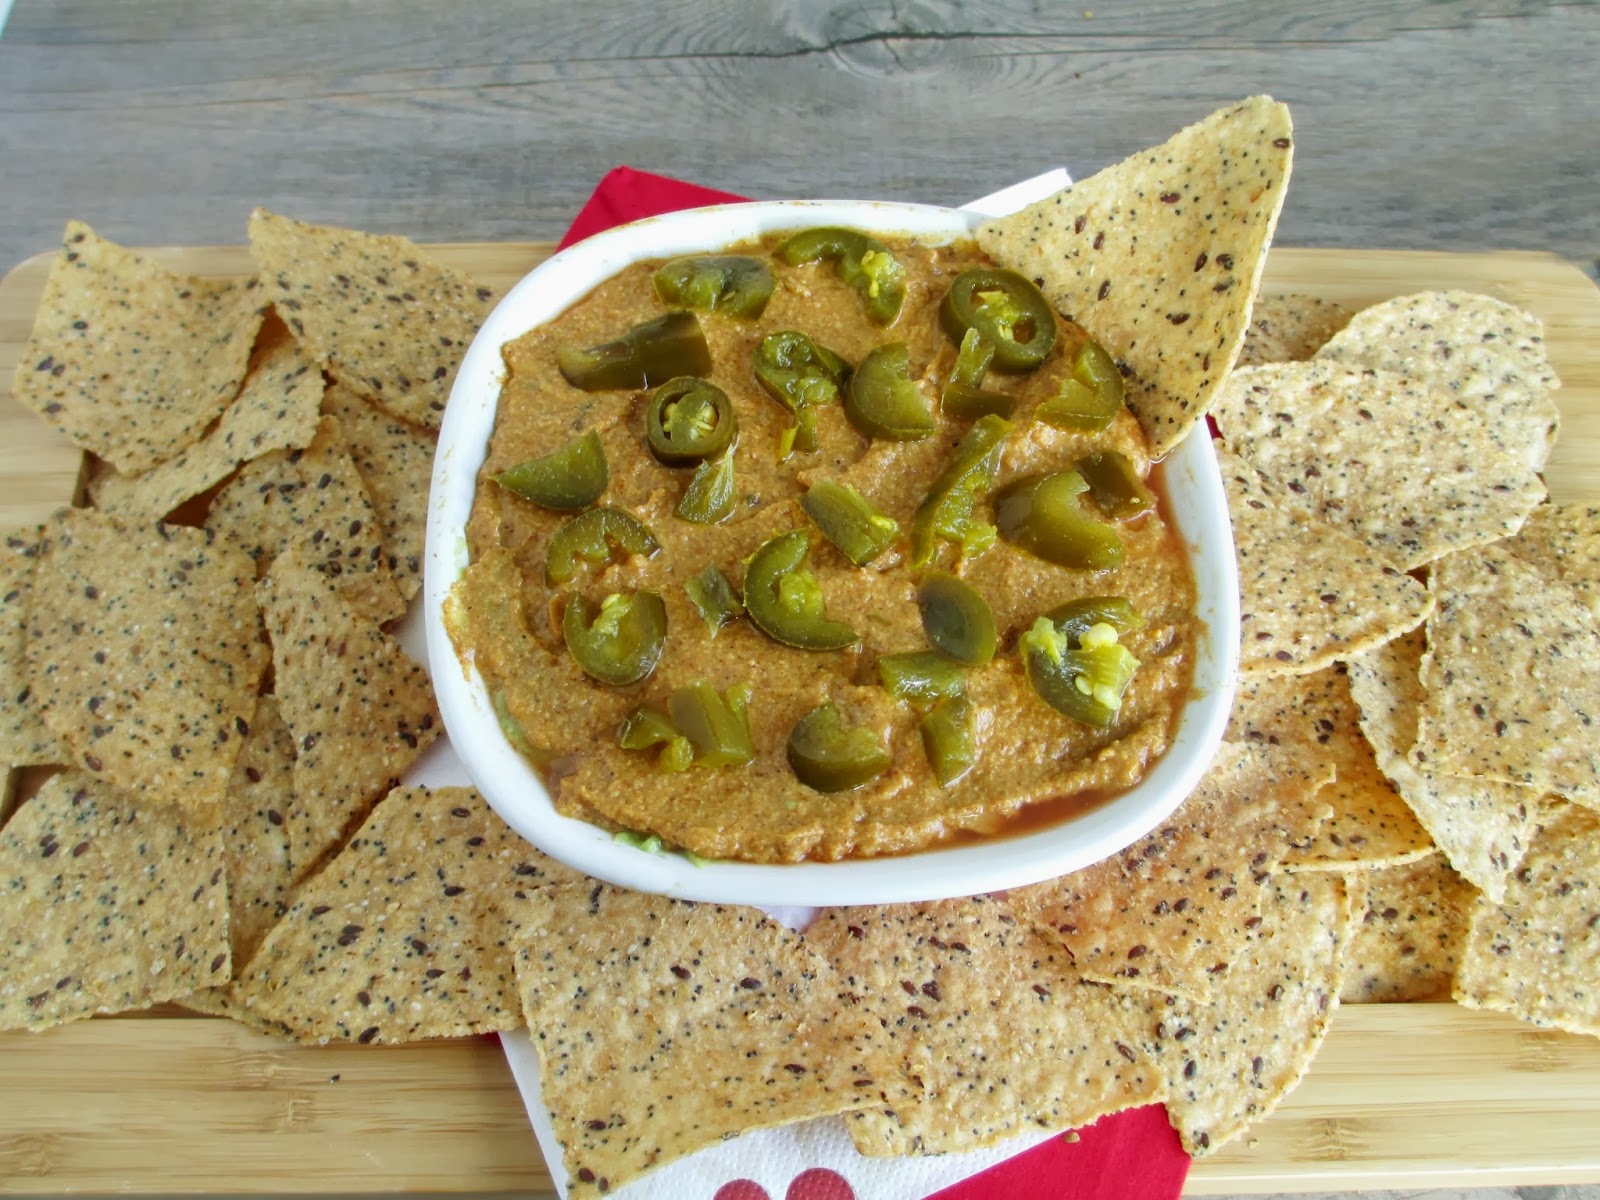
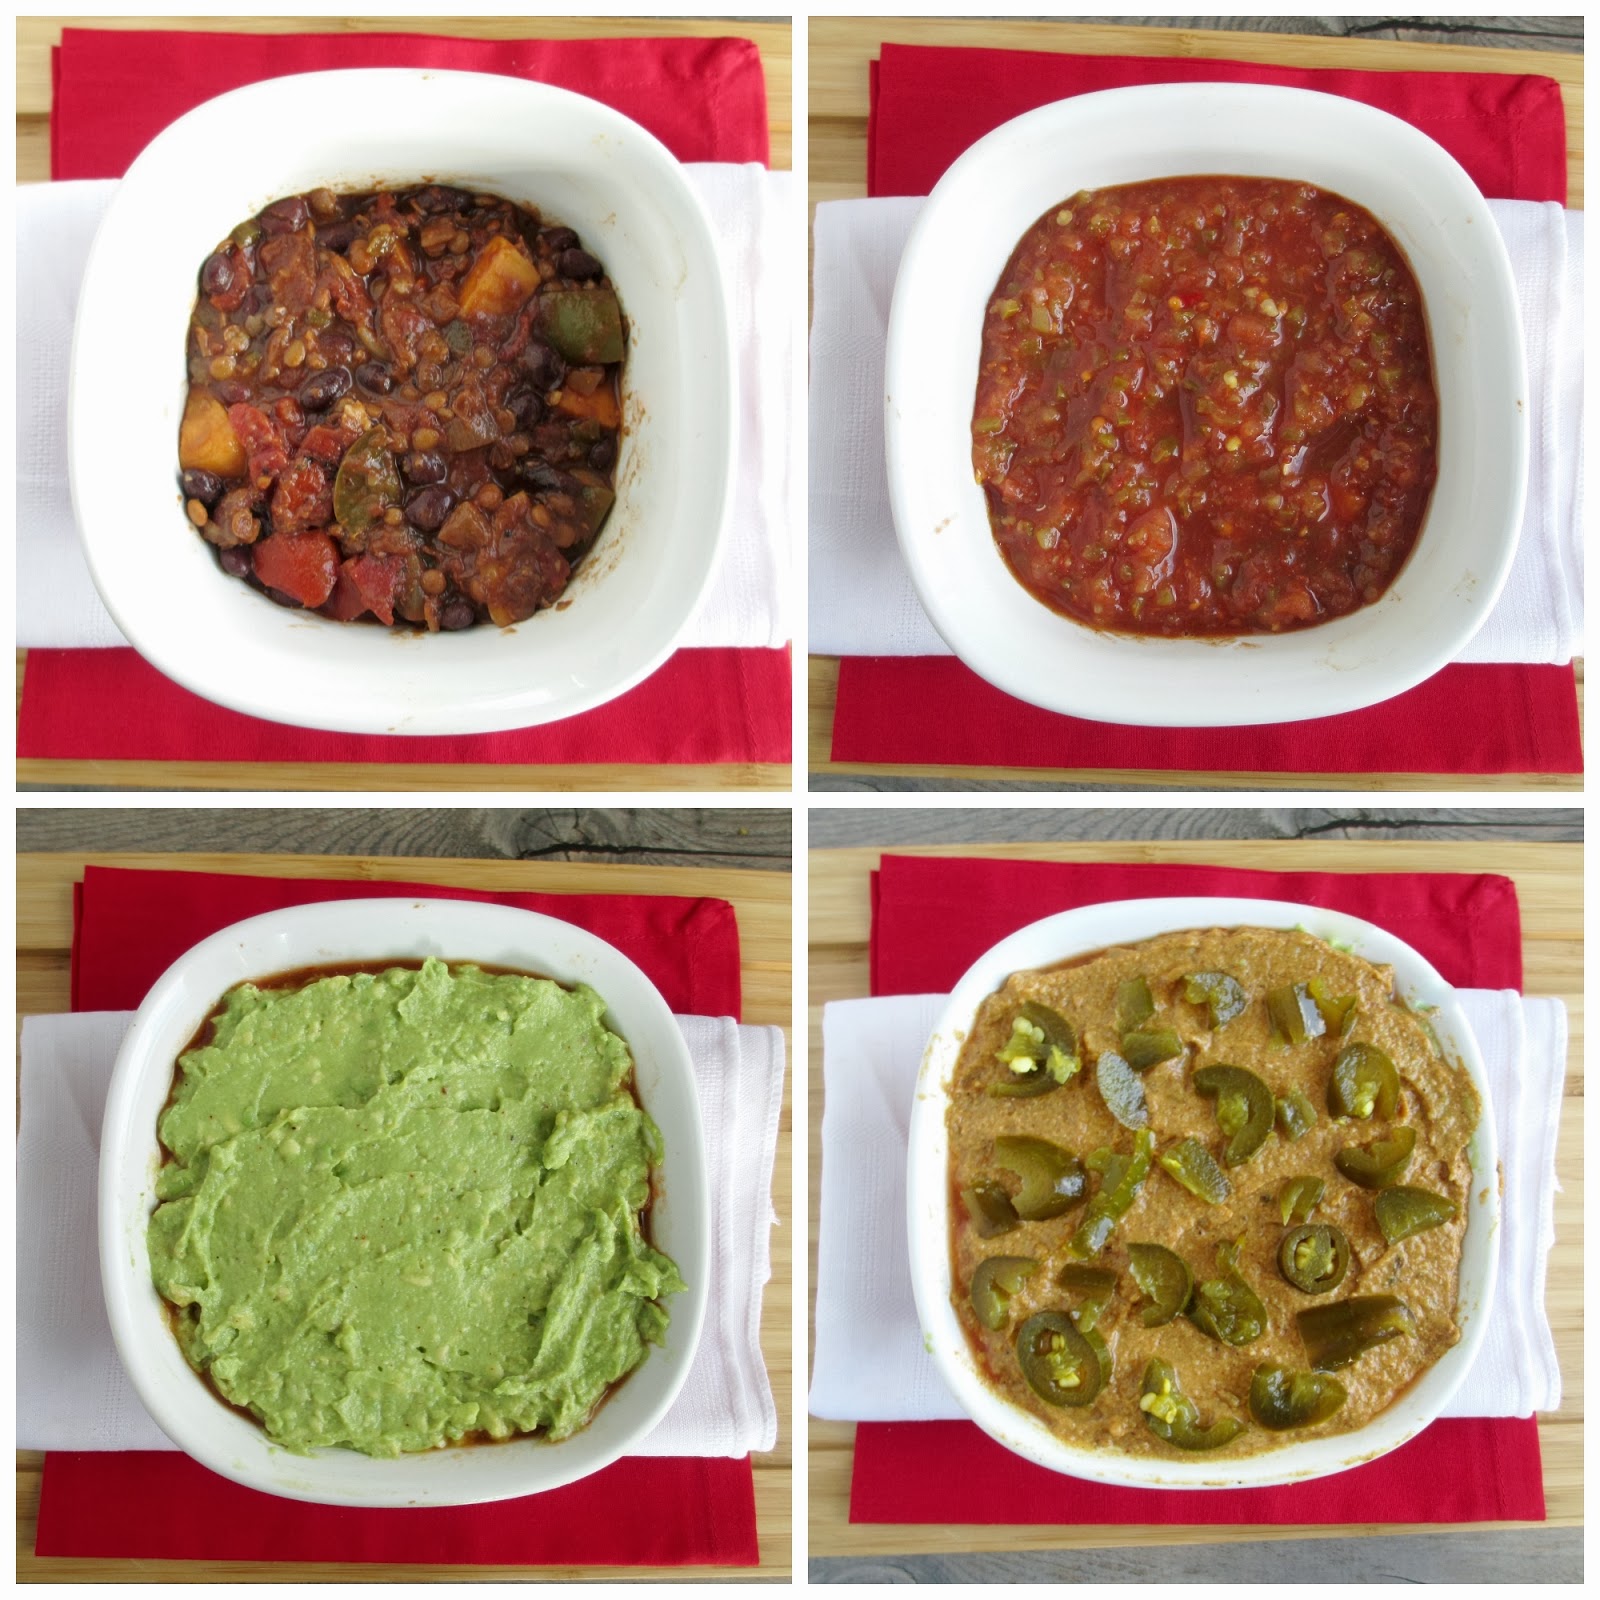
This year I tried a new spin on my usual layer dip by making a chili version inspired by a recipe in the Vegan Planet cookbook. This chili taco dip has four main layers: leftover vegetarian chili on the bottom, salsa, mashed avocado, and a vegan "cheese" sauce made with nutritional yeast instead of regular shredded cheese, plus some pickled jalapenos as an extra topping. 

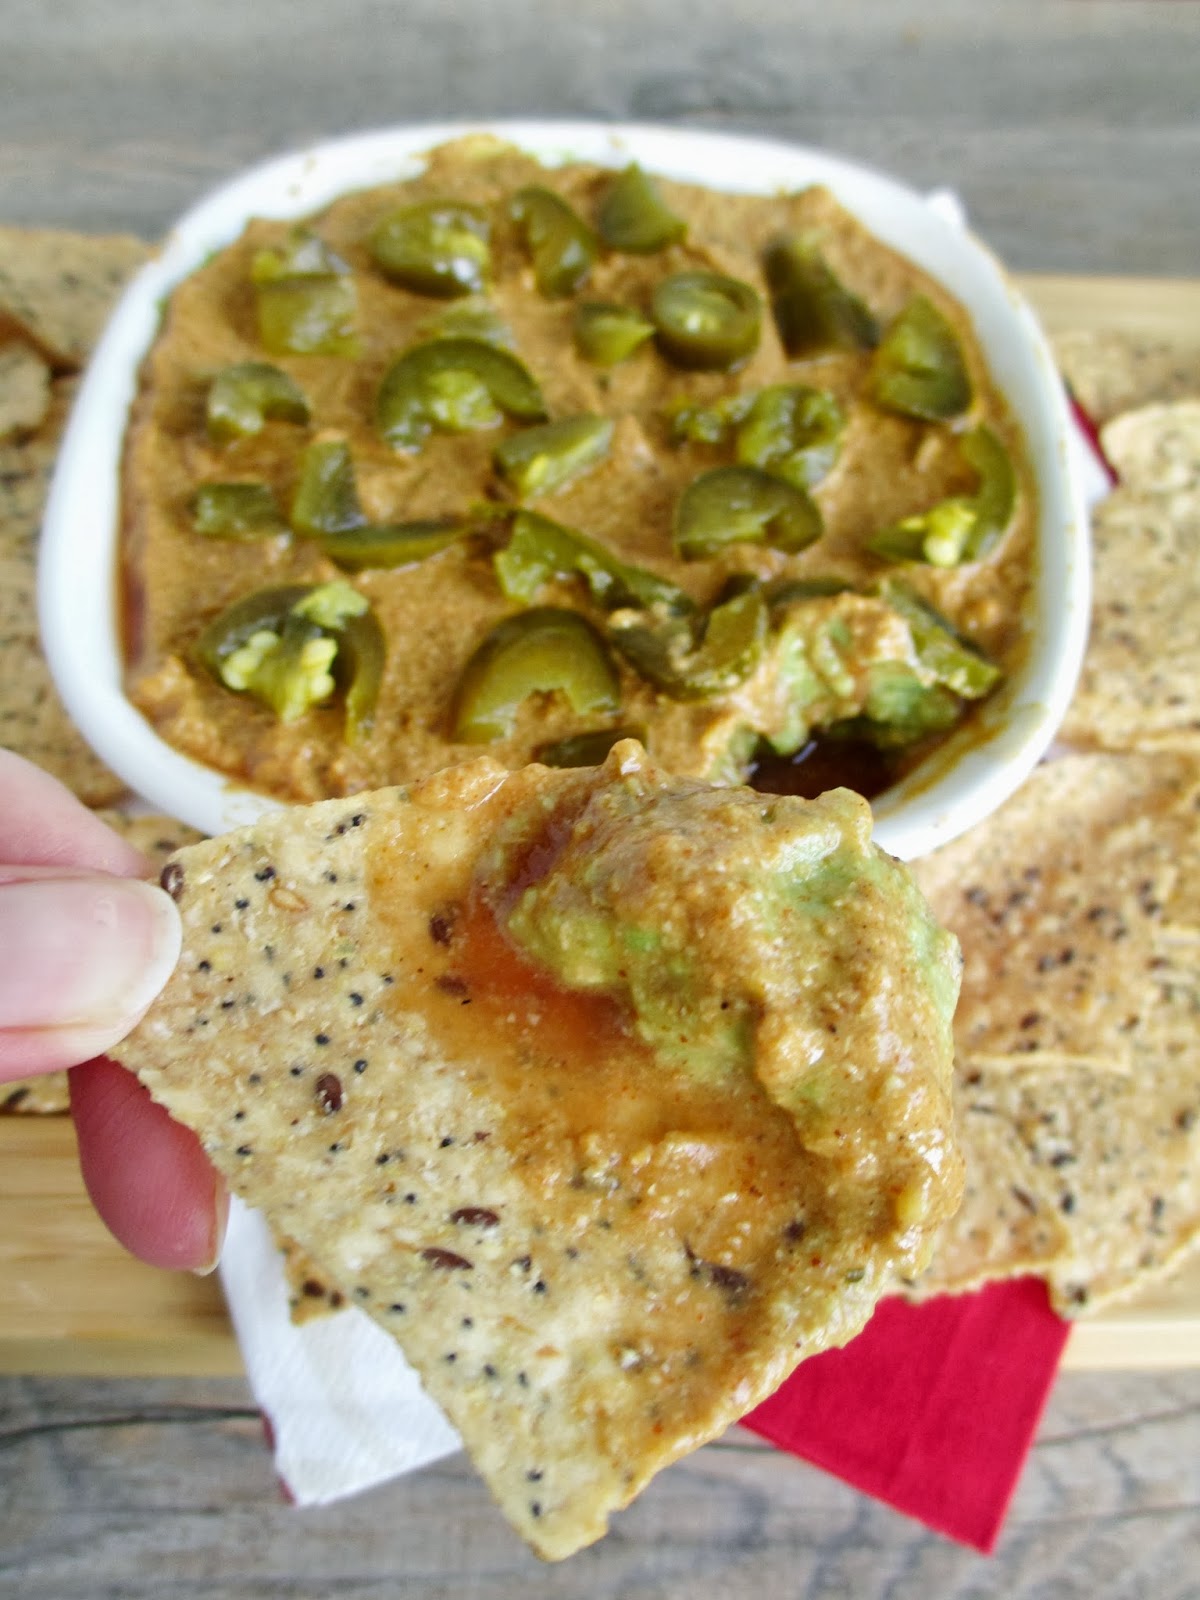
If you can manage to get your chip through all the layers at once, you get the perfect combination of flavours and textures - chunky beans and veggies, smooth salsa, creamy avocado and cheese sauce. There's a bit of spice in each layer too, from the chili to the kick of the jalapenos, but I found it to be just the right amount of heat!

This is a pretty easy dish to whip up if you've got leftover chili already sitting in the fridge, like I did from this veggie black bean and lentil chili recipe. Then all you need to do is mash an avocado, make the cheese sauce (which really only takes a few minutes), and then the fun part - putting all the layers together!

If you're watching the Super Bowl this weekend, what do you plan on making? Last year I contributed baked pickle chips, buffalo cauliflower wings, and monkey bread to our game day menu but I haven't decided what I'll be having yet this year (besides layer dip of course!). If you're looking for more ideas, feel free to check out all of my other Super Bowl recipes!

Vegan Taco Chili Layer Dip
Adapted from Vegan Planet

1 cup vegetarian chili
1/2 cup salsa
1 ripe avocado
1/2 tbsp lime juice
1/4 tsp salt
Ground pepper
Dash of taco seasoning
1 recipe nacho cheese sauce (recipe below)
Handful of pickled sliced jalapenos, chopped


Place the chili in the bottom of a small dish (I used a 20 oz, 5" square ceramic dish). Note: if there is liquid in your chili, try to drain it out first so that your dip doesn’t get too runny. Reheat the chili in the microwave until it reaches room temperature.

Next, layer the salsa over the chili, spreading it out into an even layer with a small spatula.

Scoop out the insides of the avocado (remove the pit) into a bowl and mash until it is fairly smooth. Add the lime juice, salt, some freshly ground pepper, and a dash or two of taco seasoning. Stir to mix. Spread the avocado mixture over the salsa layer.

Spread the nacho cheese sauce evenly over the avocado layer. Finally, sprinkle some jalapeno slices over the top (use as much or as little as you like). Serve immediately, or cover and store in the fridge. Bring to room temperature (or reheat slightly) before serving.

Serves 2-4 (depending on how hungry you are!)


Nacho "Cheese" Sauce

1 tbsp chickpea flour
1/4 cup nutritional yeast flakes
1 tsp tex-mex or taco seasoning
1/4 tsp smoked paprika
Pinch of salt
1/4 cup + 2 tbsp almond milk


Heat a small saucepan over medium heat. Add chickpea flour and toast, stirring often, for 2-3 minutes. Stir in nutritional yeast and spices. Add almond milk and reduce heat to medium-low. Stir constantly for a few minutes, until mixture has thickened. Remove from heat and transfer to a bowl to cool.

Makes about 1/3 cup


September 17, 2013

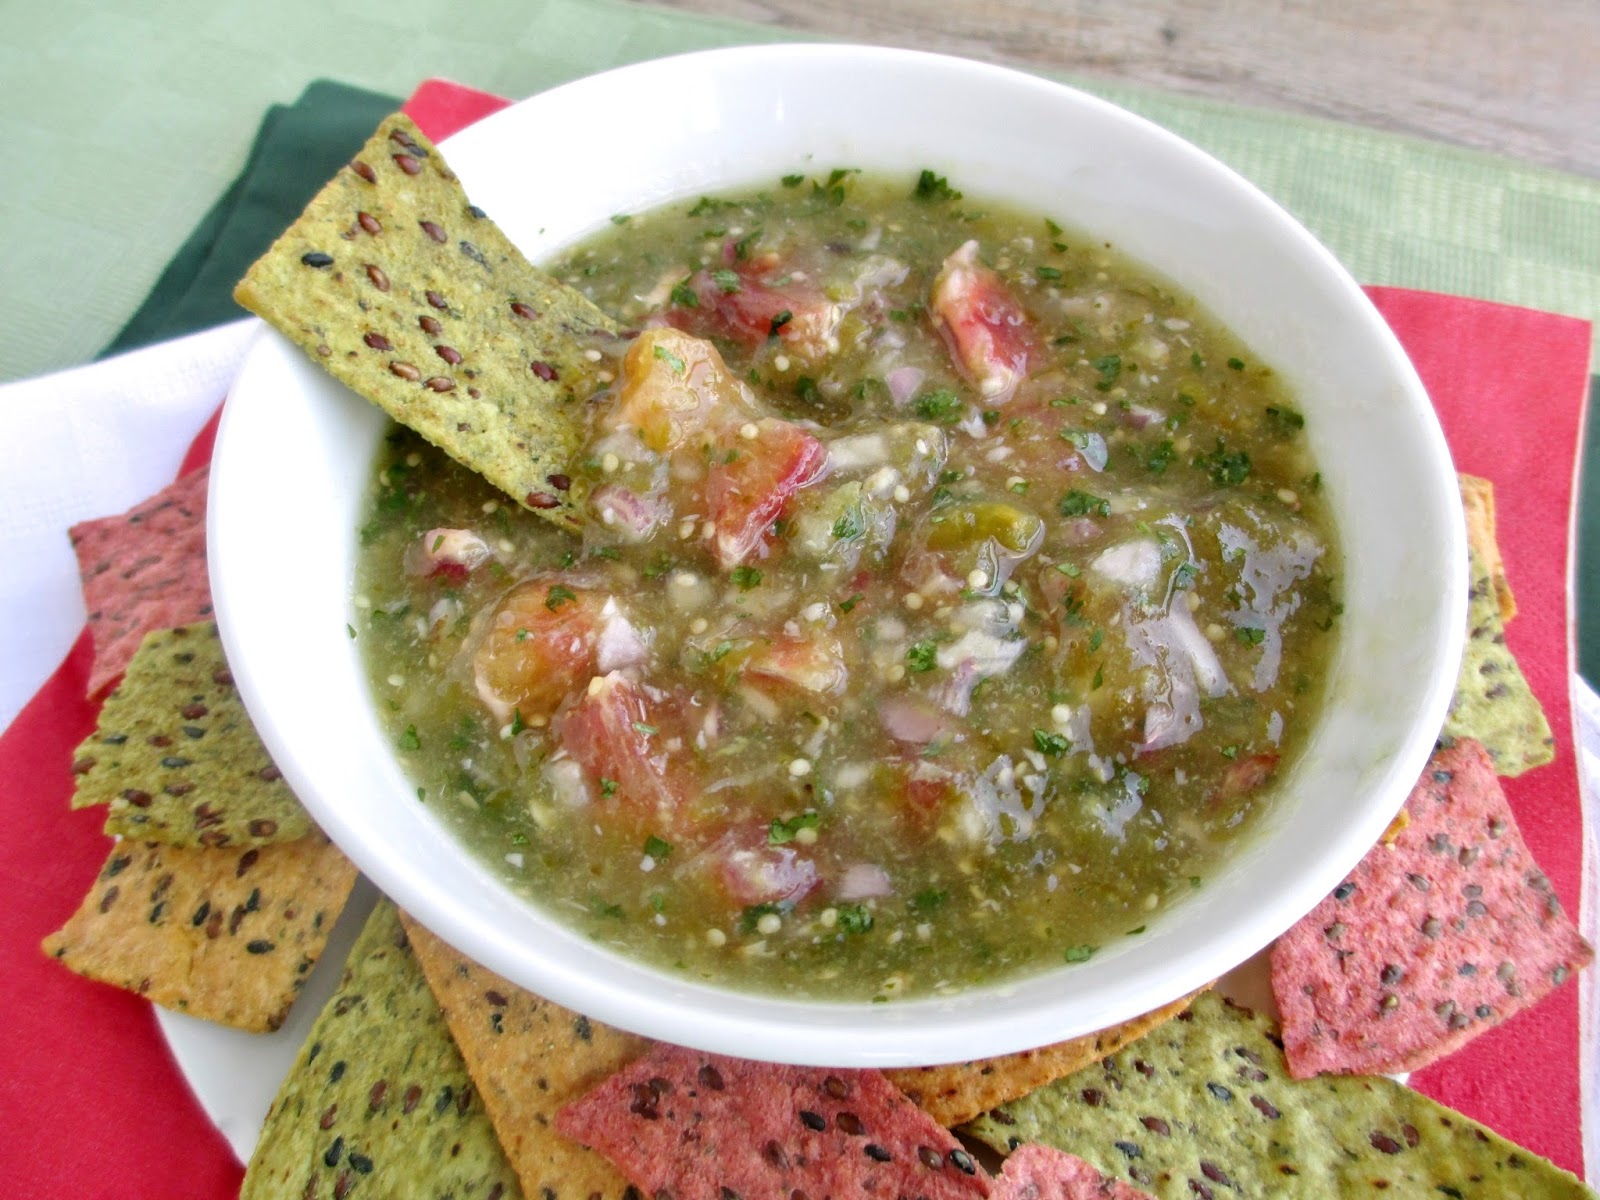
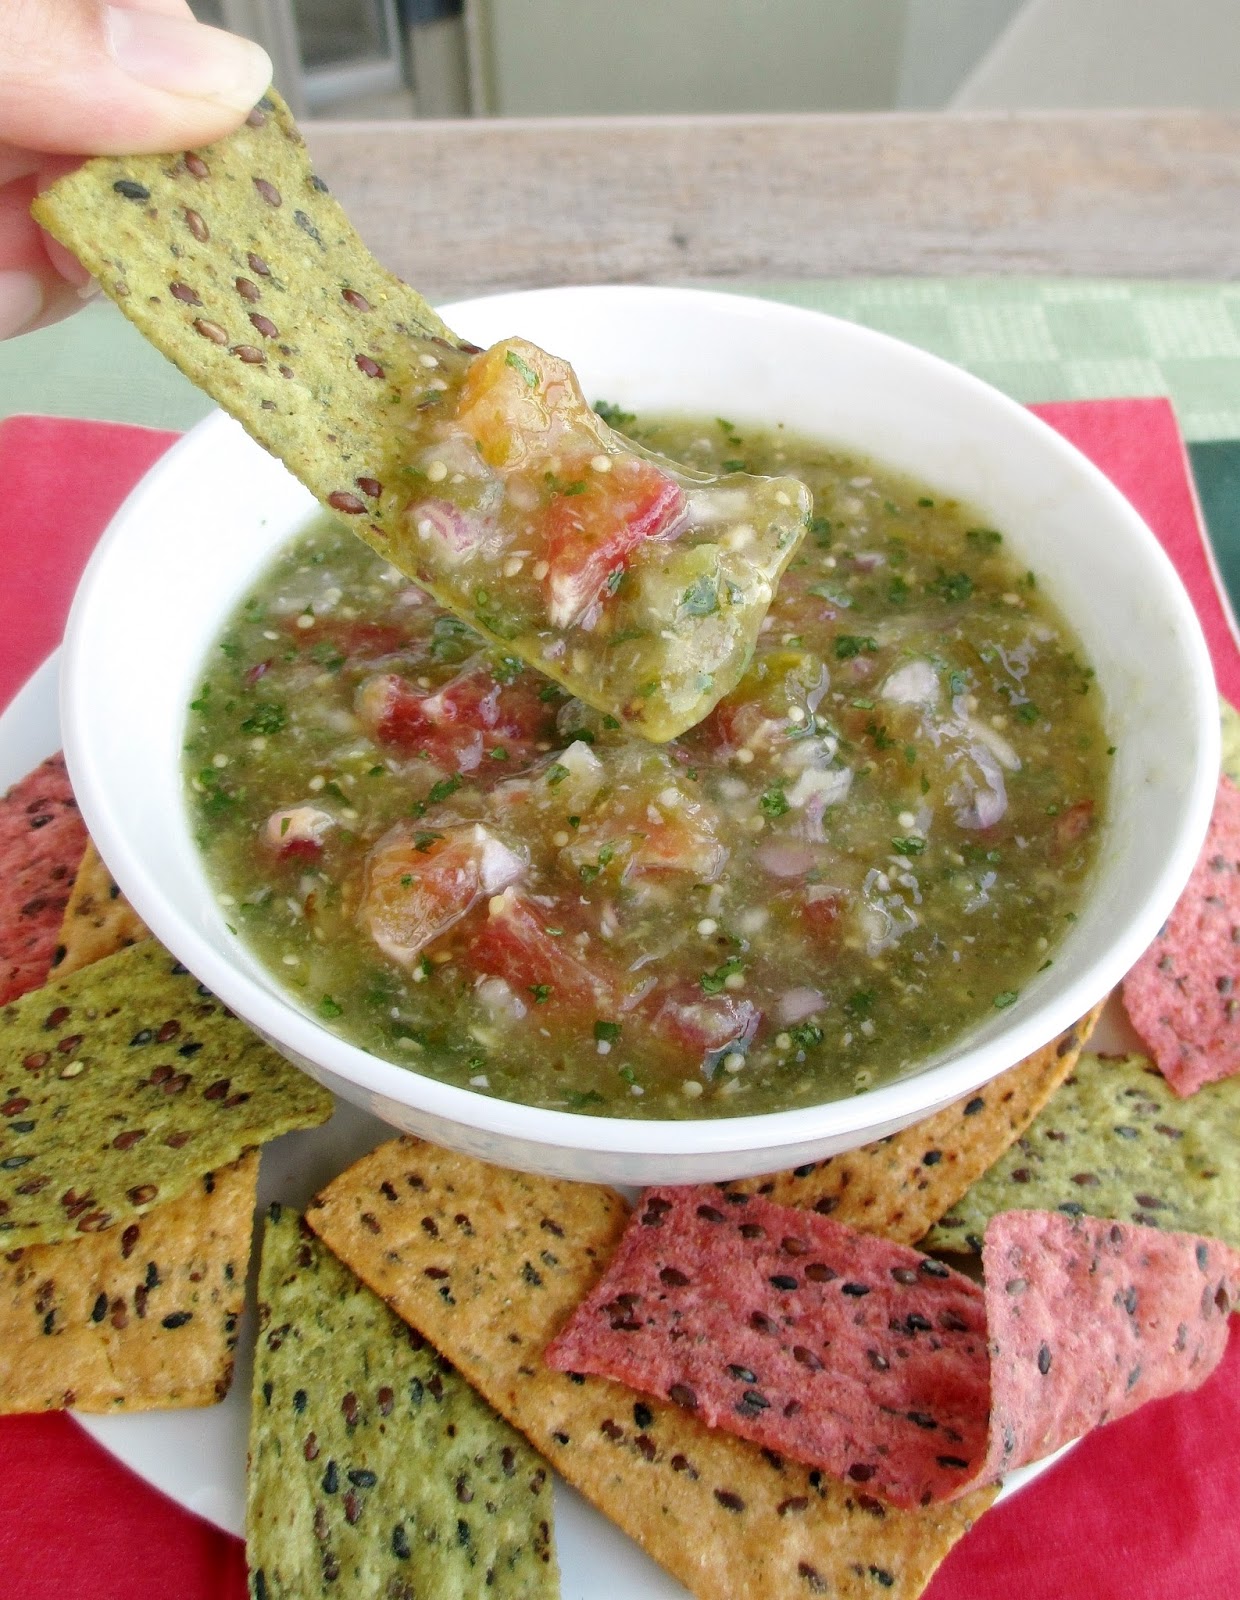
Tomatillo & Blood Orange Salsa


I always look forward to the end of summer because it means I can finally get fresh tomatoes that actually have some flavour, and when I visit my parents' place with their garden full of tomatoes, I try to eat as many tomato sandwiches as I can!

I feel like I somehow missed most of tomato season this year though, since I was out of the country for the end of August and again in the beginning of September.

So while I haven't been able to try out any new tomato recipes this year, I do have a recipe to share featuring a relative of the tomato: tomatillos!


If you've ever had salsa verde made from tomatillos before, then you know that tomatillos may look similar to tomatoes (other than their bright green colour of course), but they actually taste pretty different - rather than being juicy and sweet inside, tomatillos are firm and more tart. Once cooked, however, they soften and take on a deeper flavour with more sweetness.

When I picked up a bag of freshly picked tomatillos from the market a few weeks ago, I knew I wanted to make some kind of a salsa with them, so I looked up some recipes for inspiration and got right to work peeling their skins off and starting the broiler for a warm, smoky salsa.

I also threw in a jalapeno for some heat, but little did I know it happened to be a deathly hot jalapeno, and I could barely eat a teaspoon of the salsa without setting my whole mouth on fire!


Luckily I still had a few tomatillos left after that first failed attempt, so I tried again a couple of days later, and ended up with a nicely balanced salsa with a mix of sweet, tangy, and spicy dimensions.

After broiling the tomatillos and only half of a jalapeno this time, I blended everything up into a chunky puree and added some shallots, garlic, cilantro, and lime juice to go along with the Mexican notes. And since I love adding fruit to my salsas, I also added some chopped blood orange for a bit of sweetness. You could use a regular orange instead, like this recipe that inspired me to add a citrus fruit, but I liked the sweeter blood orange because the salsa was already tangy.

While I still love traditional tomato-based salsas, I also like trying out new flavours and ingredients when I make my own salsa, so this tomatillo and blood orange combination was definitely a different and tasty new version!


Tomatillo & Blood Orange Salsa
Inspired by this recipe on Serious Eats

3-4 tomatillos, skins removed
1/2 a jalapeno, seeds removed (Note: my jalapeno was very spicy, so I used less than half. Use up to a whole one if yours is a mild jalapeno)
1 large clove garlic, peeled
1 small shallot (or half a large shallot), minced
2 tbsp cilantro
1 tbsp fresh lime juice
1 tsp agave or other sweetener
1/4 tsp salt
1 blood orange


Preheat oven to broil.

Place tomatillos, jalapeno, and garlic on a foil-line baking sheet and broil for about 10 minutes, turning once or twice, until the everything is softened and browned (I left my tomatillos in for a couple minutes longer, 12-13 minutes). Remove from oven and transfer everything directly to a food processor. Process until everything is broken down (it’s okay if it’s still a bit chunky).

Meanwhile, soak the minced shallot in a small bowl filled with cold water (this will help remove some of the bite of the raw shallot).

Add the cilantro, lime juice, agave, and salt to the food processor and process to mix. Drain the shallot and add that to the bowl as well. Pulse briefly to mix. Transfer salsa to a bowl.

Peel the orange, or remove the skin with a knife (I used the knife method). Separate the segments, and cut into small pieces. Stir the diced orange into the salsa.

Serve warm, or let sit in the refrigerator for about an hour to chill.


July 19, 2013

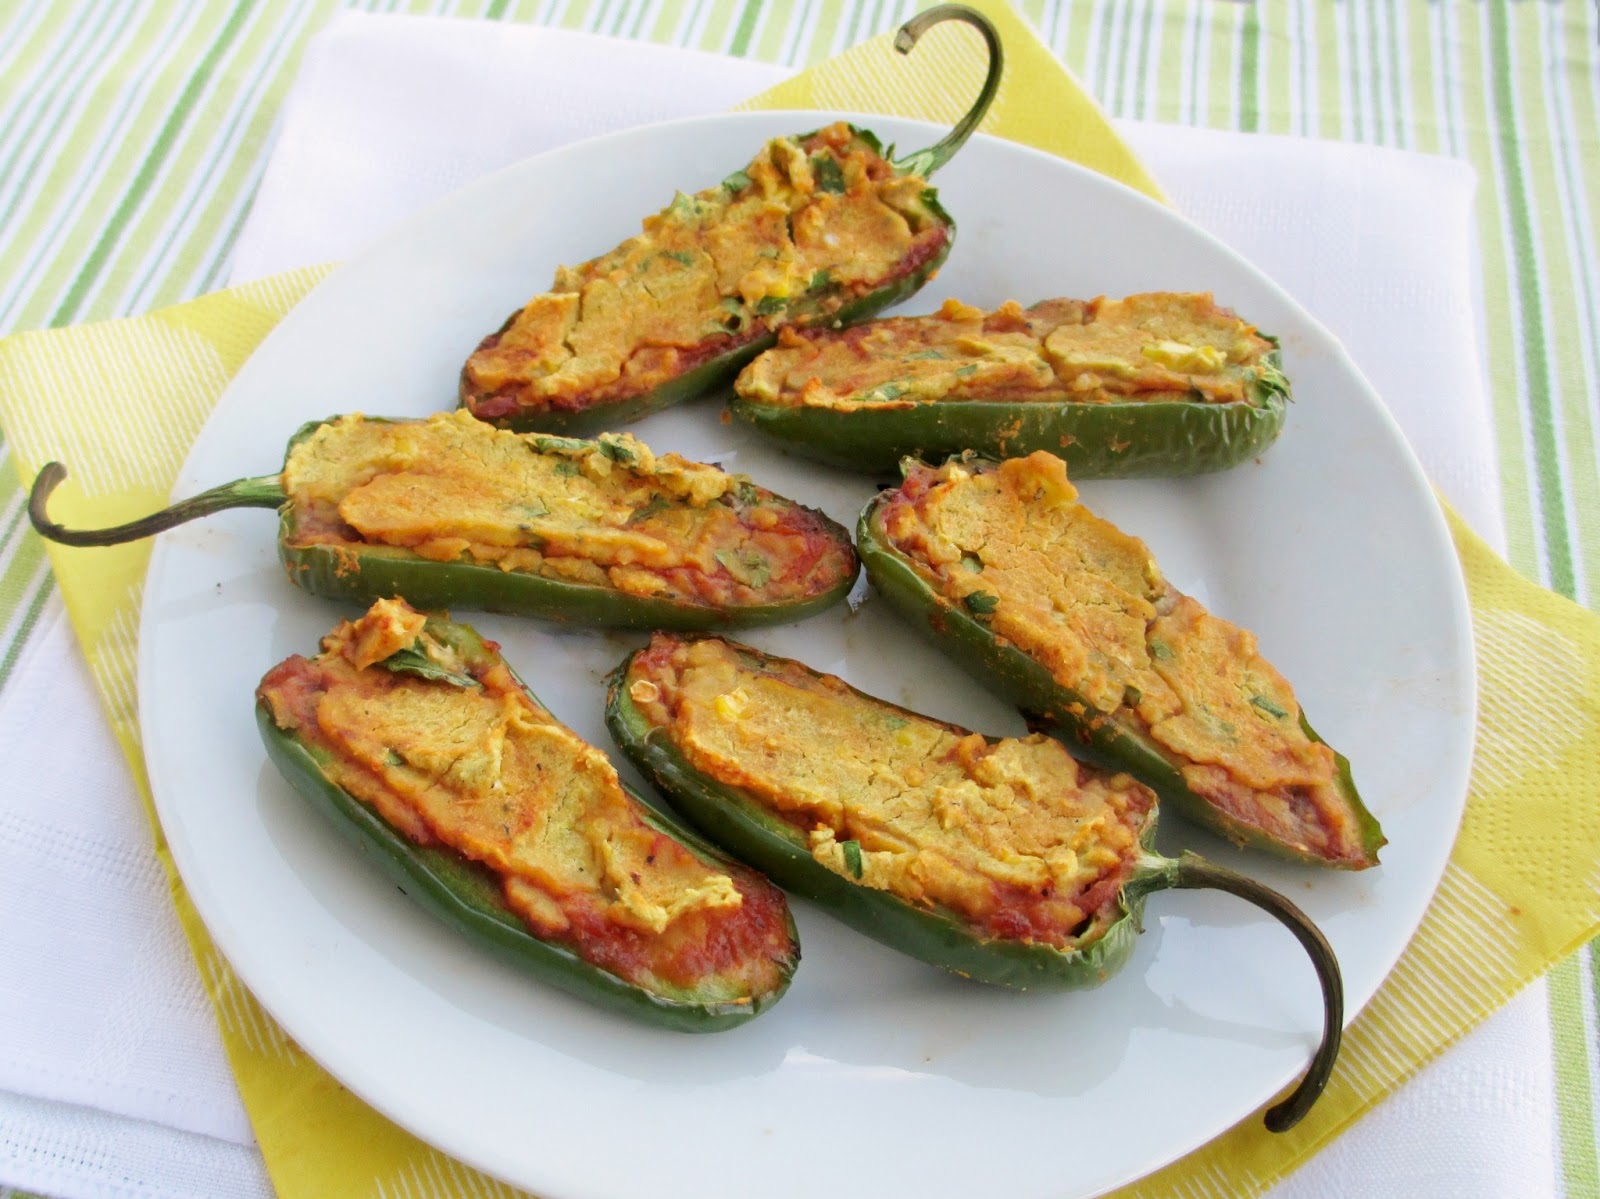
Hummus & Salsa Stuffed Jalapenos


Another Friday has arrived and another start to a hot summer weekend with lots of outdoor festivals to enjoy!

This weekend there are two festivals that I plan on going to - one is the annual craft beer and rib festival (which I only go to so that I can try out some new drinks since I'm obviously not interested in the ribs!) and the other is the jazz festival, which I'm looking forward to checking out since it will be my first time going.

Since the food options at the festivals tend not to be very healthy or vegetarian-friendly, I still plan on cooking my own meals at home before heading out. That way, I don't have to worry about finding something I like to eat while I'm there, plus I can make the most of the summer produce that I plan on picking up from the farmer's market tomorrow morning!


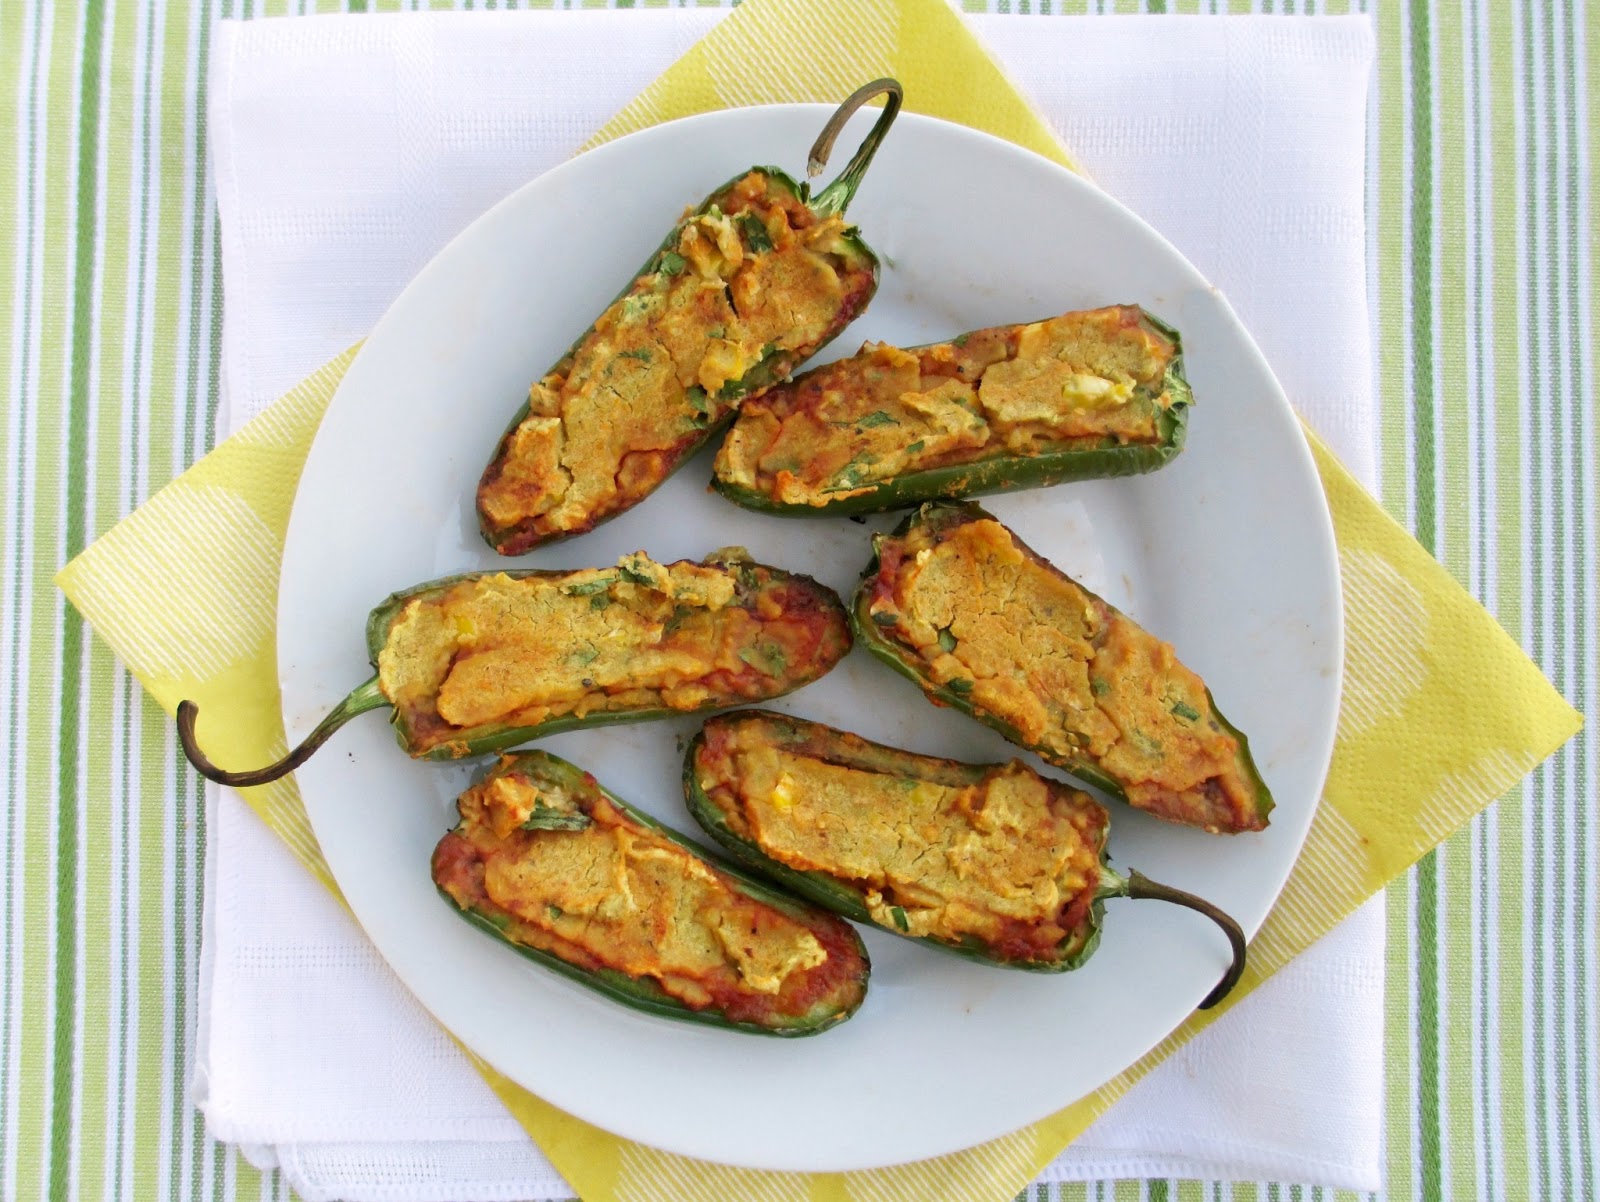
Last weekend, I came home from the market with a basket of gigantic jalapenos. Since I knew I wouldn't be able to use them all up quickly enough, I figured I would make a dish where whole jalapenos were the starring ingredient, which is how I came up with this idea for stuffed jalapenos!

My mom used to make a version of cheesy jalapeno poppers in the summer, and I always avoided them because I was afraid they would be too spicy for me.  Now that I'm much less afraid of spicy food, I'll happily indulge in a jalapeno popper and I'll laugh off the hiccups that result (hopefully I'm not the only one who gets hiccups from eating spicy food!).

For my new version of stuffed jalapenos, I wanted to come up with a vegan option for a filling that doesn't use tons of cheese.  I started wondering if hummus would work as a filling, and then I thought it would be even better to use a jalapeno flavoured hummus for even more heat!


My first attempt at stuffing hummus inside whole jalapenos didn't turn out so well - the jalapenos didn't soften enough and I found there wasn't enough filling for the amount of jalapeno. The next time, I sliced the jalapenos in half first so that I could over-stuff them with hummus, and I also decided to add a layer of salsa to the filling to cut down the richness of the filling a bit.

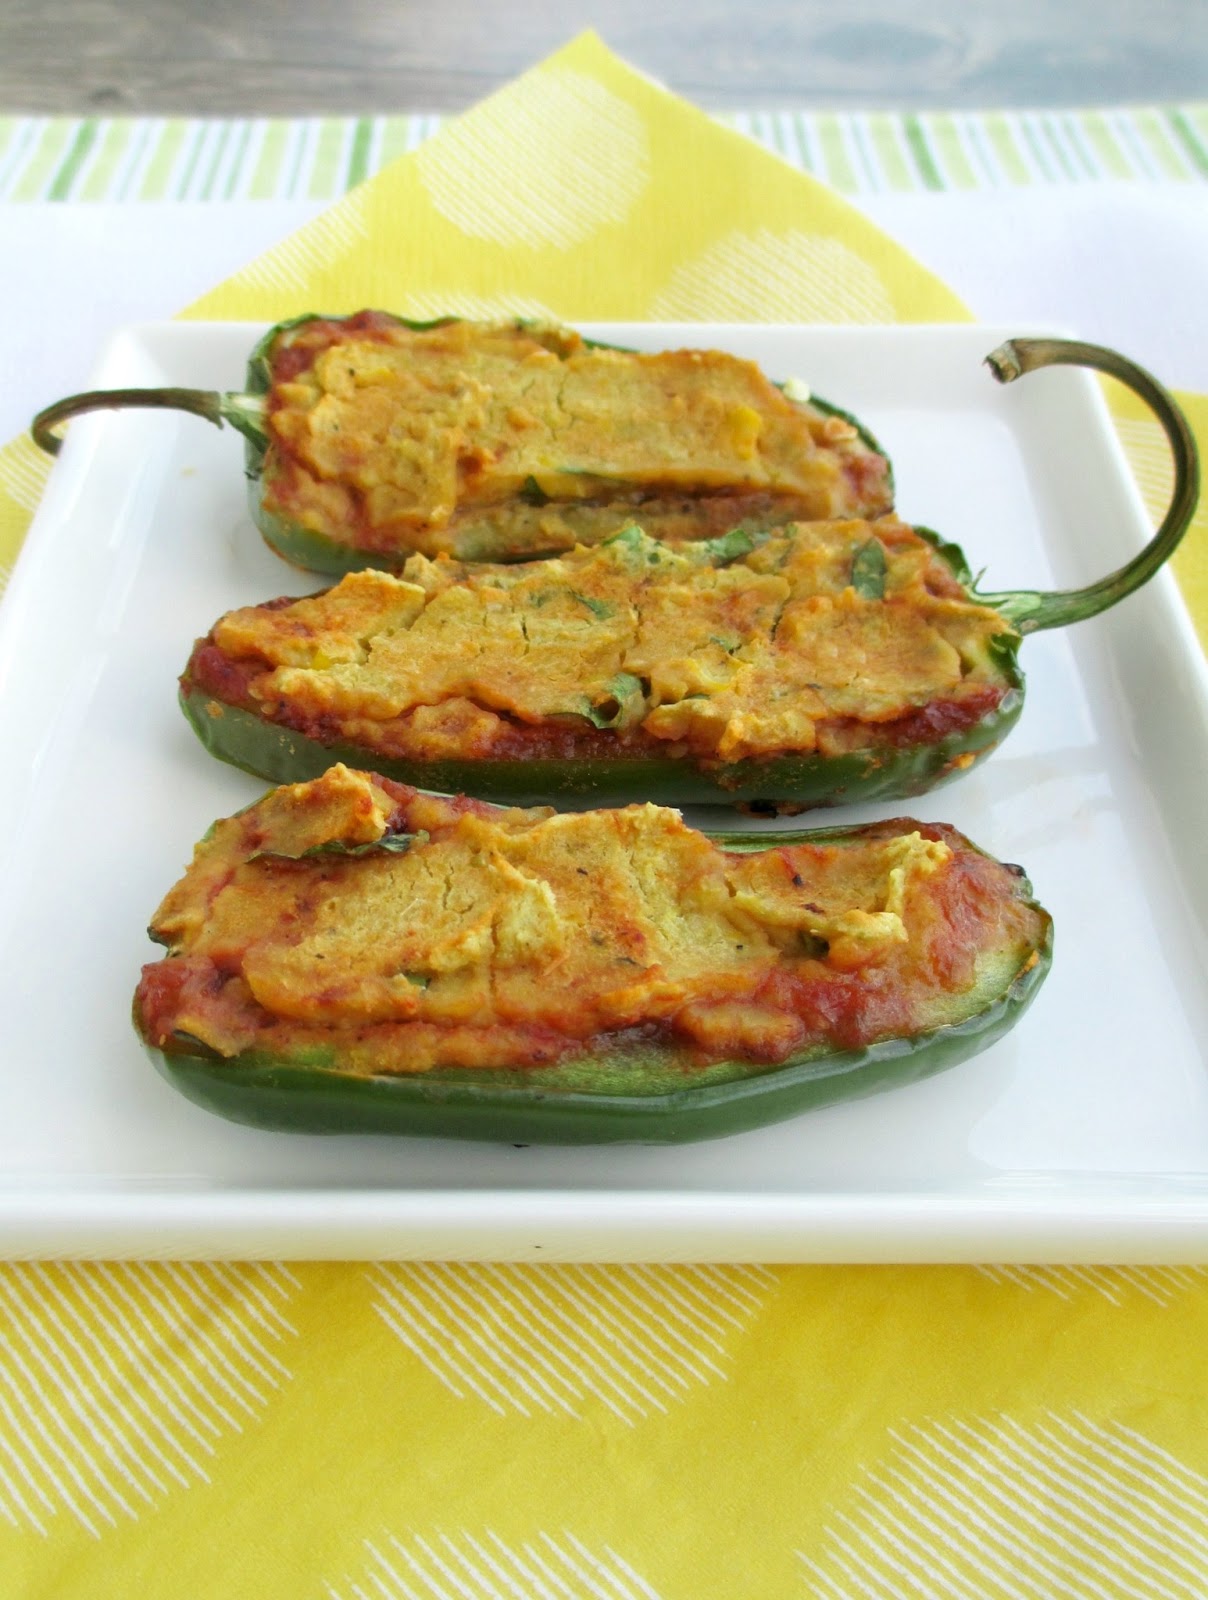
My second attempt turned out just how I wanted! The jalapenos were nice and soft and lightly charred, and I liked how the hummus formed a slightly hardened crust on top while staying soft and gooey underneath. I thought the corn-jalapeno hummus recipe from How Sweet It Is that I used was the perfect choice since it was full of flavour and I even added bits of corn kernels for a little texture.

This was definitely a hot and spicy dish from the combination of jalapenos, salsa, and jalapeno hummus. My mouth was on fire the whole time I was eating them (and for quite a while afterward), but I've heard that spicy food is the way to go when it's hot outside, so these would be the just the thing to make this weekend!


Hummus & Salsa Stuffed Jalapenos

4 large jalapenos
~3 tbsp of your favourite salsa
1 batch corn-jalapeno hummus* (can substitute another type of hummus if desired)
2 tbsp chopped fresh cilantro

*For the hummus recipe, I used one whole cob of corn. After cooking the corn, I measured out half a cup to puree in the hummus, and stirred in the remaining kernels.


Preheat oven to 375°F.

Slice jalapenos in half lengthwise. Carefully remove the inner stem and seeds with a knife so that you are left with eight hollow shell halves. Place on a baking sheet, hollow side facing up.

Measure about ½ cup of the hummus and stir in the chopped cilantro (save the remaining hummus to eat later). Spoon about 1 tsp of salsa into each jalapeno half.  Top with a spoonful of the hummus mixture, spreading it with a spoon to evenly cover the whole surface of the jalapeno. Add enough hummus so that it is slightly heaping over the jalapeno (you may not need to use the whole ½ cup of hummus, depending on how big your jalapenos are and how much filling you want to have in each one).

Bake in the preheated oven for 20-25 minutes, until the jalapenos are softened and browned on the bottom, and the hummus is slightly hardened and browned on top. Remove and let cool slightly.

Serve warm.

Makes 2-4 servings (8 jalapeno halves).

January 29, 2013

Layered Sweet Potato Dip


With the Super Bowl coming up this weekend, I've been thinking about snacks that I could make to eat while watching the game. I'm not a big football fan by any means, but watching the Super Bowl is a tradition for me, and along with watching comes eating a meal of football food!

My traditional Super Bowl snack is usually a dip to eat with tortilla chips.  In the past, I've made an Indian inspired layer dip, my favourite plantain guacamole, and the standard layer dip that usually includes shredded cheese, sour cream, guacamole and salsa.

This year, I wanted to change things up a bit, and I found the perfect inspiration from Two Saucy Sisters blog, who put a unique spin on layer dip by adding a layer of mashed sweet potato.  I loved this idea, but I thought the sweet potato on its own might be a bit plain, so I decided to make a sweet potato hummus to use as one of the layers instead.


The sweet potato hummus came out super thick and creamy and was spiced up a bit with flavourful ingredients like garlic, lemon juice, and notes of cumin, cayenne and smoked paprika. And that's just one layer of this dip!

In addition to the hummus, you add a layer of mashed avocado with lime juice, then some salsa, and finally you top it off with plain yogurt. You can also add a sprinkle of chopped cilantro and a drizzle of sriracha sauce to give the dip even more of a kick.

This is actually really easy to put together, especially if you make the sweet potato layer ahead of time.  I loved how creamy the dip was and the way the layers mixed together when you dug in.  I think a great layer dip is one where each component tastes great on its own, but they come together to make something that tastes even better, and this dip definitely does that!

You can serve this in one larger dish for easier sharing, or divide it up into small cups to make fun individual dip portions, like I did. Just dig your spoon all the way to the bottom to get a bit of everything, and spread onto a tortilla chip - or just enjoy straight from the spoon!

If you're watching the game this Sunday, I hope you have fun cheering on your favourite team and of course cooking and eating lots of good food!  Also, I've set up a new Superbowl tag for some of the recipes on here that I think would make good Super Bowl food (like quesadillas, salsa, dips and fries), so feel free to check that out for more ideas!


Layered Sweet Potato Dip
Adapted from Two Saucy Sisters

*Note: I didn’t include specific amounts here – just use as much of each as you like, as long as you include approximately equal amounts of all four main components (sweet potato hummus, avocado mash, salsa, and plain yogurt or sour cream).

Sweet potato hummus (recipe below)
1 ripe avocado
1 tbsp lime juice
Salt and pepper
Taco seasoning (optional)
Prepared salsa (I used a mango salsa)
Plain yogurt (can substitute sour cream)
Fresh cilantro (optional)
Sriracha (optional)

First, make the sweet potato hummus (see instructions below). 

Next, make the avocado layer: Chop the avocado and place in a bowl. Give it a rough mash, then add the lime juice. Season with as much salt and pepper as you like, and sprinkle with taco seasoning. Continue mashing until smooth.

To serve in individual sized cups: Start by placing a large spoonful of the hummus in the bottom of each cup. Next, add an equal amount of the avocado mash. Top with as much salsa as you like. Finally, add a spoonful or two of plain yogurt or sour cream (Note: I added one more spoonful after taking these photos). Garnish with chopped fresh cilantro and a drizzle of sriracha if desired.

To serve in one container: Layer ingredients in the same order, spreading each one out to fill the container.

Serve with tortilla chips and spoons for scooping.


Makes enough for 4 individual sized cups. You will have lots of sweet potato hummus left over, so if you want to make more cups, just double the amounts for the avocado layer and use more salsa and yogurt.


Sweet Potato Hummus
1/2 lb sweet potato, peeled and cut into chunks
1 cup canned chickpeas, drained and rinsed
1 clove garlic, peeled and chopped
1.5 tbsp tahini
1.5 tbsp fresh lemon juice
1 tbsp olive oil
1/2 tsp cumin
1/4 tsp cayenne
1/4 tsp smoked paprika
1/8 tsp salt

Place sweet potato chunks in a steamer basket and steam, covered, until tender (about 10 minutes). Remove from heat but keep the cooking liquid aside.

Place cooked sweet potato and all remaining ingredients in a food processor and puree until smooth. If the mixture is too thick, add some of the cooking liquid from the sweet potatoes to thin it out (I added 1 tbsp). Taste and add more seasoning if desired.

Transfer hummus to a bowl and keep refrigerated.


LinkWithin

Related Posts Plugin for WordPress, Blogger...