Showing posts with label cheese. Show all posts

June 11, 2014

Rhubarb, Brie & Arugula Quesadillas


Every year around this time, I go a little overboard trying to come up different ways of using rhubarb, whether its in savory dishes, baked goods, sauces and condiments, or desserts (check out last year's roundup of rhubarb recipes!). Rhubarb is probably one of my favourite ingredients, and since it's only available for a short time every year, I try to make the most of it!

This year so far, I've made curried lentils with rhubarb chutney, a sweet rhubarb compote, strawberry-rhubarb scones, and these quesadillas!

I was inspired by a recipe for honeyed rhubarb and brie paninis that I saw on The Miniature Moose blog. I thought the combination of rhubarb with creamy brie cheese sounded like the perfect idea for a sandwich, but then I thought of turning it into quesadillas instead.


I kept the ingredients pretty simple, so all you need is what you see above - tortillas, brie cheese, a rhubarb mixture that you make by cooking down rhubarb with some maple syrup on the stovetop, and some arugula to add a bit more substance to the filling and a bit of bite to cut down on the sweetness.

I was trying to come up with something else to make these extra special, like another ingredient for the filling, or some kind of salsa to serve them with, but it turned out that nothing else was needed - these were simple but perfect that way!


I loved the combination of the slightly melted creamy brie with the tart rhubarb sauce. These were nice and soft quesadillas - the kind you can pick up and fold over like a pizza slice without anything falling out!

I did have a bit of leftover rhubarb filling that I spooned on top of some of the quesadillas which worked well as a "salsa", but I liked them just as much plain too.

Hopefully I'll have more rhubarb recipes to share with you before it's all gone!


Rhubarb, Brie & Arugula Quesadillas
Inspired by The Miniature Moose
*Note: these are approximate amounts - use as much cheese and arugula as you like, and make however many quesadillas as you can with the amount of rhubarb sauce!

2 cups diced rhubarb
2 tbsp water
1.5 tbsp pure maple syrup
~4 whole wheat tortillas
Brie cheese, sliced
arugula


Place rhubarb, water, and maple syrup in a saucepan and bring to a simmer on medium heat. Once simmering, cover and reduce heat to medium low. Continue to simmer for 5-8 minutes, stirring occasionally, until rhubarb has broken down and the mixture has thickened. Remove from heat and let cool. Strain out any remaining liquid if desired.

Heat two large skillets on medium heat and spray with cooking spray. Lay out tortillas and place slices of brie cheese on one half of each tortilla. Top cheese with a 2-3 tablespoons of the rhubarb mixture per tortilla (I just estimated how much to put on). Place a large handful of arugula on top, then fold each tortilla in half. Place two tortillas in each skillet and cook for about 2-3 minutes, pressing down lightly with a spatula, until lightly browned. Carefully flip and cook the other side for another 2-3 minutes. Remove from heat and cut each tortilla in half for smaller wedges.

Serve warm. Feel free to top with additional rhubarb sauce if you have any leftover.

Serves 2-3.

September 26, 2013

Mini Paneer Tikka Skewers


After my brief trip to New Delhi a couple of weeks ago, I was re-inspired to make another Indian recipe, since it's been a while since I've cooked Indian food for myself!

I know Indian cuisine has a reputation for being overly complicated and difficult to cook, but as long as you have a few key spices, you can make simplified versions of classic Indian dishes, like these miniature bites inspired by paneer tikka!

Paneer tikka is a vegetarian alternative to the popular dish of chicken tikka, and is basically just cubes of paneer cheese marinated in a creamy spiced sauce and grilled on a skewer with vegetables like onion and peppers.


For my version, I kept things pretty simple by making an easy marinade for the paneer out of yogurt and spices and cooking everything on the stovetop, since I don't have an authentic tandoor oven!

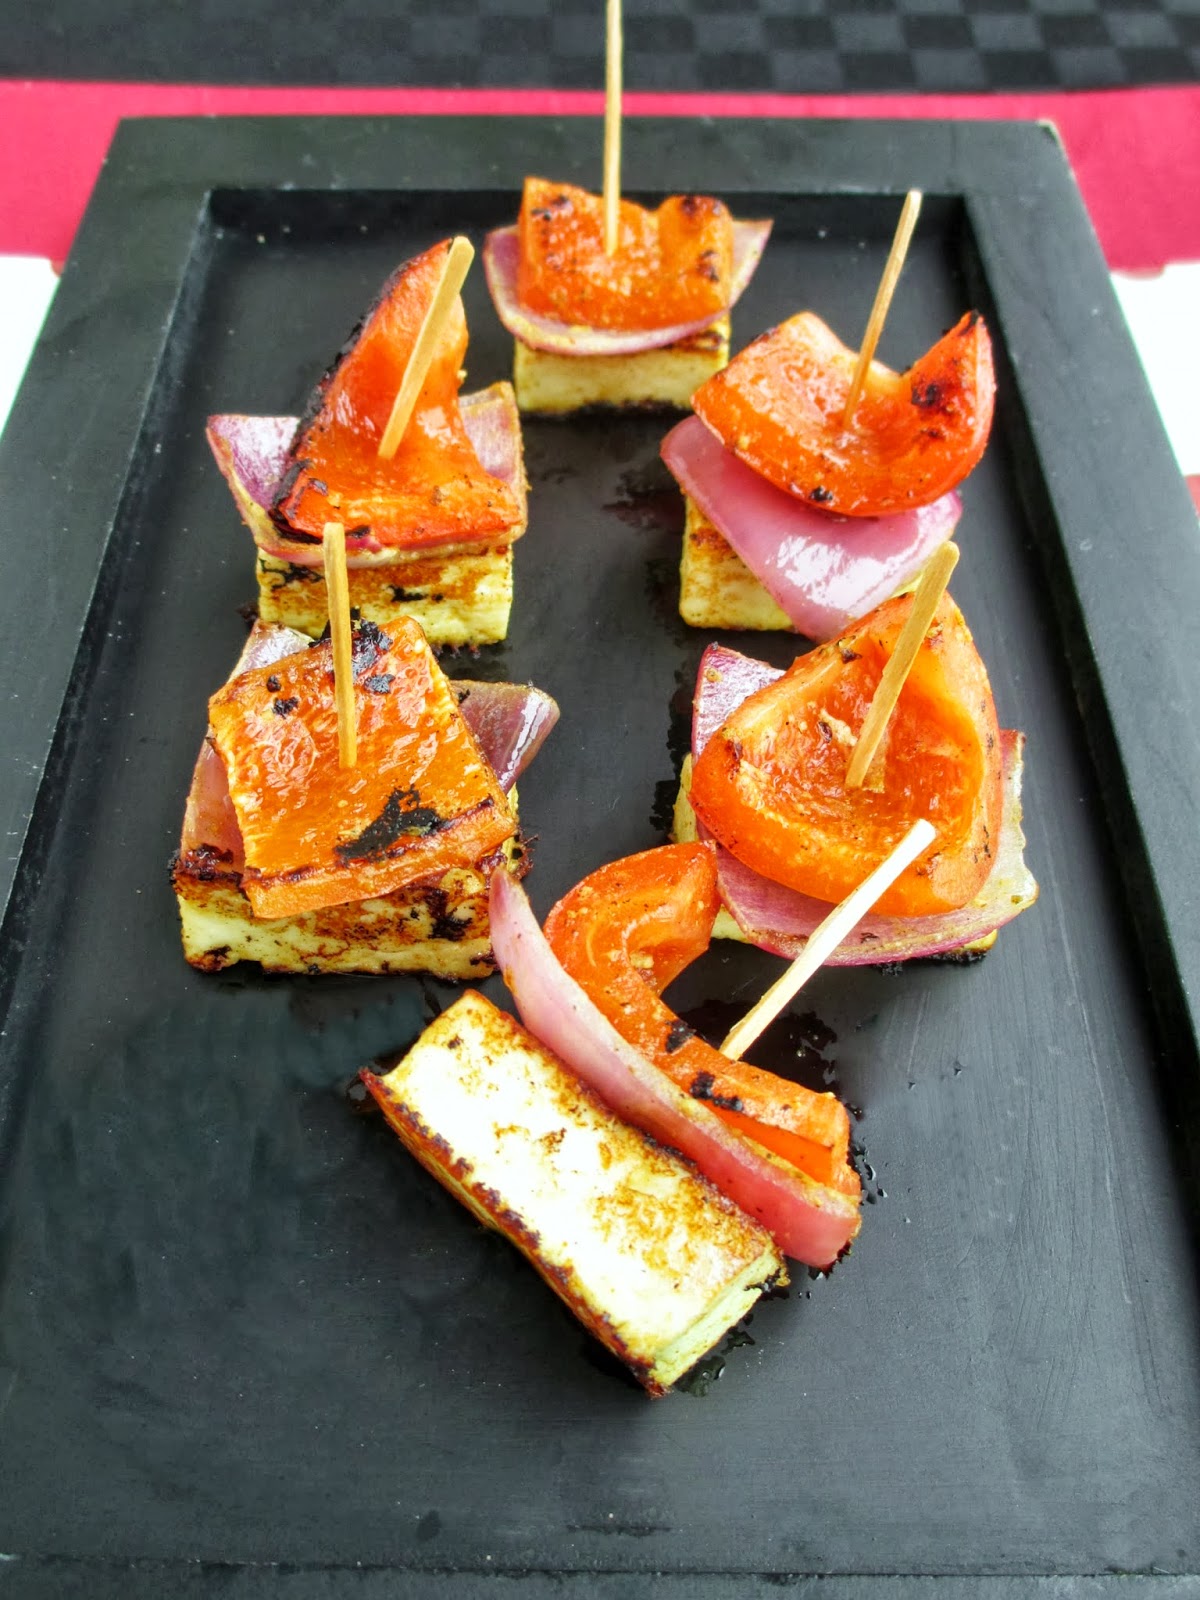
Once you've browned the paneer and cooked the pepper and onion, you just have to assemble one piece of each item and stick a toothpick through them to make these cute miniature skewer bites!

While these may not be perfectly authentic, I think they're a fun idea to serve as an appetizer at a party if you're looking for something new and different to bring. I brought these to a party last week and they all got eaten up, even though they were cold by the time I served them. They aren't too spicy so they're a good option to serve a crowd of people who have different levels of spice tolerance, although you could serve them with a bowl of spicy cilantro chutney for people who want an extra flavour kick!


Mini Paneer Tikka Skewers
Adapted from The Spice Tailor and Sanjeev Kapoor

1 (350g) package paneer cheese
1 cup plain yogurt
2 tbsp fresh lemon juice
2 cloves garlic, minced
1 tbsp minced fresh ginger or 1 tsp ground ginger (I used ground)
1 tsp garam masala
1 tsp cumin
1/2 tsp red chilli powder (the Indian spice, not the Mexican one)
1/4 tsp turmeric
Dash of salt (to taste)
1 tbsp chickpea flour (gram flour)
1 red or green pepper
1 medium red onion
1-2 tbsp olive oil
chaat masala (optional, if you have some)


Slice the paneer in half horizontally so that you get two bricks the same size as the original. Slice each brick into equal sized cubes (about 12 pieces per brick).

In a bowl or blender, mix the yogurt, lemon juice, garlic, ginger, spices, and chickpea flour until smooth. Pour some of the mixture into a shallow baking dish or a large ziplock bag. Add the paneer cubes, then pour on the rest of the liquid mixture. Let the paneer marinate in the fridge for at least 30 minutes.

Slice the pepper and onion into about 1” square pieces (you want approximately equal sized vegetables, and they should be about the same size as your paneer cubes).

Heat 1 tbsp oil in a large skillet on medium heat. Remove the paneer cubes from the marinade and add them to the pan. Let cook for about 2-3 minutes, then flip over and cook the other side, until all sides are lightly browned. Remove paneer cubes from pan and let sit.

Meanwhile, toss the pepper and onion pieces in the leftover marinade while the paneer is cooking. Once the paneer is done, add another tbsp of oil to the pan (or spray with cooking spray) and add the vegetables. Cook for about 8-10 minutes, stirring occasionally, until the peppers and onions are softened.

To assemble skewers, place one piece of pepper and one piece of onion on top of a paneer cube and skewer with a toothpick. Repeat until all the vegetables and paneer are used up. Sprinkle assembled skewers with a bit of chaat masala spice.

Serve warm or at room temperature. You can pour a bit of the leftover marinade over the skewers, or you can eat them dipped in a chutney (I would recommend a spicy green Indian chutney).


Makes about 24 mini skewers.

August 09, 2013

Cantaloupe, Halloumi & Basil Stacks


When it comes to shopping at my local farmers' market in the summertime, I've learned my lesson the hard way that the cheaper option is not necessarily the best choice!

It's so tempting to shop around and buy from the vendor offering fruits or veggies for the lowest price, but time and time again, I end up disappointed and wishing I had splurged on a nicer product from one of the organic farmers.


That was the case a couple weeks ago when I was on the lookout for a cantaloupe to make this dish. I saw a huge bin of cantaloupes for only $2 so I happily scooped one up, thinking I had found a great deal. Of course, about five minutes later I came across an organic stall selling local Ontario cantaloupes that looked much nicer and were only slightly more expensive.

My non-local cantaloupe turned out to be a bad one (not surprising) and ended up going to waste, but luckily I was able to get a beautiful local one a few days later so that I could make this recipe!


I've seen lots of recipes on the web this summer for watermelon and halloumi salads. Watermelon pairs really well with salty cheeses like feta or halloumi, so I wanted to try a similar combination using another type of melon - cantaloupe.

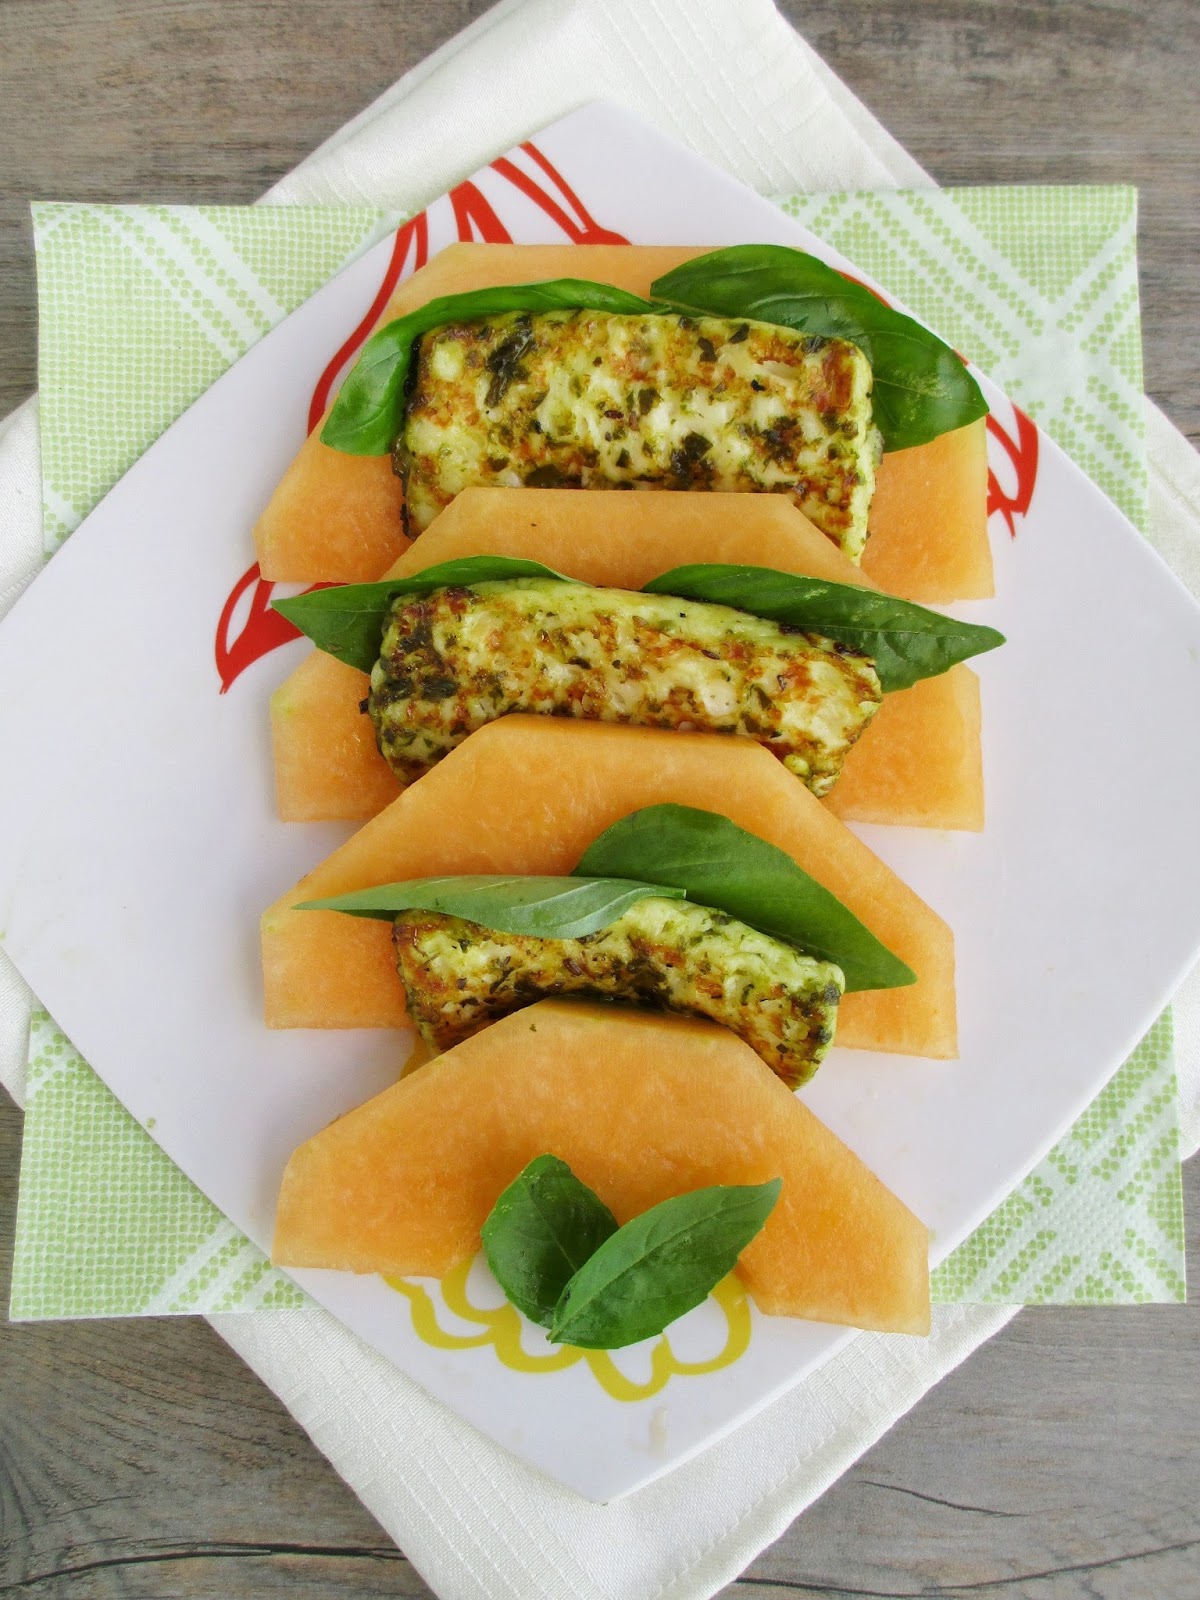
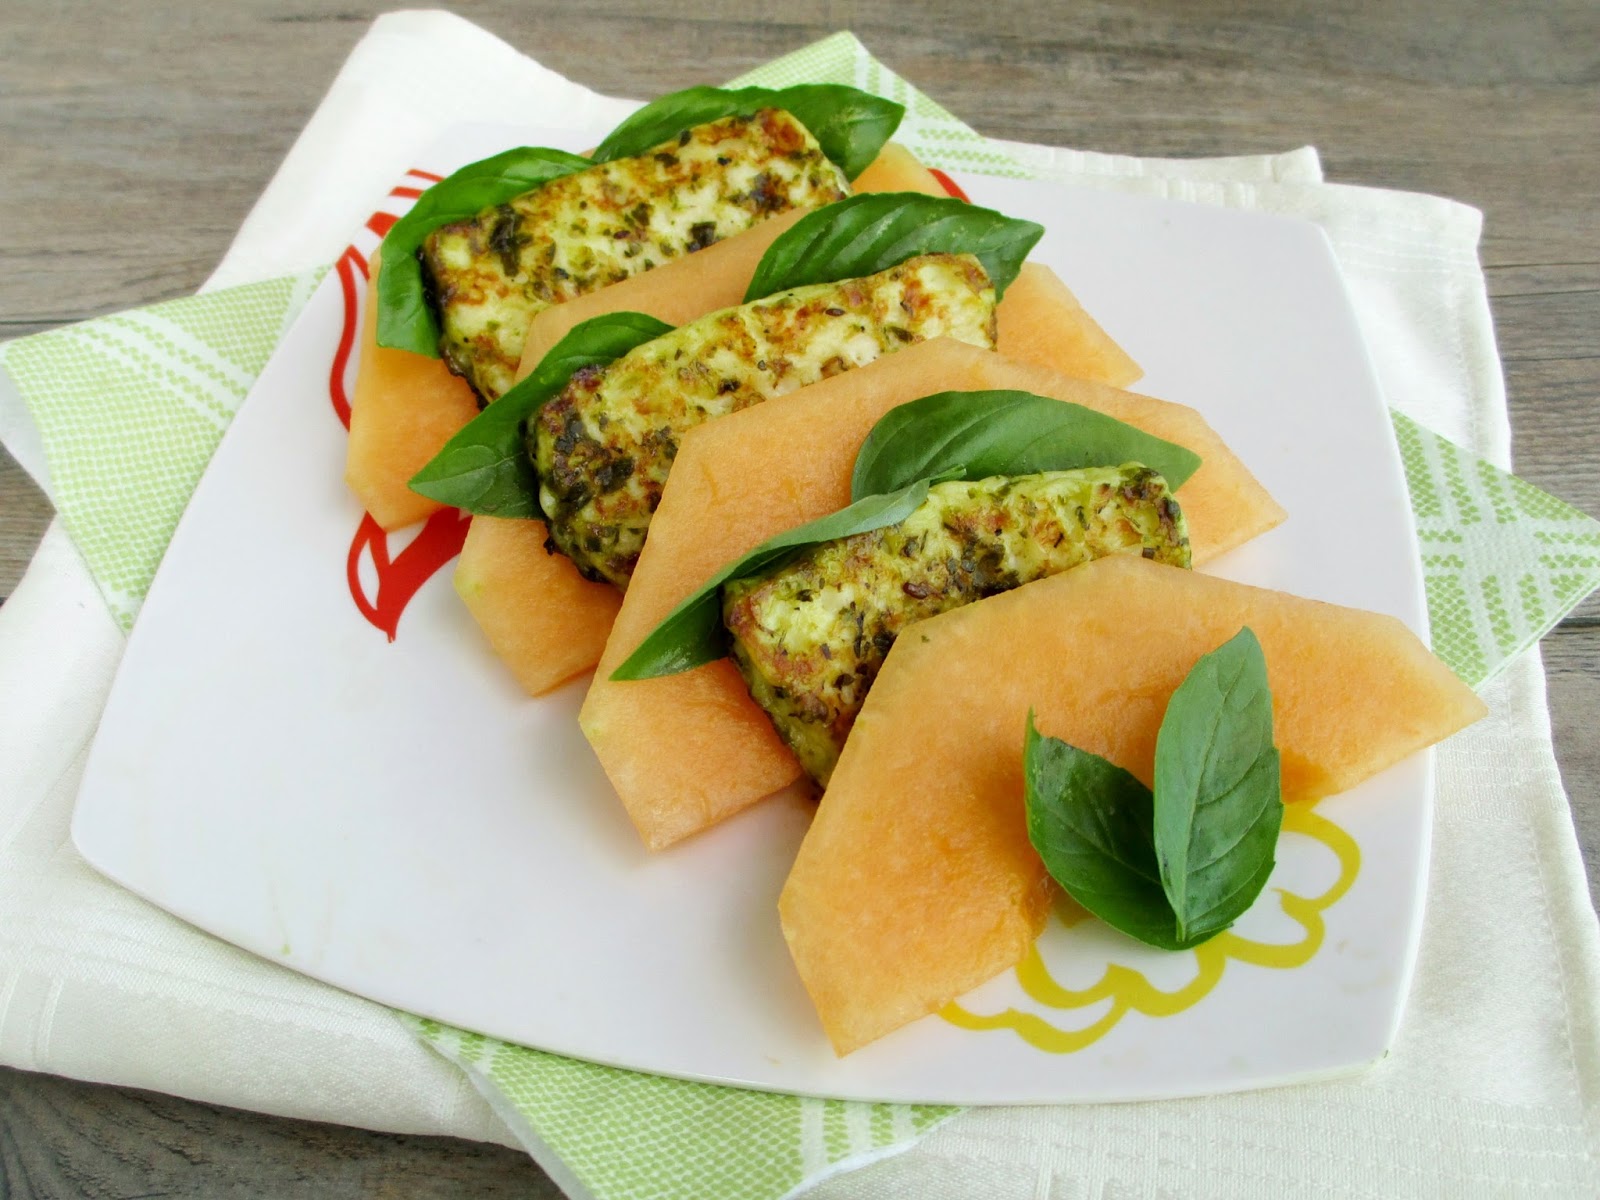
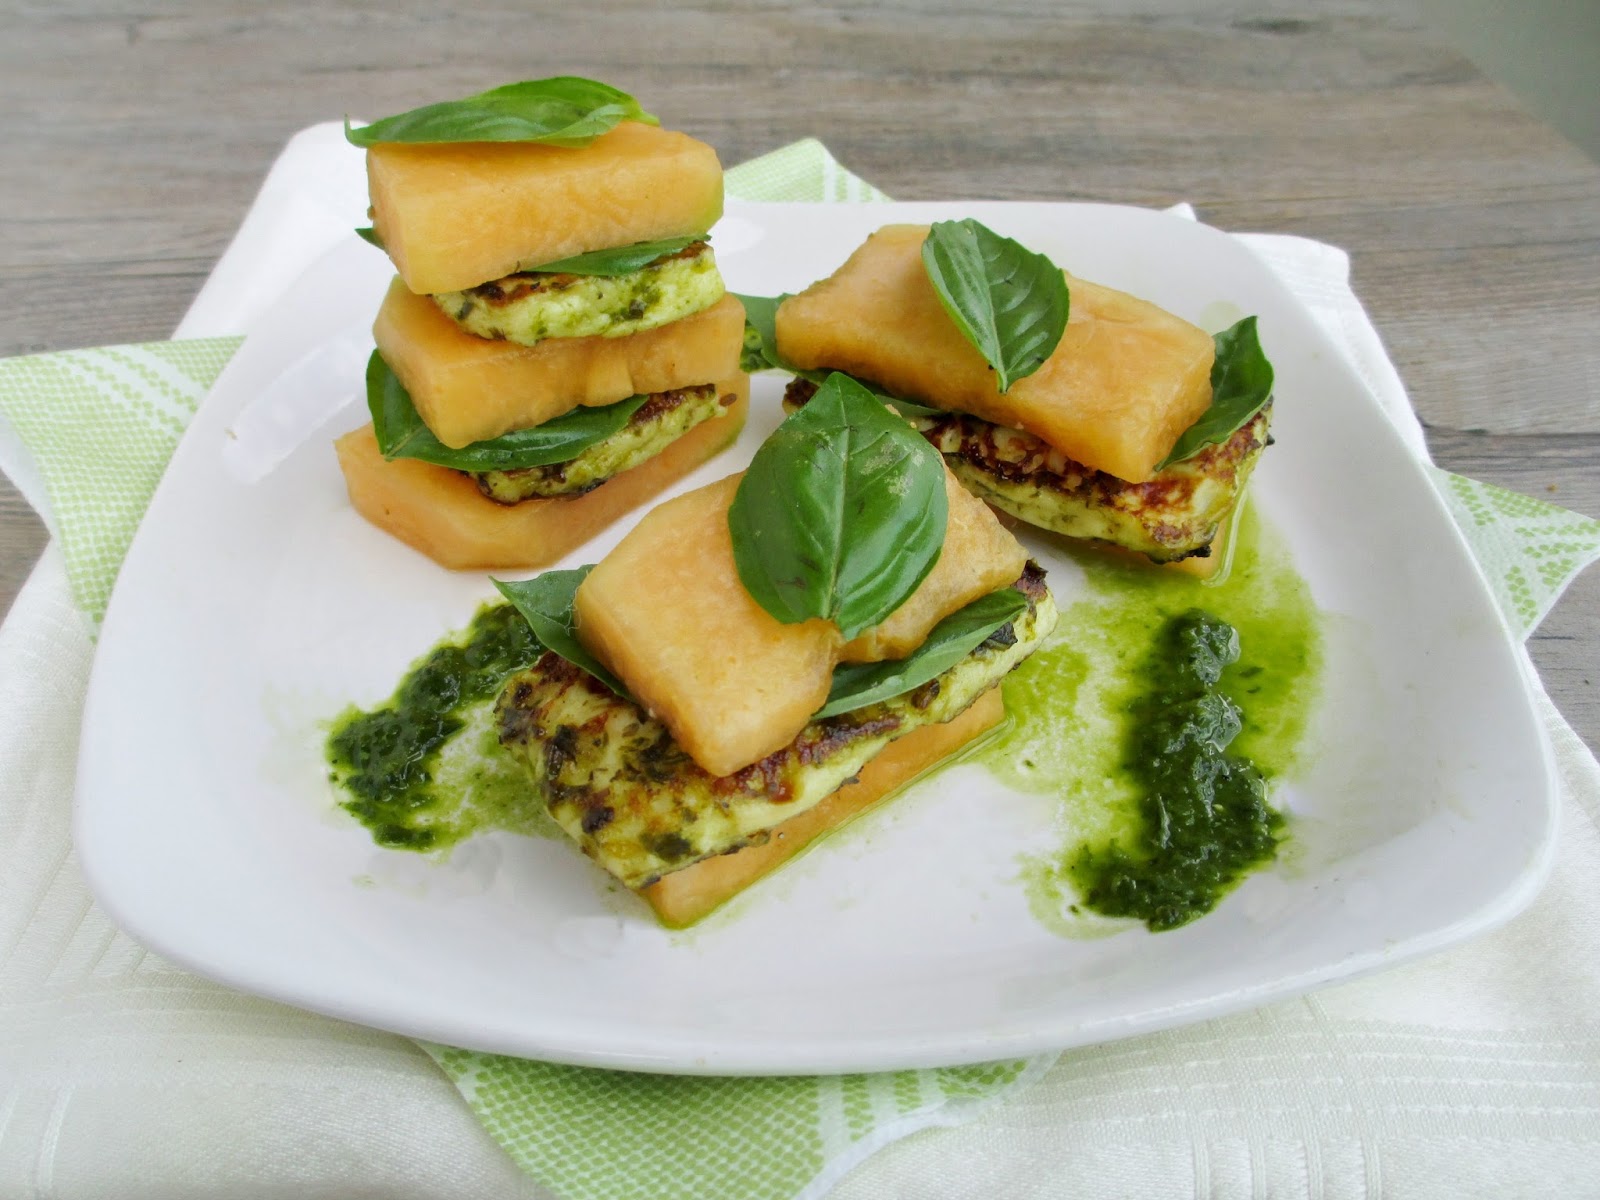
I kept this dish pretty basic, layering slices of ripe cantaloupe with pieces of sauteed halloumi (or grilled if you like!) and fresh basil. I also made a simple basil dressing to pour over everything to add even more flavour.

This was such a fresh and summery meal! Since the cheese is pretty rich, the melon really balanced it out, complementing the saltiness with some sweetness. I loved the basil dressing, so if you're lucky enough to have an abundance of basil growing in your garden, this would be a great way to use some of it up!

Hope you all enjoy the weekend - it's looking to be a beautiful one here!


Cantaloupe, Halloumi & Basil Stacks

Dressing
1 cup loosely packed fresh basil
1 tbsp olive oil
2 tbsp white balsamic vinegar (or white wine vinegar)
1 tsp agave or honey
Salt and pepper to taste

Salad
1 (160g) package halloumi cheese (I used a mediterranean flavoured brand)
~Half a ripe cantaloupe
Handful of fresh basil leaves


To make the dressing, place all ingredients in a blender or mini food processor and blend until it's as smooth as possible. Transfer to a small bowl.

Heat a skillet over medium heat and spray with cooking spray. Slice halloumi in half horizontally, then slice each half into three pieces. Brush one side of the tofu pieces with the basil dressing, then place face-down in the pan.  Let cook for about 2-3 minutes. Meanwhile, brush the other side (that’s facing up) with the dressing. Flip, then cook the other side another 2-3 minutes, until most of the sauce has cooked off and the cheese is browned on each side. Remove from heat and transfer to a plate.

Slice cantaloupe however you like – you can either do long, curving slices or rectangular pieces to match the shape of the cheese. Arrange the cantaloupe and halloumi slices with some fresh basil on the plate, either layered in between each other or stacked on top of each other (like the two different presentations in the photos above). Drizzle with the remaining basil dressing.


Makes 2 servings (or more as a bite-sized appetizer). 

LinkWithin

Related Posts Plugin for WordPress, Blogger...