Showing posts with label cauliflower. Show all posts

October 09, 2014

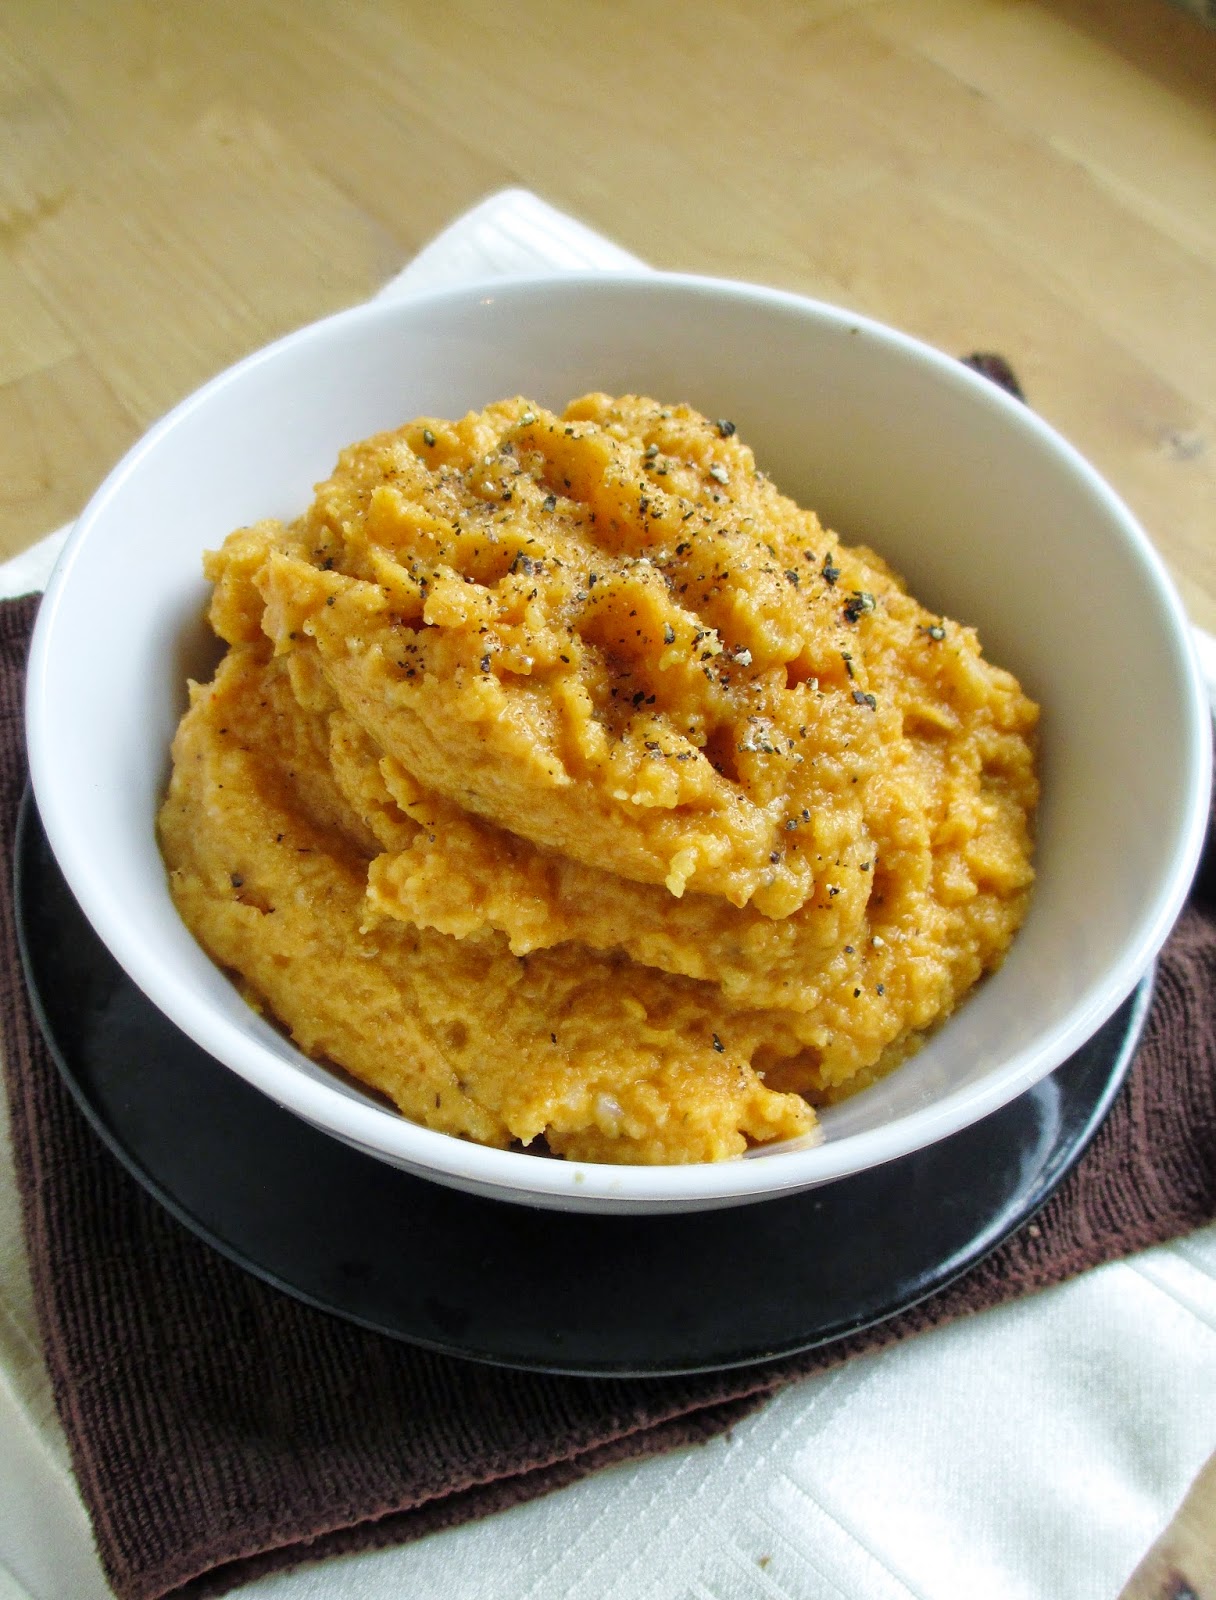
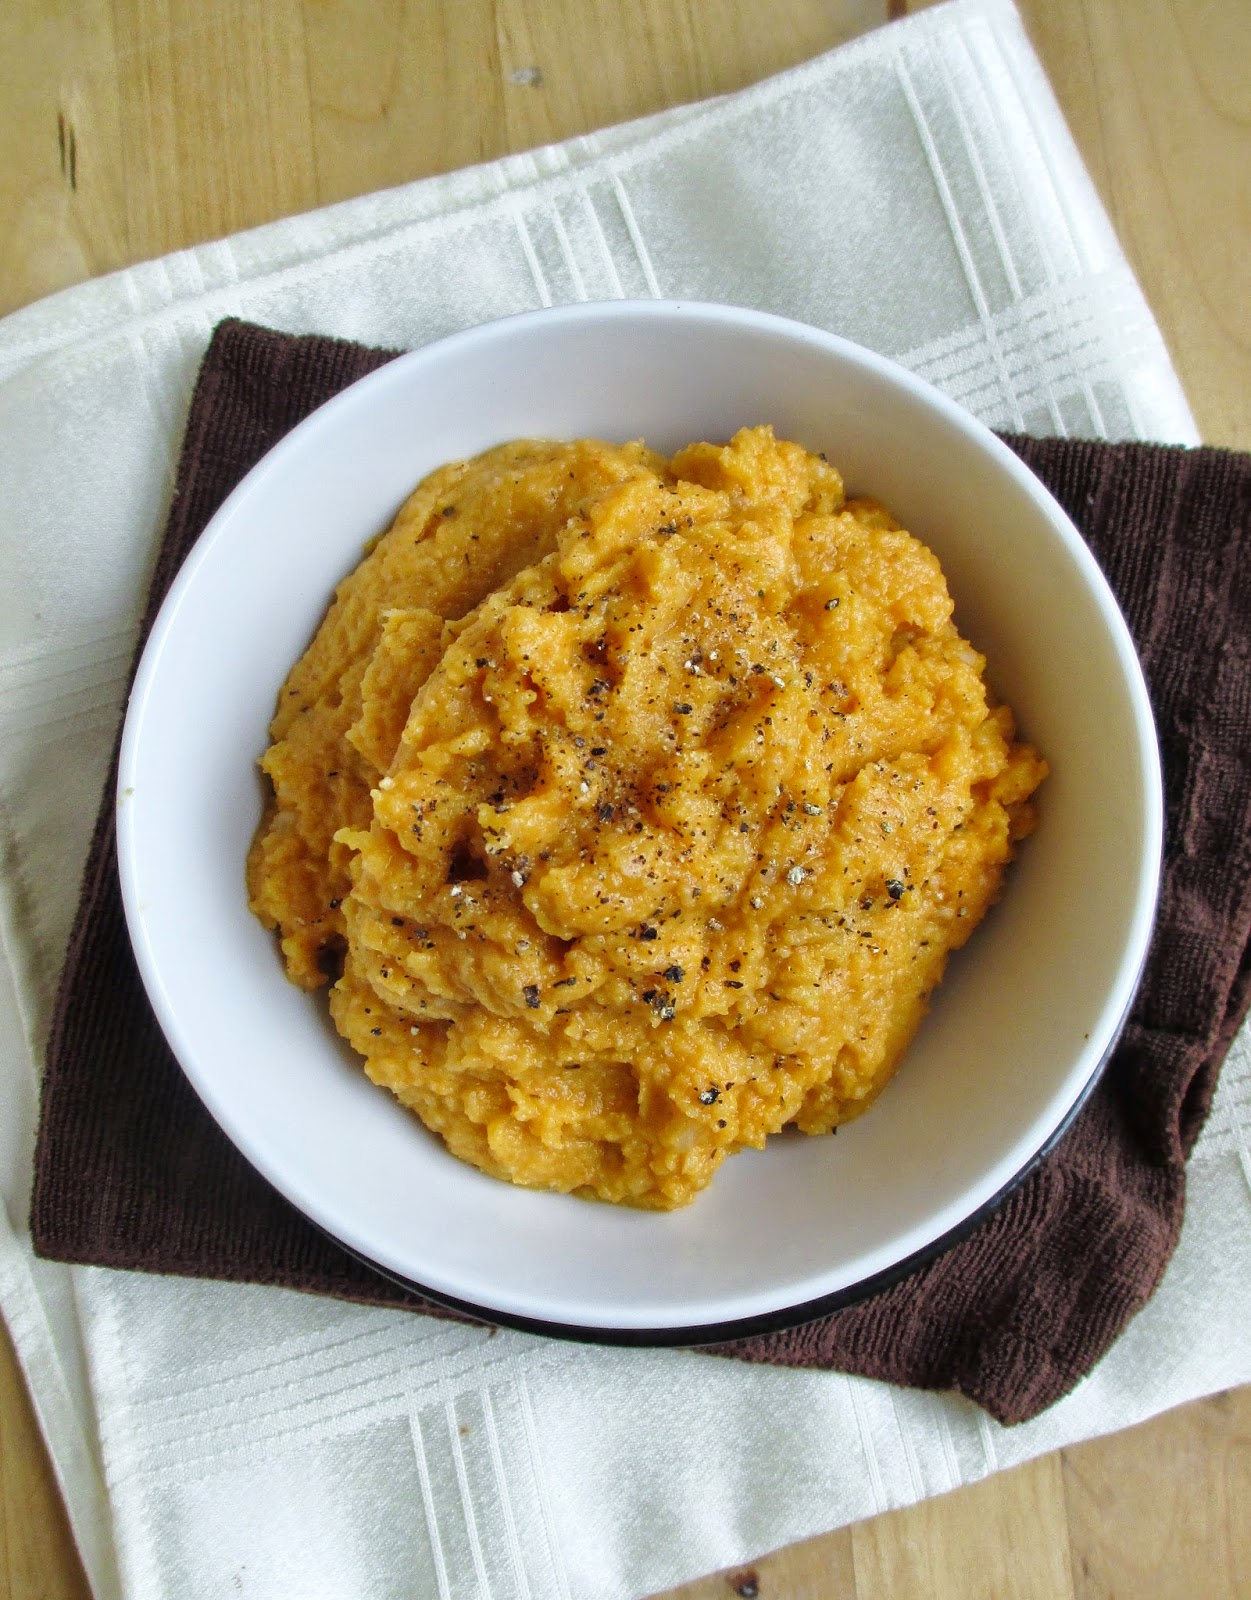
Cauliflower Pumpkin Mash


Time still seems to be flying by for me lately, and somehow Canadian Thanksgiving has crept up so fast that it's only a few days away! I haven't even thought of any recipes or dishes that I could contribute to our family's meal this weekend, but I'm sure that it will be delicious no matter what!

I don't usually post side dish recipes on my blog because I tend to make one-dish meals for myself, but Thanksgiving for a vegetarian is the perfect opportunity to make a meal out of a bunch of side dishes, so I thought today's recipe would fit in perfectly with the upcoming holiday!

While I love regular mashed potatoes, I also like trying different versions of mashed vegetables, like this mashed rutabaga and this beet-parsnip mash I've made in the past.


This variation uses a mix of cauliflower and pureed pumpkin as the base of the mash, and since neither of those ingredients are particularly flavourful on their own, I added lots of extra herbs and spices like garlic, thyme, nutmeg, some cayenne for a bit of spice, and nutritional yeast to add a cheesy dimension.

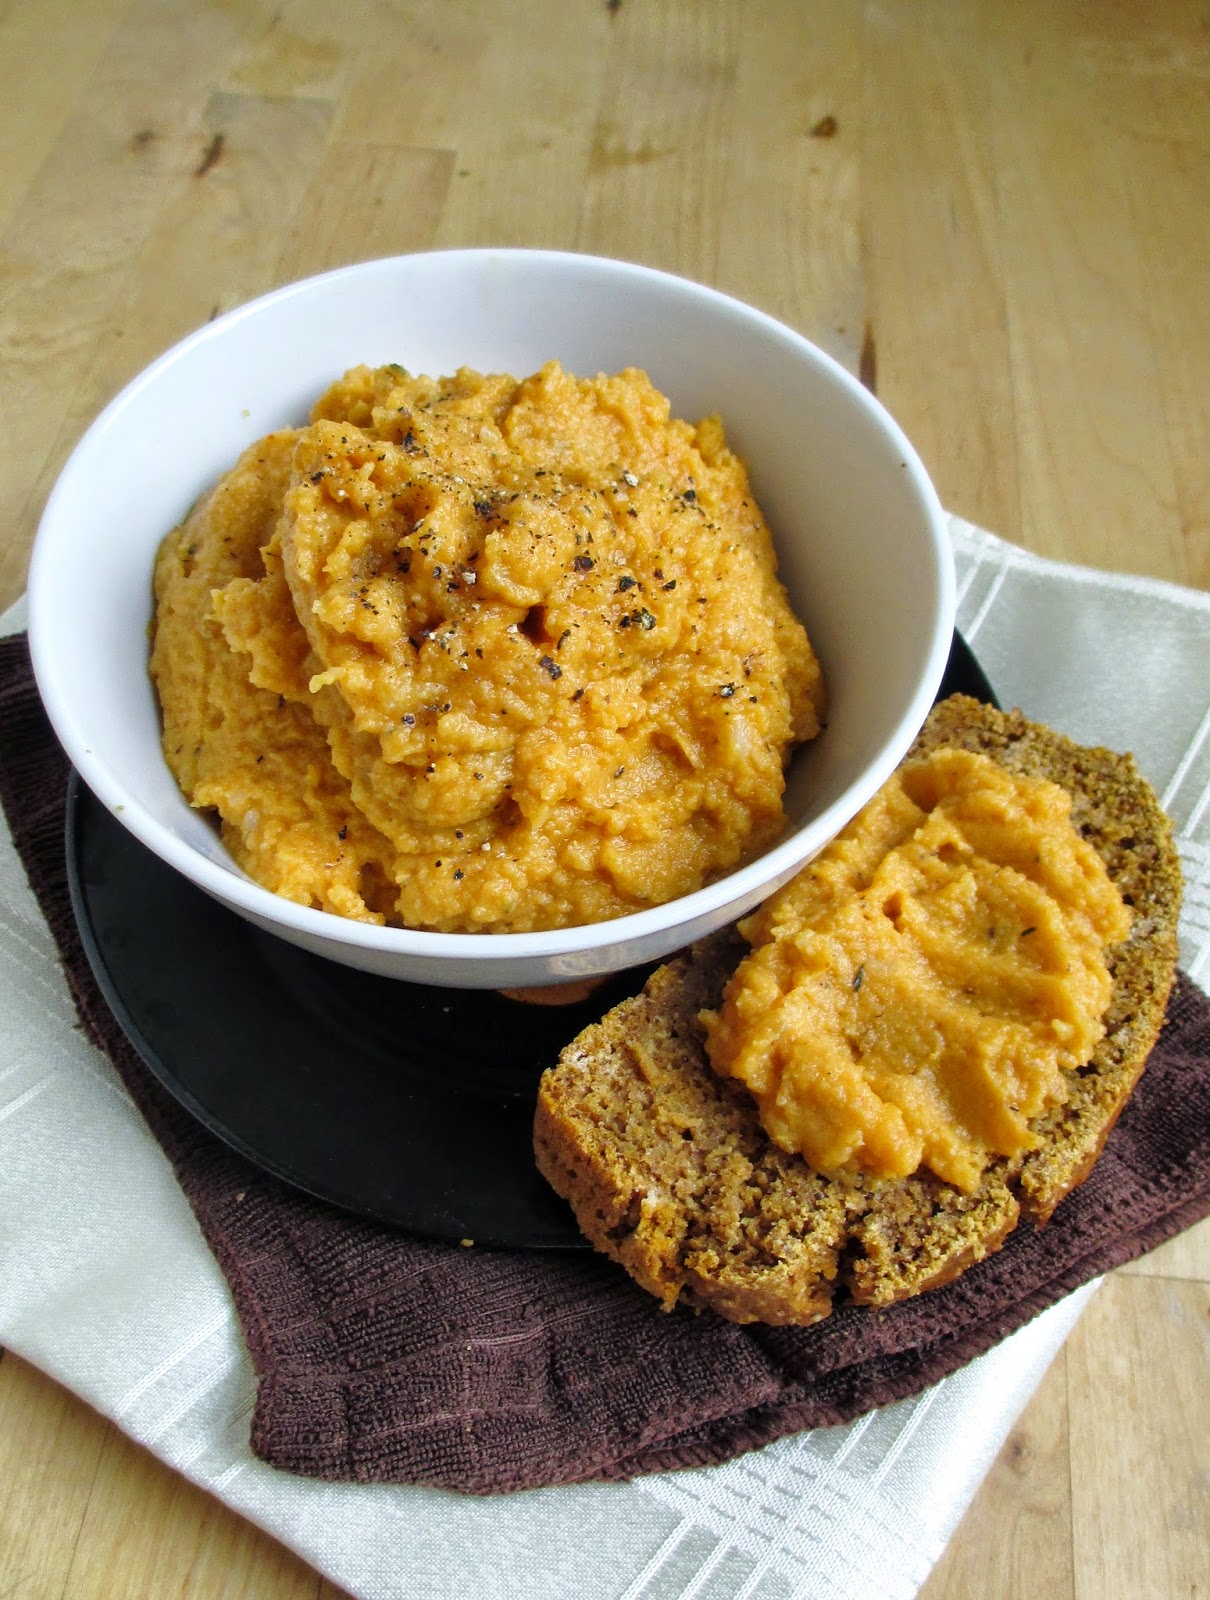
I loved how fluffy and creamy this was, and while I was perfectly happy eating it on it's own, it also worked really well as a topping for thick and hearty slices of bread - I ate mine with my leftover pumpkin beer bread, which paired together nicely!

I hope my Canadian readers have a great long weekend filled with food, family, and relaxing! I plan on stuffing myself with veggies and pumpkin pie :)


Cauliflower Pumpkin Mash

1/2 head cauliflower, chopped
1 cup canned pureed pumpkin
1 clove garlic, minced
1 tbsp olive oil
1 tbsp plain yogurt (optional)
1 tbsp nutritional yeast
1/2 tsp dried thyme
1/2 tsp sea salt
Dash of nutmeg
Dash of cayenne (optional, for a spicier mash)
Ground pepper


Bring a medium pot of water (filled a couple of inches high) to a boil over medium-high heat. Place cauliflower pieces in a steamer basket and place the steamer in the pot. Steam, covered, for about 10 minutes, until cauliflower is tender. Remove from heat and let cool until safe to handle.

Place cauliflower and all remaining ingredients in a food processor and process until everything is pureed (you can leave it a bit chunky if you like). Taste and adjust seasoning if desired.

Serve as a side dish or on top of toast. 

Makes about 4 side servings

September 23, 2014

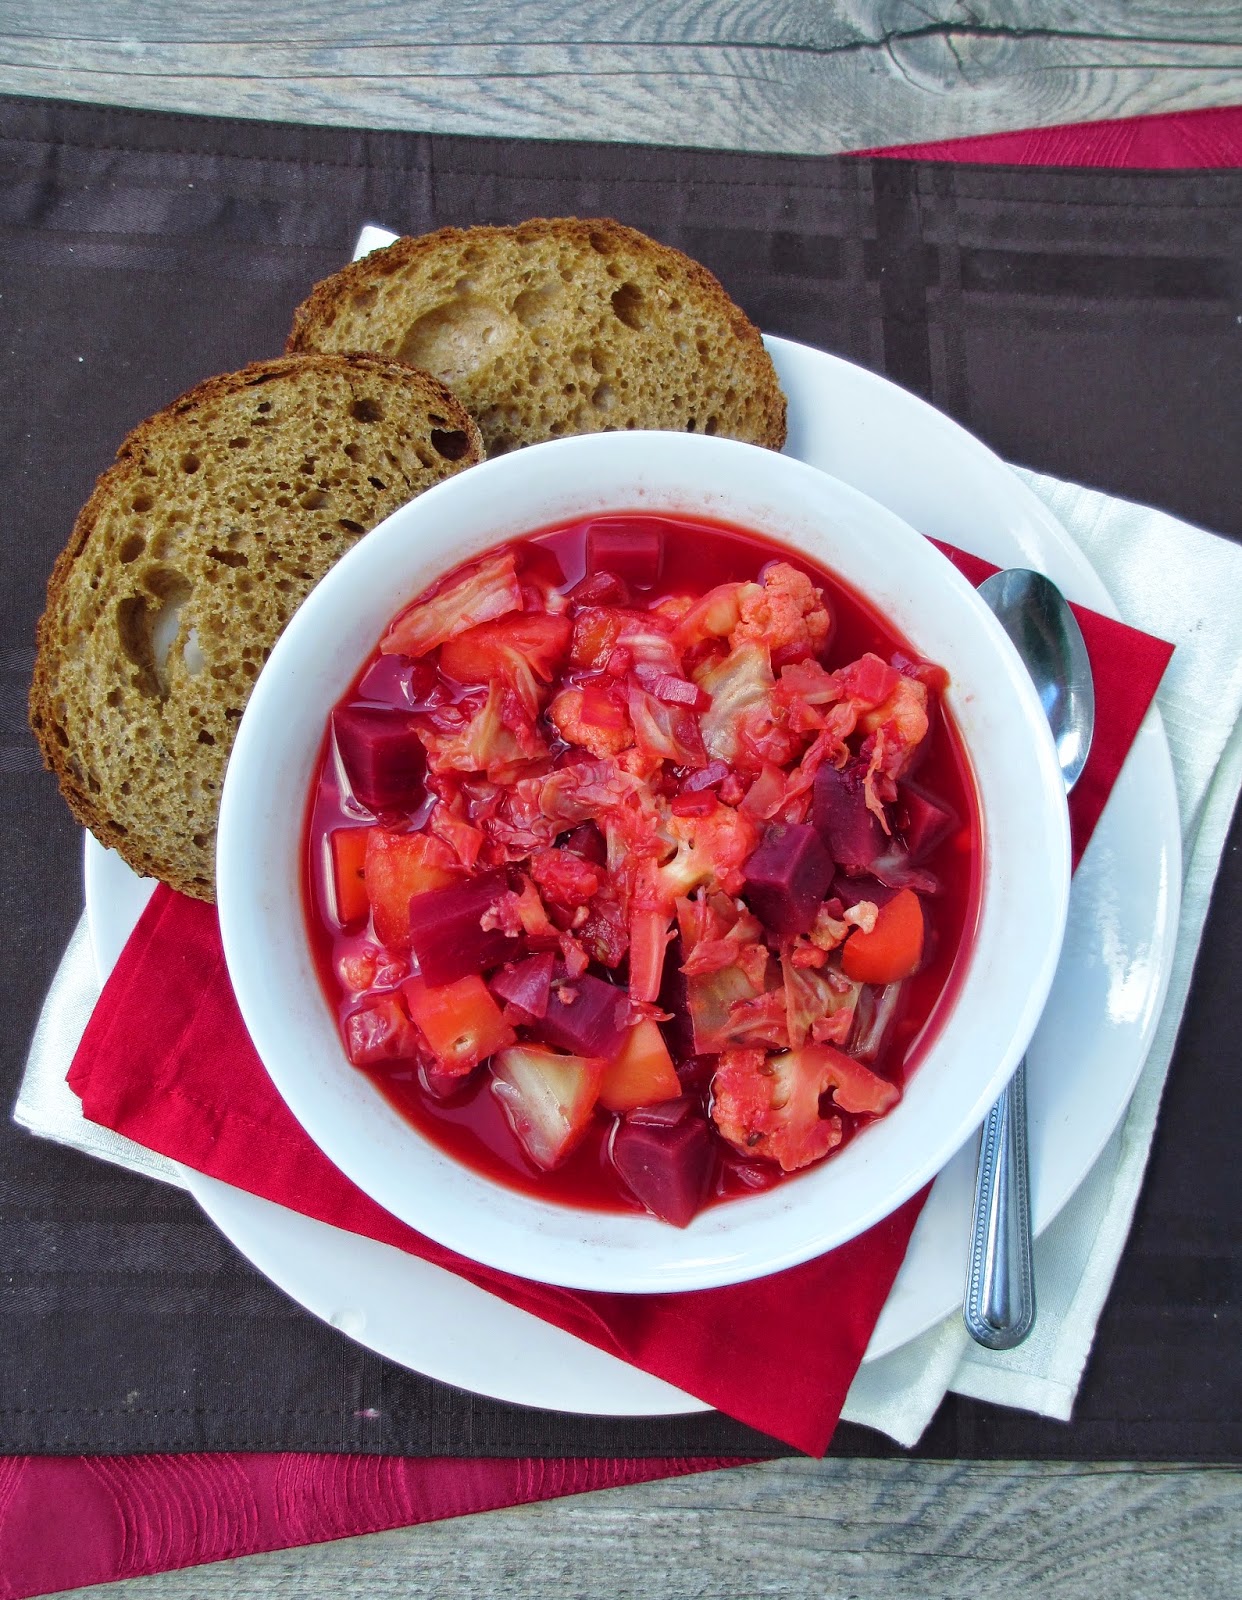
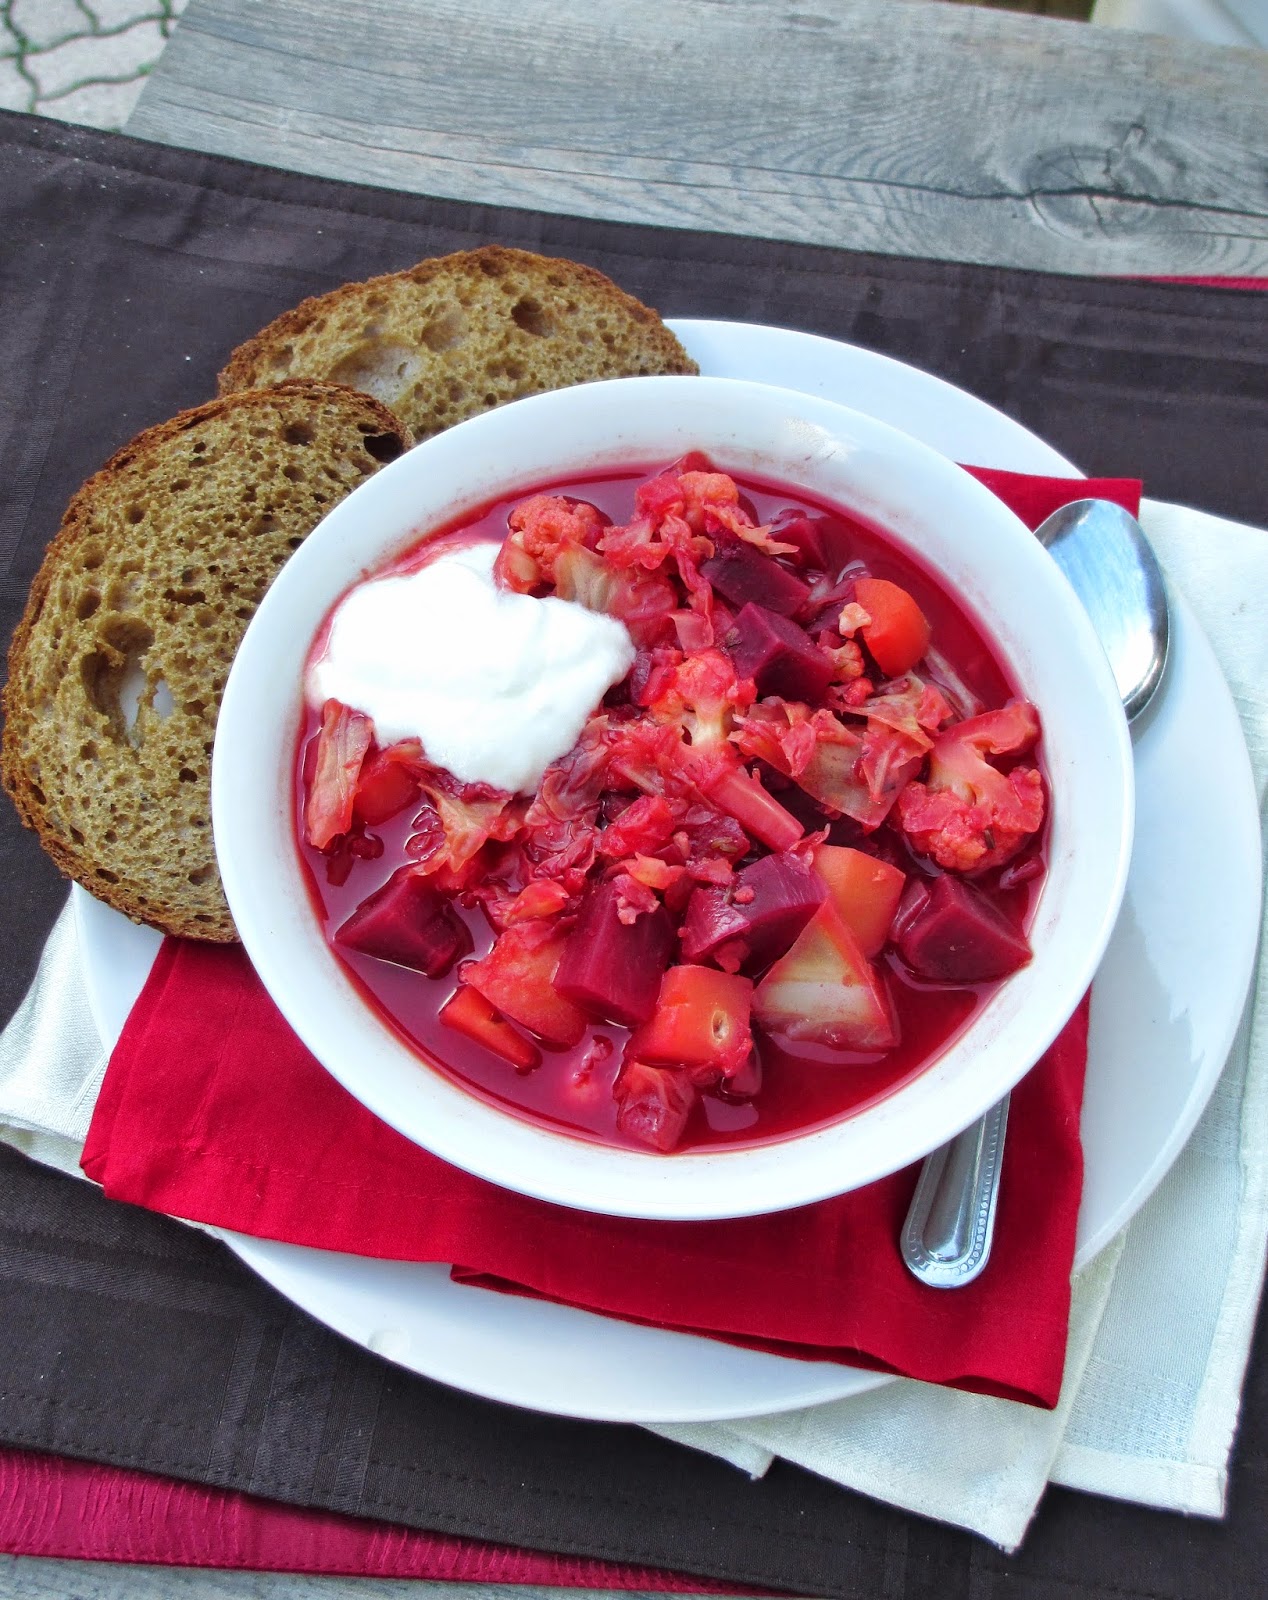
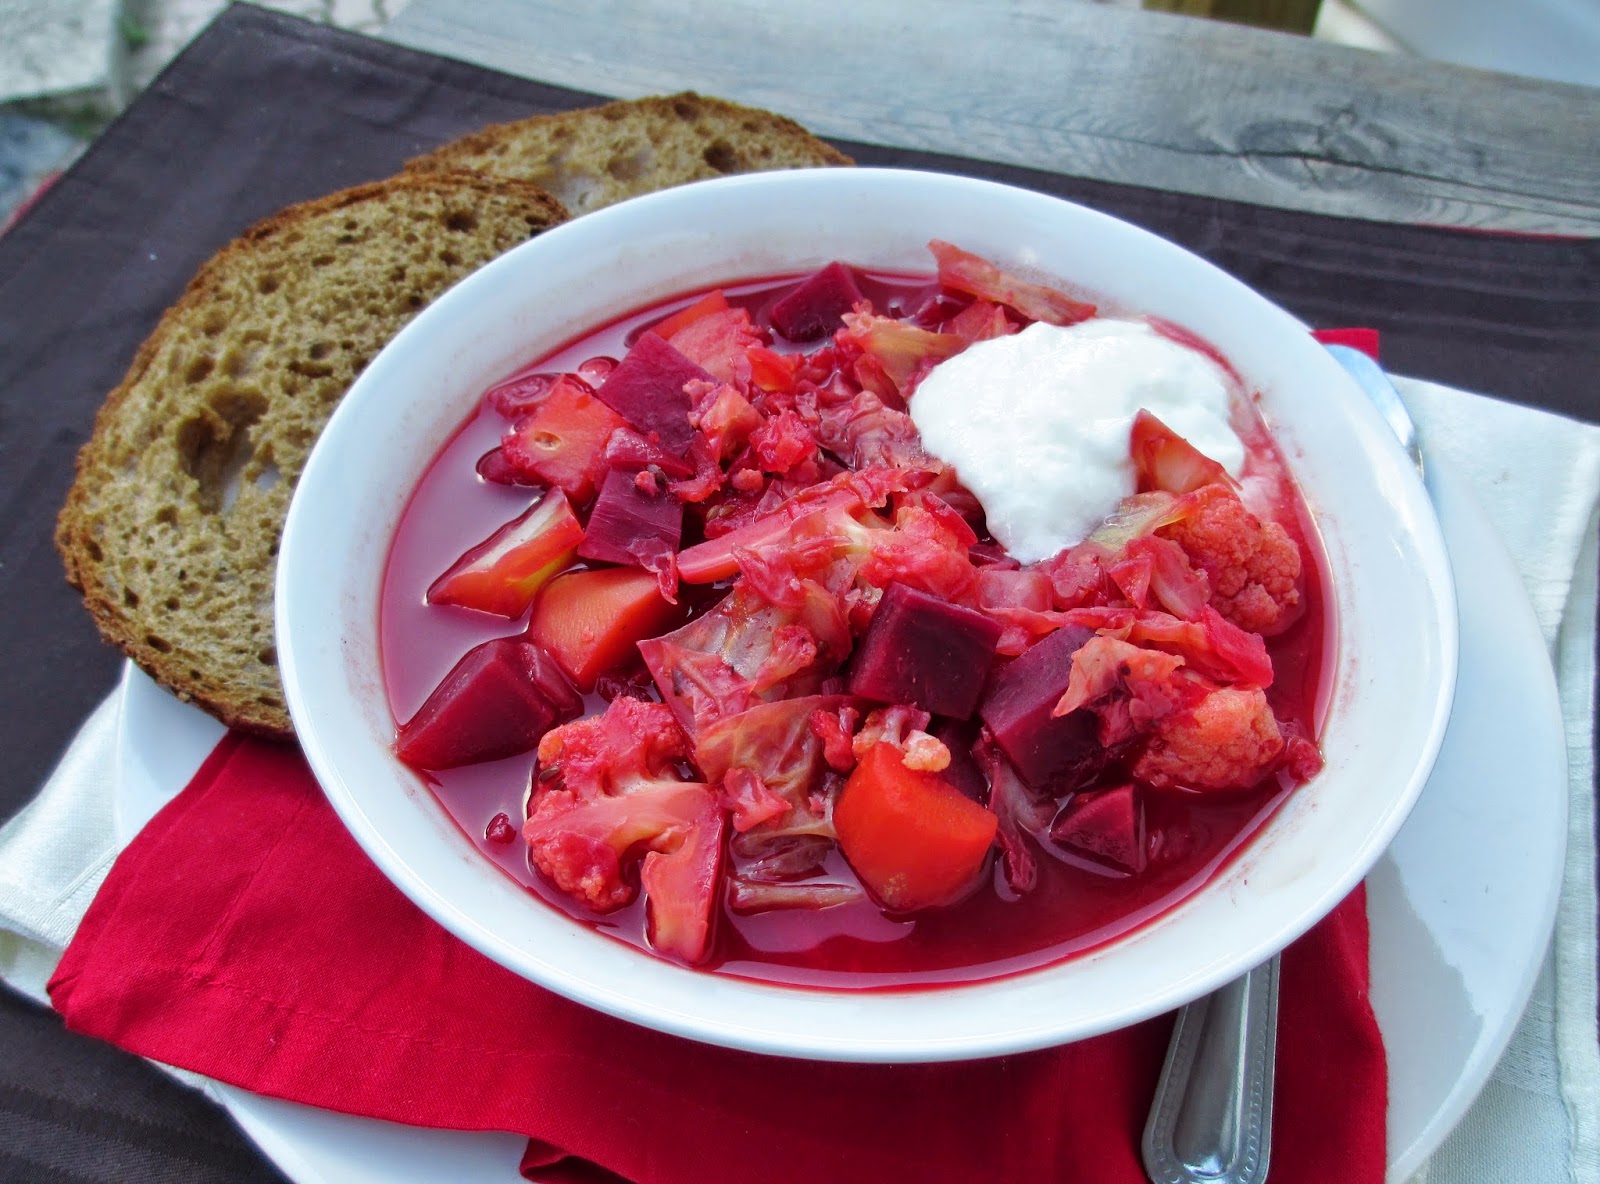
Vegetarian Borscht


When the colder temperatures hit this month, all I wanted to eat for dinner was a big bowl of comforting soup with fresh bread.

Since I had a huge head of green cabbage sitting in my fridge and local beets are in season, I figured this was the perfect opportunity to try my hand at a soup I've always wanted to make - borscht!

Rather than sticking with a traditional borscht, I made more of a vegetable stew with beets, potatoes, carrot, cabbage, and cauliflower. And since I was using a vegetable broth instead of beef broth, I tried to make it extra flavourful by cooking some onion, garlic and ginger first, and adding lots of spices and herbs like caraway, cumin, coriander, thyme, and bay leaves.


A bit of plain yogurt or sour cream works perfectly as a topping for this soup, and if I had some fresh dill, I would have added that as a garnish as well. 

For a healthy broth-based vegetable soup, I thought this was actually really tasty and I didn't mind eating it for both lunch and dinner several days in a row, since it made such a big batch! Plus, how can you not enjoy eating something with such a pretty colour!


Vegetarian Borscht
Adapted from Canadian Living 

1 tbsp oil or butter (I used Earth Balance coconut spread)
1 yellow onion, peeled and diced
4 cloves garlic, peeled and minced
1” piece fresh ginger, peeled and minced
1 tsp caraway seeds
1 tsp cumin
1/2 tsp ground coriander
1/2 tsp dried thyme
3 small yellow potatoes (about 1 lb), peeled and diced
1 large carrot, peeled and diced
1.5 lbs beets (I used three large ones), stems removed, peeled and diced
1/2 head of cauliflower, chopped
5 cups shredded green cabbage
1.5 tsp salt
Ground pepper
4 cups low sodium vegetable broth (1 container)
4 cups water
2 bay leaves
1 tbsp agave nectar
3 tbsp white vinegar
Plain yogurt or sour cream for serving (optional)
Fresh dill for serving (optional)


Heat a large pot over medium heat and add the oil or butter. Add the onion, garlic, ginger, caraway, cumin, coriander, and thyme. Cook, stirring frequently, for about 4 minutes (until the onion begins to soften).

Add the potatoes, carrot, beets, cauliflower, cabbage, salt, and some freshly ground pepper to the pot. Cook, stirring occasionally, for about 10 minutes. Then add the vegetable stock, water, and bay leaves and bring to a boil over medium-high heat. Once boiling, reduce heat to medium low, partially cover with a lid, and simmer for 30-40 minutes, until all the vegetables are tender.

Remove pot from heat. Discard the bay leaves and stir in the agave and vinegar. Serve hot, topped with plain yogurt and a handful of chopped fresh dill if desired. Season with additional salt and pepper if desired.

Makes 6-8 servings


January 07, 2014

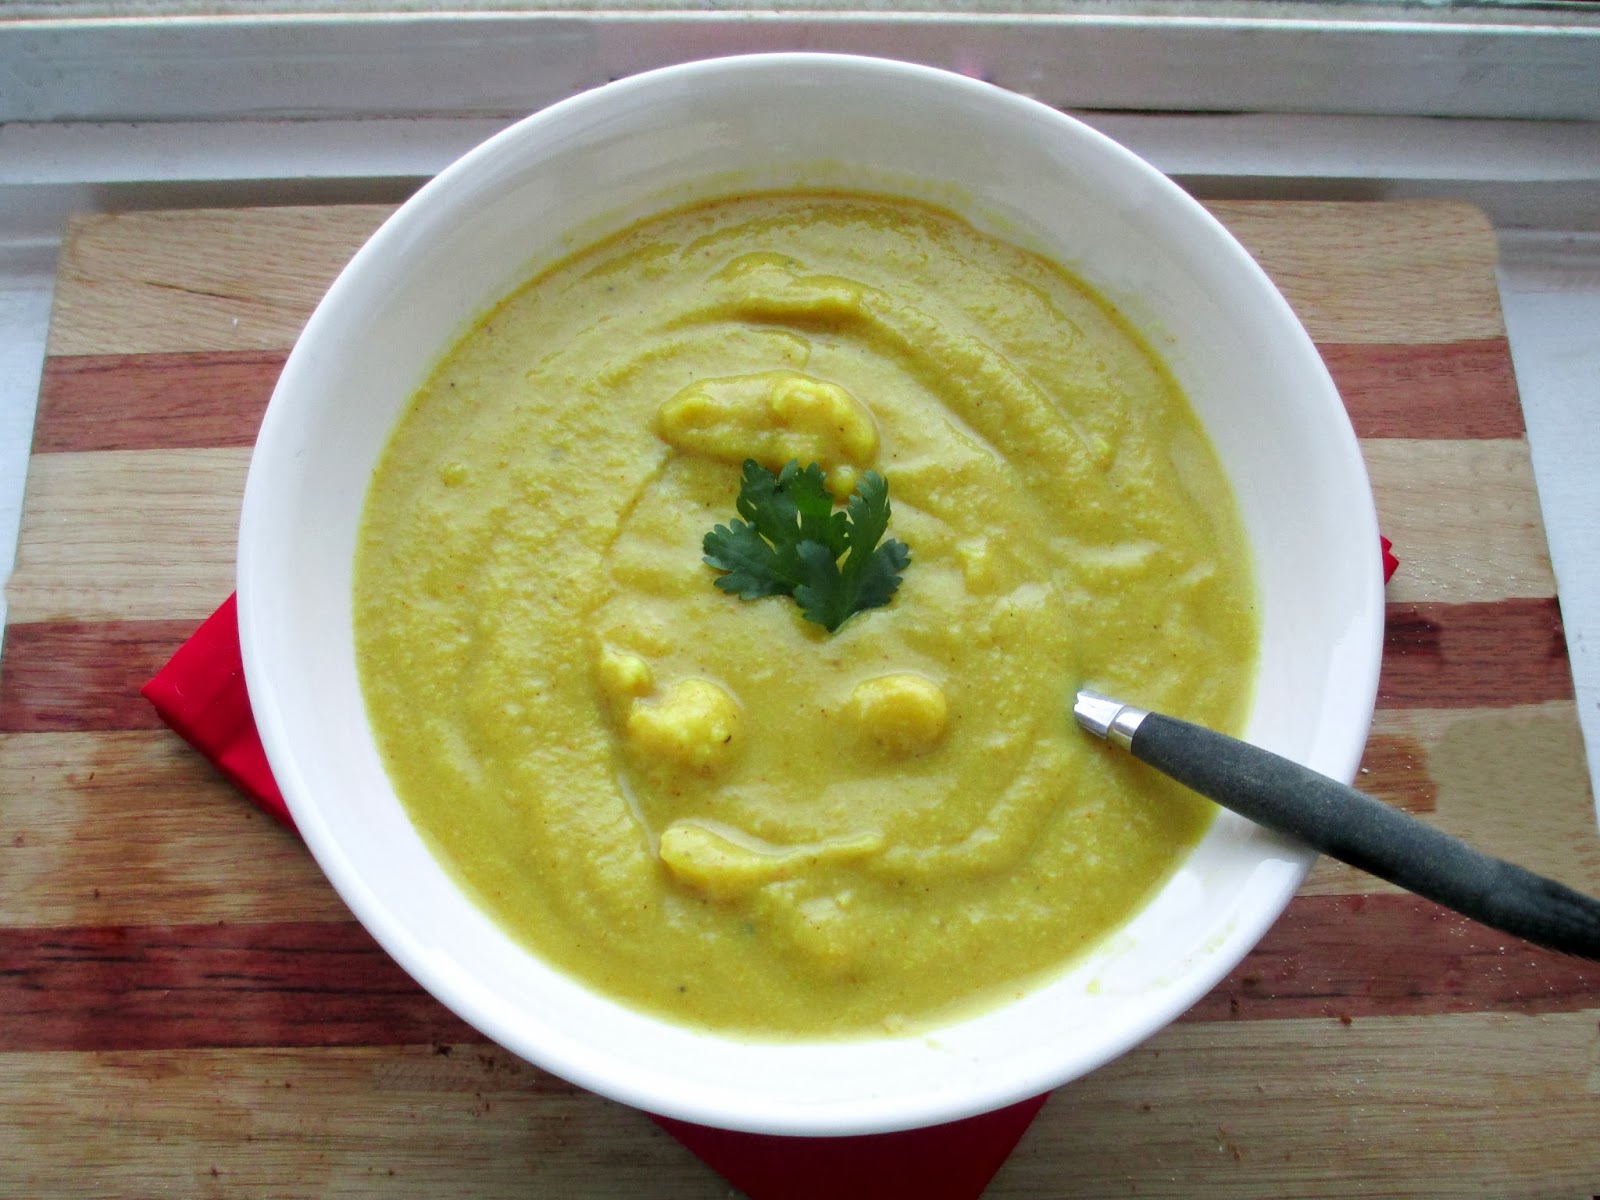
Curried Cauliflower Potato Soup


I know most of you are probably sick of hearing people talking about the cold weather lately, so I'll try not to complain about it in this post! But with the wind chill bringing temperatures to below -30 all day in my area, all I'm craving is a nice comforting bowl of soup (and some hot chocolate)!

I actually made this soup last week when we were in the middle of another extremely cold spell and it was the perfect dinner to warm me up from the inside out - not only from the temperature of the soup but also from the spices that were just hot enough to make my nose start to run!

This recipe is actually very similar to one that I made a couple of years ago, but instead of pumpkin this time, I used potato to help thicken it. I love pureed vegetable soups that are thick and creamy, and this is definitely one of those soups! I also left some of the cooked cauliflower pieces separate and stirred them in after pureeing the soup to add some texture throughout.

A bowl of this warm curry spiced soup with some naan bread to scoop it up is my idea of a comforting meal for this winter weather! Hope you're all staying warm too!


Curried Cauliflower Potato Soup
Slightly adapted from my Cauliflower Pumpkin Soup

2 tbsp canola oil, divided
1 head cauliflower, chopped
1-2 cloves garlic, minced 
1 yellow onion, diced
1 tbsp curry powder
Dash of cayenne
4 cups vegetable broth
2 small potatoes, peeled and diced
Salt to taste
~1 tsp lemon juice


Heat 1 tbsp oil in a large saucepan on medium heat. Add about 1/4 to 1/3 of the chopped cauliflower pieces to the pot (I chopped these pieces even smaller first) and sprinkle with salt and pepper. Sauté, stirring often, for about 5 minutes, until cauliflower is browned. Remove from pot and set aside.

Heat remaining 1 tbsp oil in the saucepan on medium heat. Add garlic and cook for about 30 seconds, stirring often. Add onion, curry powder, and cayenne and cook for another 4-5 minutes, stirring occasionally, until onion has softened.

Add vegetable broth, remaining cauliflower pieces and potato. Bring to a boil, then reduce heat to medium-low, cover, and simmer for about 15 minutes, until the vegetables are soft. Transfer soup to a blender in batches and puree until smooth. Stir in the reserved cauliflower pieces.

Taste and add salt if desired (I didn’t add any because my vegetable broth had enough salt in it). Stir in lemon juice.

Makes ~4 servings.


April 02, 2013

Roasted Cauliflower & Antipasto Panzanella with Pomegranate Dressing


One of my favourite single-serving meals to throw together is a panzanella salad.  For anyone who hasn't heard of panzanella, it's basically a salad with bread, fresh herbs, and an olive oil-vinegar dressing. The bread is the key ingredient, and you can be as creative as you like with the rest of the components!

I've always had a preference for a summer panzanella with the best garden tomatoes, fresh basil, cucumber, and even corn, but I've learned that you can still make delicious and unique panzanellas any time of the year - check out my versions of winter panzanella and spring panzanella that I've posted on the blog!

I recently saw a recipe for a panzanella with olives and artichokes on Kitchen Confidante, and since I've finally learned to like olives, I was inspired to give this idea a try.


For my version, I used a mixture of black and green olives, marinated artichoke hearts and roasted red pepper for an antipasto base (I realize this isn't exactly authentic antipasto, but it was close enough for me!). I also roasted some cauliflower and grape tomatoes to round out the salad, and of course, a good crusty baguette!

For the herbs, I went with both fresh basil and mint, and finally, I made a simple red wine vinegar dressing with the addition of pomegranate molasses for a burst of sweetness.

It seems that you can't really go wrong with a panzanella because I always love every version that I come up with, and this one was no different! I loved the mixture of flavours, from the sweet and tangy dressing to the salty olives and briny artichokes. The warm roasted cauliflower and juicy tomatoes added a nice contrast to the antipasto ingredients, and the bread soaked up all of the flavours while keeping a bit of its crunch.

If you're a panzanella fanatic like me, I hope you'll give this version a try!


Roasted Cauliflower & Antipasto Panzanella with Pomegranate Dressing
Inspired by Kitchen Confidante

Approximate amounts per serving: (feel free to adjust to your liking)
1/4 head cauliflower, chopped
1/2 tbsp olive oil
7-8 grape tomatoes
7-8 pitted olives (I liked the small kalamatas best)
1 clove garlic, peeled and smashed
~50 grams of crusty bread, sliced or torn into small bite-sized pieces
~3 pieces of quartered artichoke hearts, sliced in half (the marinated jarred kind)
1 whole roasted red pepper (I used the jarred kind), sliced into thin strips
3-4 large leaves of fresh basil
1 tbsp chopped fresh mint
1.5 tbsp red wine vinegar
1 tbsp pomegranate molasses
1 tsp whole grain mustard
1/2 tbsp olive oil (optional – I left it out when I made the salad fresh, but added it to my leftovers the next day)
Salt and pepper

Preheat oven to 425°F.

Place the chopped cauliflower in a large roasting pan and drizzle with 1/2 tbsp olive oil, salt and pepper, tossing to coat. Roast in the preheated oven for 25-30 minutes total.

After 10 minutes of roasting, add the tomatoes, olives, and garlic to the pan and return to the oven (for another 15-20 minutes). Place the bread chunks on a small baking sheet and spray with a bit of cooking spray. Add to the oven for the last 5 minutes of cooking time so they are lightly toasted (or longer if you like them extra crispy).

When everything is done roasting, combine in a large bowl (cauliflower, tomatoes, olives, garlic, and bread). Add the sliced artichokes and red pepper, basil, and mint, and toss to combine.

Whisk together the vinegar, pomegranate molasses and mustard. Pour dressing over salad and toss well. Drizzle with the extra 1/2 tablespoon of olive oil if desired.

Serve warm. Season with additional salt and pepper.

Makes 1 serving. 

Note: Leftovers of the fully assembled salad will not keep well, but you can roast a double portion of the veggies and keep leftovers of each portion separate in the fridge. The next day, heat up the veggies, toast your bread, chop up the herbs, and toss in the dressing. 

March 20, 2013

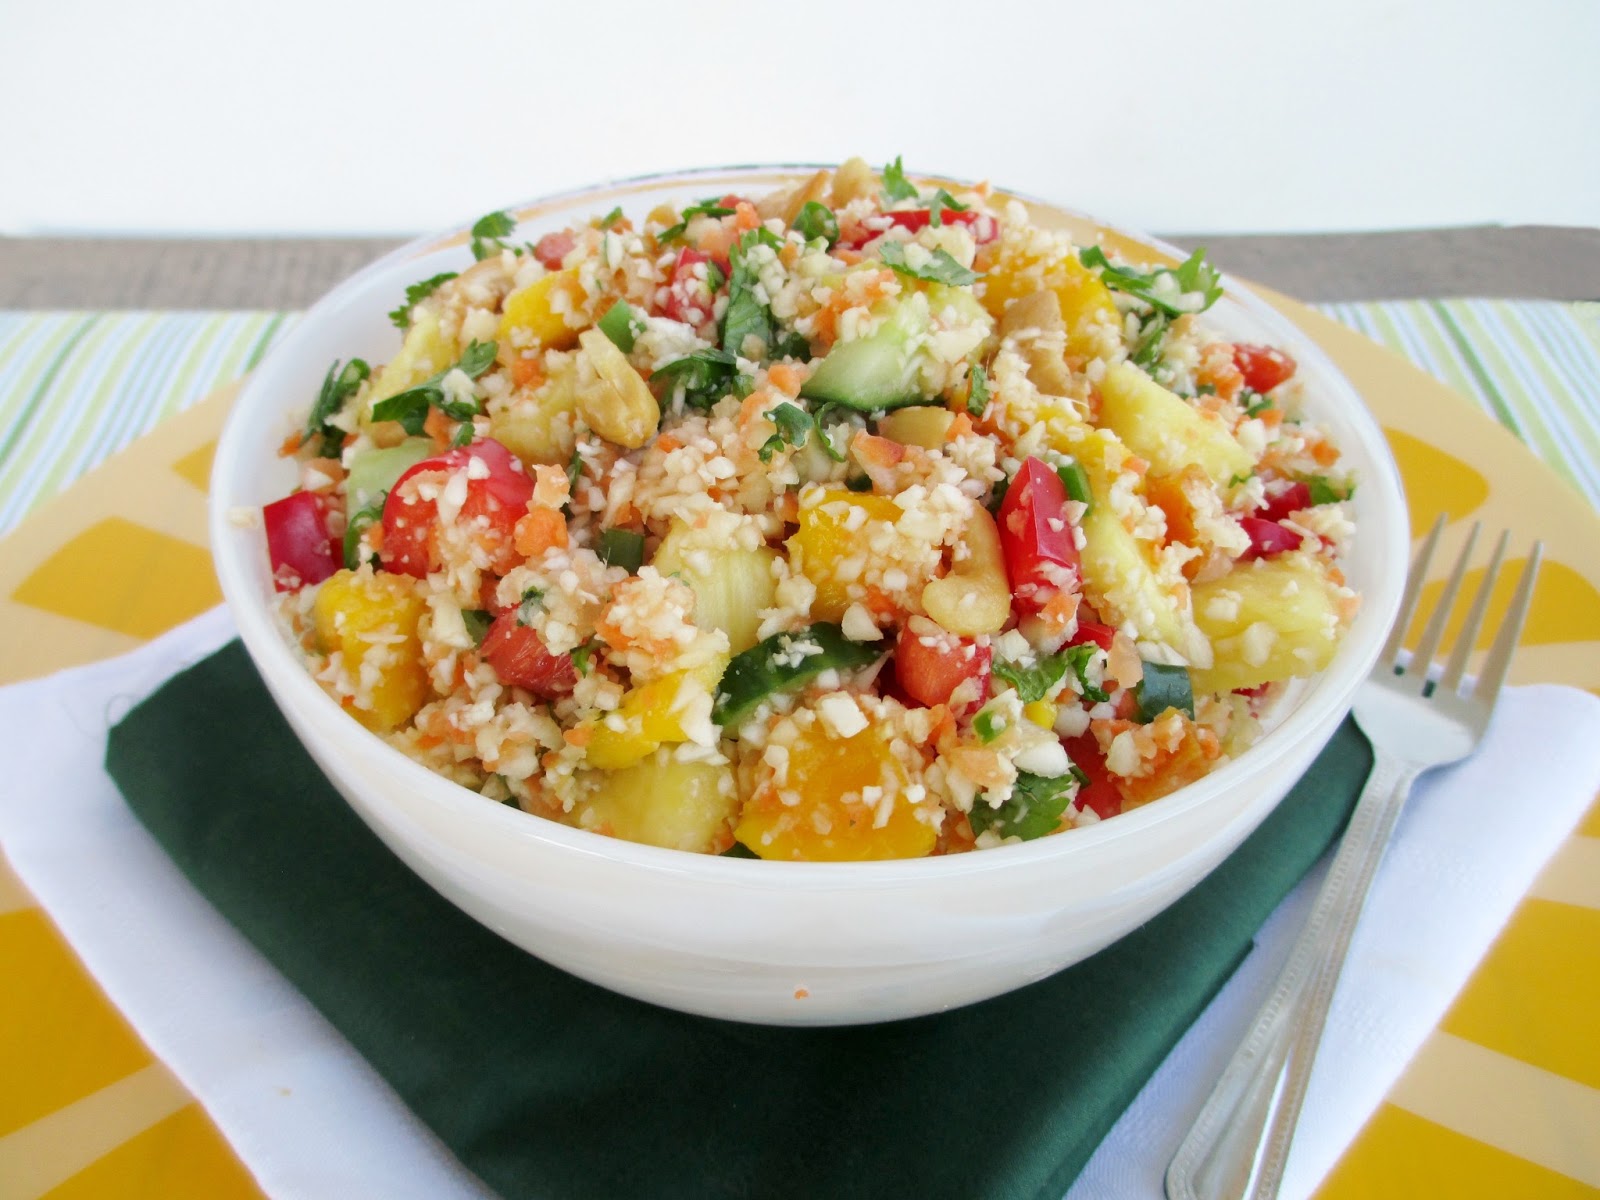
Tropical Detox Salad


I spent a few days in Boston last week at a conference - hence the lack of activity around here - and I came back home craving fresh and healthy meals, which always happens when I go away on trips. So this detox salad is what I'm eating this week!

I'm sure there are plenty of great vegetarian places to eat in Boston, but I didn't have any time to explore the city on my own, so my only meals consisted of the Starbucks in the lobby for breakfast, boxed lunches provided by the conference, and dinners at a restaurant nearby chosen by the group. That meant my options on the menu were somewhat limited to things like cheese pizza or pasta with tomato sauce, but I still had a good time which is what counts!

Needless to say, I couldn't wait to get back into my own kitchen and make a huge fresh salad to enjoy. The only vegetable remaining in my fridge was the rest of the parsnips from this recipe, so I searched through my bookmarks for other parsnip ideas and was reminded of this raw parsnip rice with pineapple from the taste space.

A raw salad full of fresh ingredients sounded like just the thing I wanted, so I headed out to the grocery store to pick up the rest of the components.


I ended up changing up Janet's recipe quite a bit to squeeze in even more fruits and veggies and turn the dish into more of a tropical inspired salad than her Thai version.

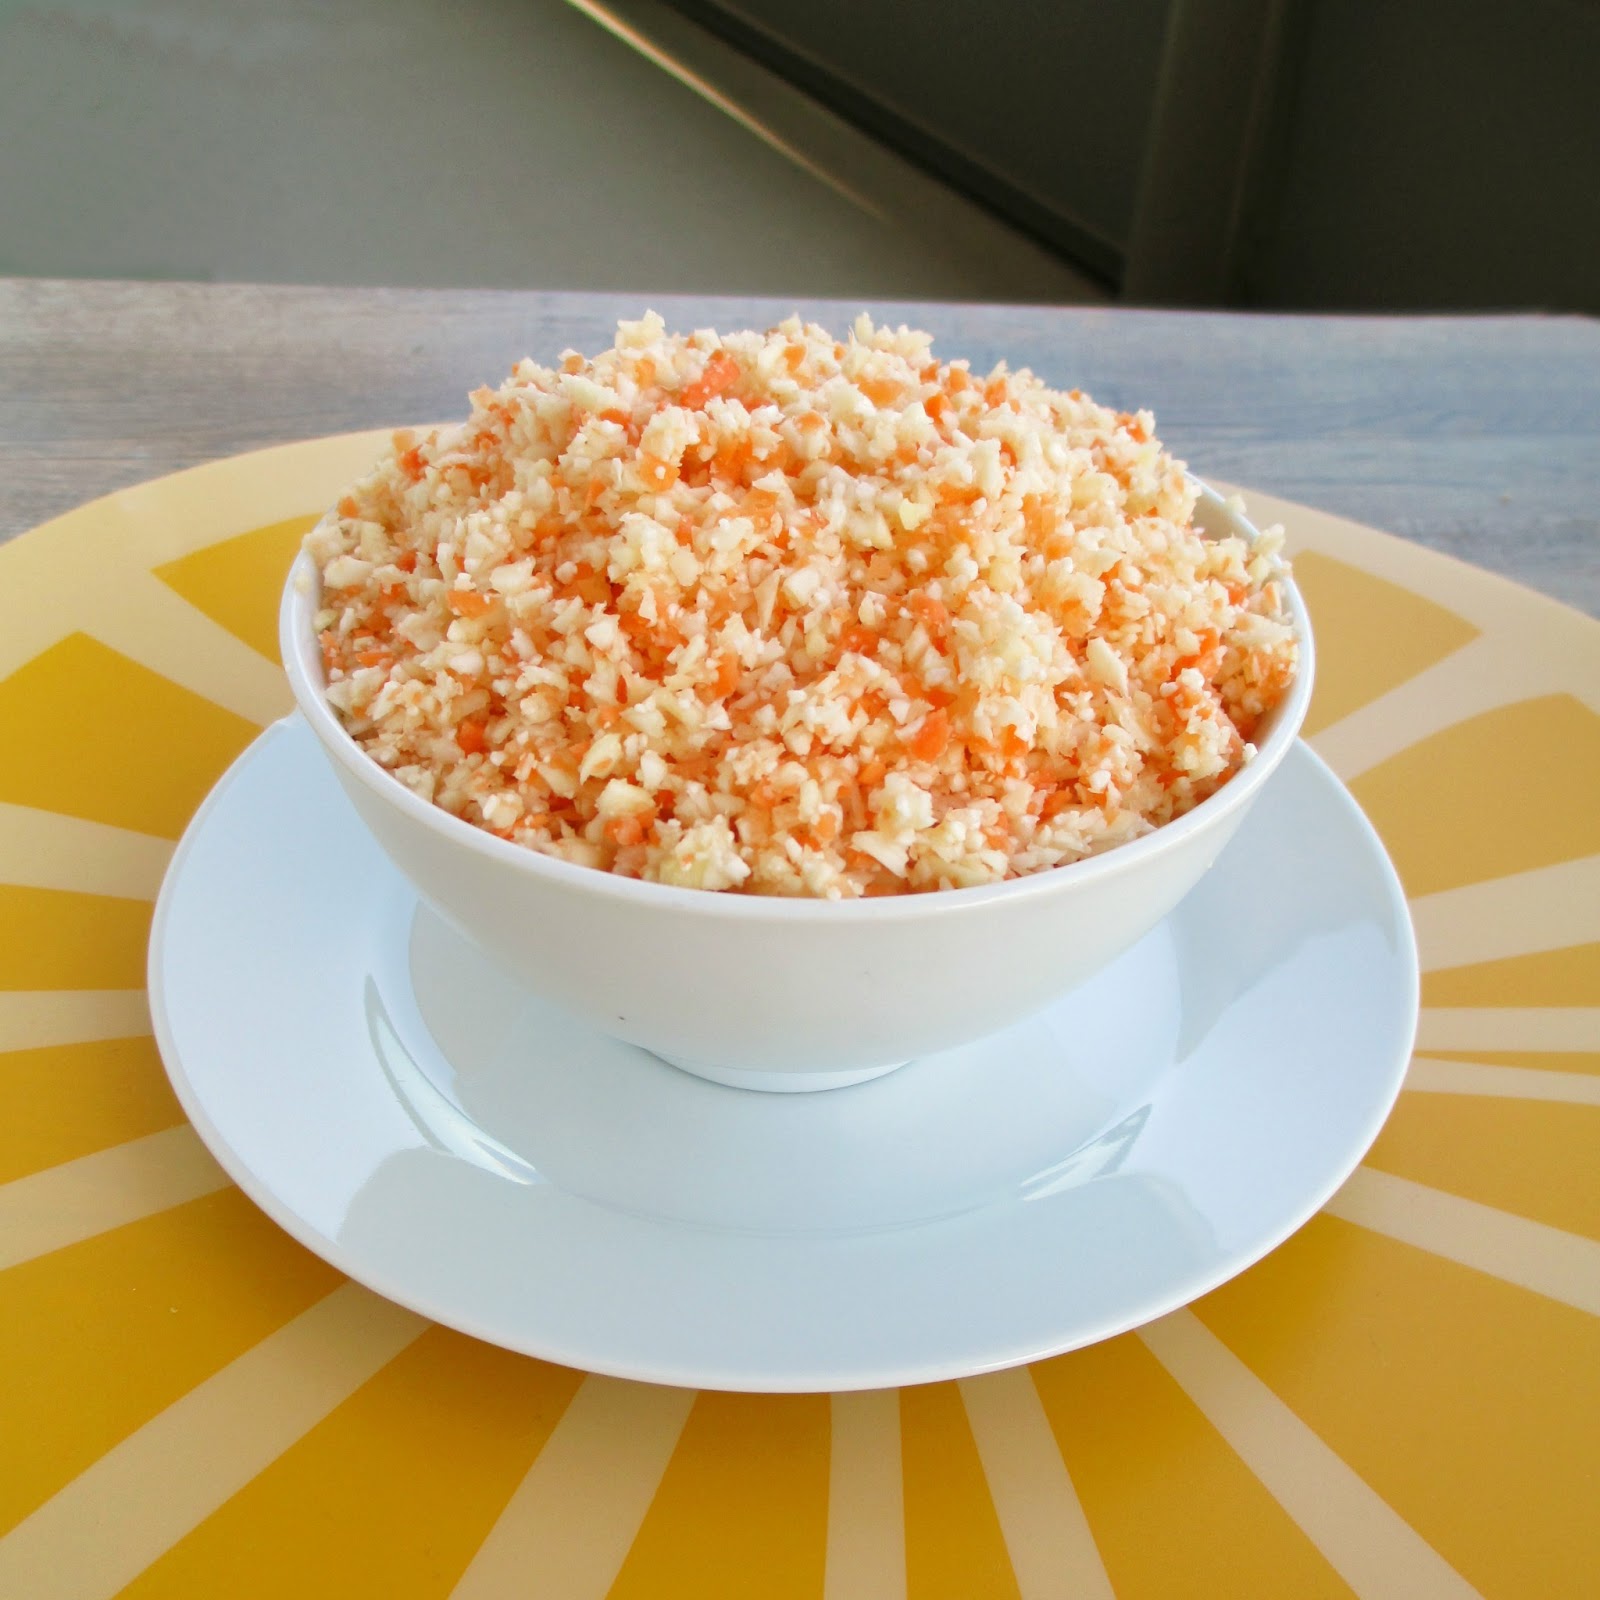
The base of the salad is a mixture of raw parsnips, carrot, and cauliflower all ground up to resemble the texture of couscous. Next, I added fresh pineapple, mango, red pepper and cucumber, plus some dried apricots, all finely diced to the same size.

Once you've got your fruits and veggies, the next component is to add more layers of flavour with lots of herbs - I used cilantro, mint, and green onion. And of course a great salad in my mind needs some kind of nuts, so I went with Janet's suggestion of adding chopped roasted cashews.

Finally, to bring everything together, I made a light and fruity dressing by pureeing more pineapple with some lime juice and ginger.


This turned out to be exactly what I was craving! The best way to describe this salad is that it's super refreshing, and how could it not be, with all of those raw ingredients? I loved the combination of sweet ripe tropical fruits with the crisp veggies, crunchy cashews, and fresh herbs.

My favourite salads are ones with lots of different ingredients so that every bite is interesting, and I thought all of the components in this salad were balanced out nicely so that one flavour didn't dominate.

This recipe also makes a big batch, and I'm happy to have a full container of it to eat for meals over the next few days until my cravings for comfort food come back!


Tropical Detox Salad
Inspired by the taste space

2 medium parsnips, peeled and chopped
1 large carrot, peeled and chopped
1/2 a small head of cauliflower, chopped
1/2 a large red pepper, finely diced (about 1 cup)
1 cup finely diced cucumber
1 ripe mango, finely diced
1.5 cups diced fresh pineapple
1/2 cup thinly sliced scallions
1/2 cup chopped fresh cilantro
2 tbsp chopped fresh mint
1 jalapeno, seeded and minced
5-6 tbsp chopped cashews (I used unsalted roasted cashews)
1/4 cup finely diced apricots

Dressing
1/2 cup chopped fresh pineapple
Juice of one lime
1 tbsp minced fresh ginger
1 tsp tamari
1 tsp mirin
1 tsp honey or agave nectar
1 tsp olive oil
Dash of herbamare or salt

Add the parsnips, carrot, and cauliflower to the large bowl of a food processor. Pulse until veggies are finely minced, but not pureed (the texture should resemble rice).  Transfer to a large bowl.   It should look like this: 


Add the remaining ingredients to the bowl, stirring to mix thoroughly.

To make the dressing, add all ingredients to a blender and puree until smooth. Taste and adjust seasoning if desired.  Pour dressing over salad and toss to mix.

Store salad in the fridge until ready to eat. Serve cold or at room temperature.  Season each serving with additional lime juice and/or herbamare if desired.

Makes 4-5 large servings.

November 06, 2012

Roasted Cauliflower Pasta with White Bean-Sage Sauce


A bowl of warm pasta with lots of veggies and sauce is one of my favourite comfort foods in the winter. I grew up eating my parents' homemade veggie and tomato pasta sauce and I still look forward to eating that meal whenever I'm at home!

It may seem surprising that I've never actually made my own tomato sauce for pasta!  I like to think the reason is that I want to keep my family's recipe special by not attempting to create my own version, but sometimes the truth is that I just use jarred pasta sauce.  Another reason is that I'm always tempted to try new recipes and unique ideas for pasta using different combinations of noodles, veggies, and sauces other than tomato.

The latest pasta recipe that I've tried was inspired by a white bean and sage pasta recipe in the cookbook Vegan Planet.  The original version was a simple linguine tossed in a sauce made from white beans and vegetable stock and infused with fresh sage.


For my own version, I added some garlic for even more flavour, used a thicker noodle to catch all of the sauce, and added some roasted cauliflower so that the dish would have something other than just noodles and sauce.

I thought this combination really worked well together!  The sauce ended up being nice and thick and creamy, even though there was no dairy in it. It had lots of flavour from the garlic, sage, vegetable stock and lemon juice, and the roasted cauliflower was the perfect addition!

Overall, this was a healthy, yet still hearty and comforting pasta dish for winter.  And the best part was that my leftovers lasted me all through the week, so I could look forward to coming home out of the cold weather and heating up a bowl for dinner!


Roasted Cauliflower Pasta with White Bean-Sage Sauce
Adapted from Vegan Planet

For the cauliflower:
1 head cauliflower
1-2 tbsp olive oil
1 tbsp fresh lemon juice
Salt and pepper

For the sauce:
1 tbsp olive oil
1 yellow onion, minced
2 cloves garlic, minced
1/4 cup torn sage leaves
1 can white beans, rinsed and drained
1 tbsp white wine vinegar
Scant 1/2 tsp kosher salt
Freshly ground pepper
1/2-3/4 cup vegetable stock

For the pasta:
1 lb dried pasta, such as fusilli
Lemon wedges for serving

Preheat oven to 450°F. Cut cauliflower into bite sized pieces.  Toss with olive oil, lemon juice, salt and pepper and spread in a single layer on a large baking sheet.  Roast for 25-35 minutes, until tender and lightly browned. 

Meanwhile, prepare the sauce: Heat the olive oil in a large skillet.  Add the onion and cook for about 5 minutes, stirring occasionally, until softened. Add the garlic and sage and cook for 1 more minute.  Add the beans, vinegar, salt and pepper and cook until beans are heated through, 2-3 minutes.

Transfer contents of the pan to a blender or food processor and blend, gradually adding ½ cup of vegetable stock. If you are making the sauce ahead of time, transfer it to a small saucepan and keep warm over low heat, stirring occasionally.

Bring a large pot of water to a boil.  Cook pasta according to package directions, until al dente.  Drain and return pasta to the pot.  Add the sauce and the cauliflower and stir until thoroughly mixed. If the sauce is too thick, add more of the remaining 1/4 cup vegetable stock. Transfer pasta to a serving dish.

Serve warm, with additional ground pepper and fresh lemon wedges for squeezing over top.

Makes 4-5 servings. 

June 10, 2012

Curried Cauliflower, Apple & Brussels Sprout Salad with Naan Croutons


Good morning and hope everyone is enjoying this beautiful weather! On a hot, sunny day like today, all I want to eat is smoothies, popsicles, and fresh salads.  While I don't have any new smoothie or popsicle recipes for you today, I can share this salad that I made recently with cauliflower, apples and brussels sprouts!

I've had this salad on my mind for a long time, ever since I made a version of it about a year ago from a recipe that I found online.  I've tried searching for it again many times since then, but no matter how many different search terms I use, I can't seem to find it anywhere!  So finally I took matters into my own hands and came up with my own version.

The star of this salad is the curried cauliflower, which I roasted in the oven with some Indian spices to give it lots of flavour and a deep yellow colour.  The warm, softened cauliflower is then tossed with some crisp apple slices and shredded raw brussels sprouts.  I also added some sultana raisins because I love the way raisins complement Indian-inspired dishes.

Finally, the salad is topped with a handful of naan "croutons", which I made by toasting storebought naan bread in the oven and breaking it into bite-sized pieces. I'm not a fan of super crunchy croutons, so I kept my naan a bit on the softer side, which worked perfectly in my salad.

You can toss this salad with any dressing that you like. I decided to pair mine with this recipe for Hummus Salad Dressing from the blog Healthful Pursuit.  The dressing is made with standard hummus ingredients like tahini, lemon juice, garlic, and spices, and it gets really thick and creamy from the addition of chickpea flour. If you don't have chickpea flour, or if you prefer a thinner salad dressing, I think the dressing from this Apple and Brussels Sprout Salad from Bran Appetit would work really well here too!

Overall, I loved the mix of textures in this dish and it definitely had a lot of flavour from the curried cauliflower and the tangy, spicy hummus dressing. I liked eating this salad warm, but you can eat it at room temperature or chilled if you prefer. You can also change it up by using romaine lettuce or mixed greens instead of the brussels sprouts. The recipe is flexible, so enjoy it however you like!


Curried Cauliflower, Apple & Brussels Sprout Salad with Naan Croutons
*Note: storebought naan bread can be non-vegan friendly, so check ingredients or use a homemade version or other type of flatbread for a completely vegan recipe

Half a head cauliflower, chopped
1 tbsp olive oil
1/2 tbsp curry powder
1/2 tsp turmeric
dash of salt
~12 oz Brussels sprouts
1 piece of naan bread (storebought or homemade)
1 apple
2-3 tbsp sultana raisins

Spicy Hummus Salad Dressing
Recipe available at Healthful Pursuit
- I made 1/4 of the recipe, which was enough for my two servings of salad
- the only change I made was to add 1 tsp of sriracha chili sauce for a spicier version
-  

Preheat oven to 425°F. Toss the cauliflower pieces with the olive oil, curry powder, turmeric and salt and place in a baking dish. Roast in the oven for 30-35 minutes, until tender and browned. When it is done, remove from oven and let cool slightly. Keep the oven turned on.

Meanwhile, prepare the dressing by adding all ingredients to a blender and puree until smooth. Keep in the fridge until you are ready to make the salad.

Prepare the brussels sprouts by cutting off the bottoms and removing the outer leaves. Cut each one in half, then slice each half into thin slices or shreds.  Transfer to a large bowl.

Place the naan bread on a baking sheet. Spray with a bit of cooking spray and place in the preheated oven for about 7 minutes, until it is toasted.

Cut the apple into thin slices and add to the bowl with the brussels sprouts. Add the raisins and cauliflower to the bowl.  Pour the dressing over the salad and toss to combine (use as much dressing as you like to coat everything).

When the naan is toasted, slice into bite-sized pieces and add the pieces to the salad.


Serve warm, or at room temperature.

Makes 2 large servings.

June 01, 2012

Cauliflower-Stuffed Artichoke


I have a small confession to make: I've never had a real artichoke before. Even though I'm a huge fan of vegetables and I consider myself pretty adventurous when it comes to trying new foods, for some reason I've always been too scared of artichokes to buy any.

So this past weekend, I decided to it was time to change this situation and I specifically sought out an artichoke when I went to the farmers' market. There was only one stall that had them and at $2.50 per artichoke, they weren't exactly the cheapest vegetable around!  But I didn't let the price scare me off and I picked one out to take home.

The main thing that scared me about artichokes was that I didn't even know how to eat them, let alone how to cook them. So I spent some time doing some research and learned that there are different parts of an artichoke - some edible and some not.  For example, you can eat the "meat" at the bottom of each leaf, but not the leaves themselves.  You can also eat the artichoke heart in the middle, but not the fuzzy "choke" at the very centre.

I also learned that you have to clean and trim your artichoke before you can start cooking it.  This involves trimming the pointy ends off each of the leaves, slicing off the top and bottom, and scooping out the inner choke.

Even though it sounded like a lot of work just to eat one vegetable, I was determined to go ahead, hoping that the end result would be worth it!

Here's how mine looked in the steamer basket after I scooped out the choke:


Once the initial preparations were done, I had to decide how I wanted to eat it.  I could have left the artichoke plain and dipped the leaves in a sauce, like many recipes call for.  But instead, I decided to make a filling to create a stuffed artichoke.

Since I had some cauliflower in the fridge, I came up with the idea of a cauliflower stuffing. I've seen some recipes for cauilflower "rice" or "couscous", which is just caulilfower that's been pulverized in the food processor to resemble grains of rice. I thought that seemed like the perfect simple and nutritious stuffing for my artichoke!

The cauliflower couscous was really easy to make, and it was actually pretty fun stuffing it into the hollow artichoke and in between each of the leaves.

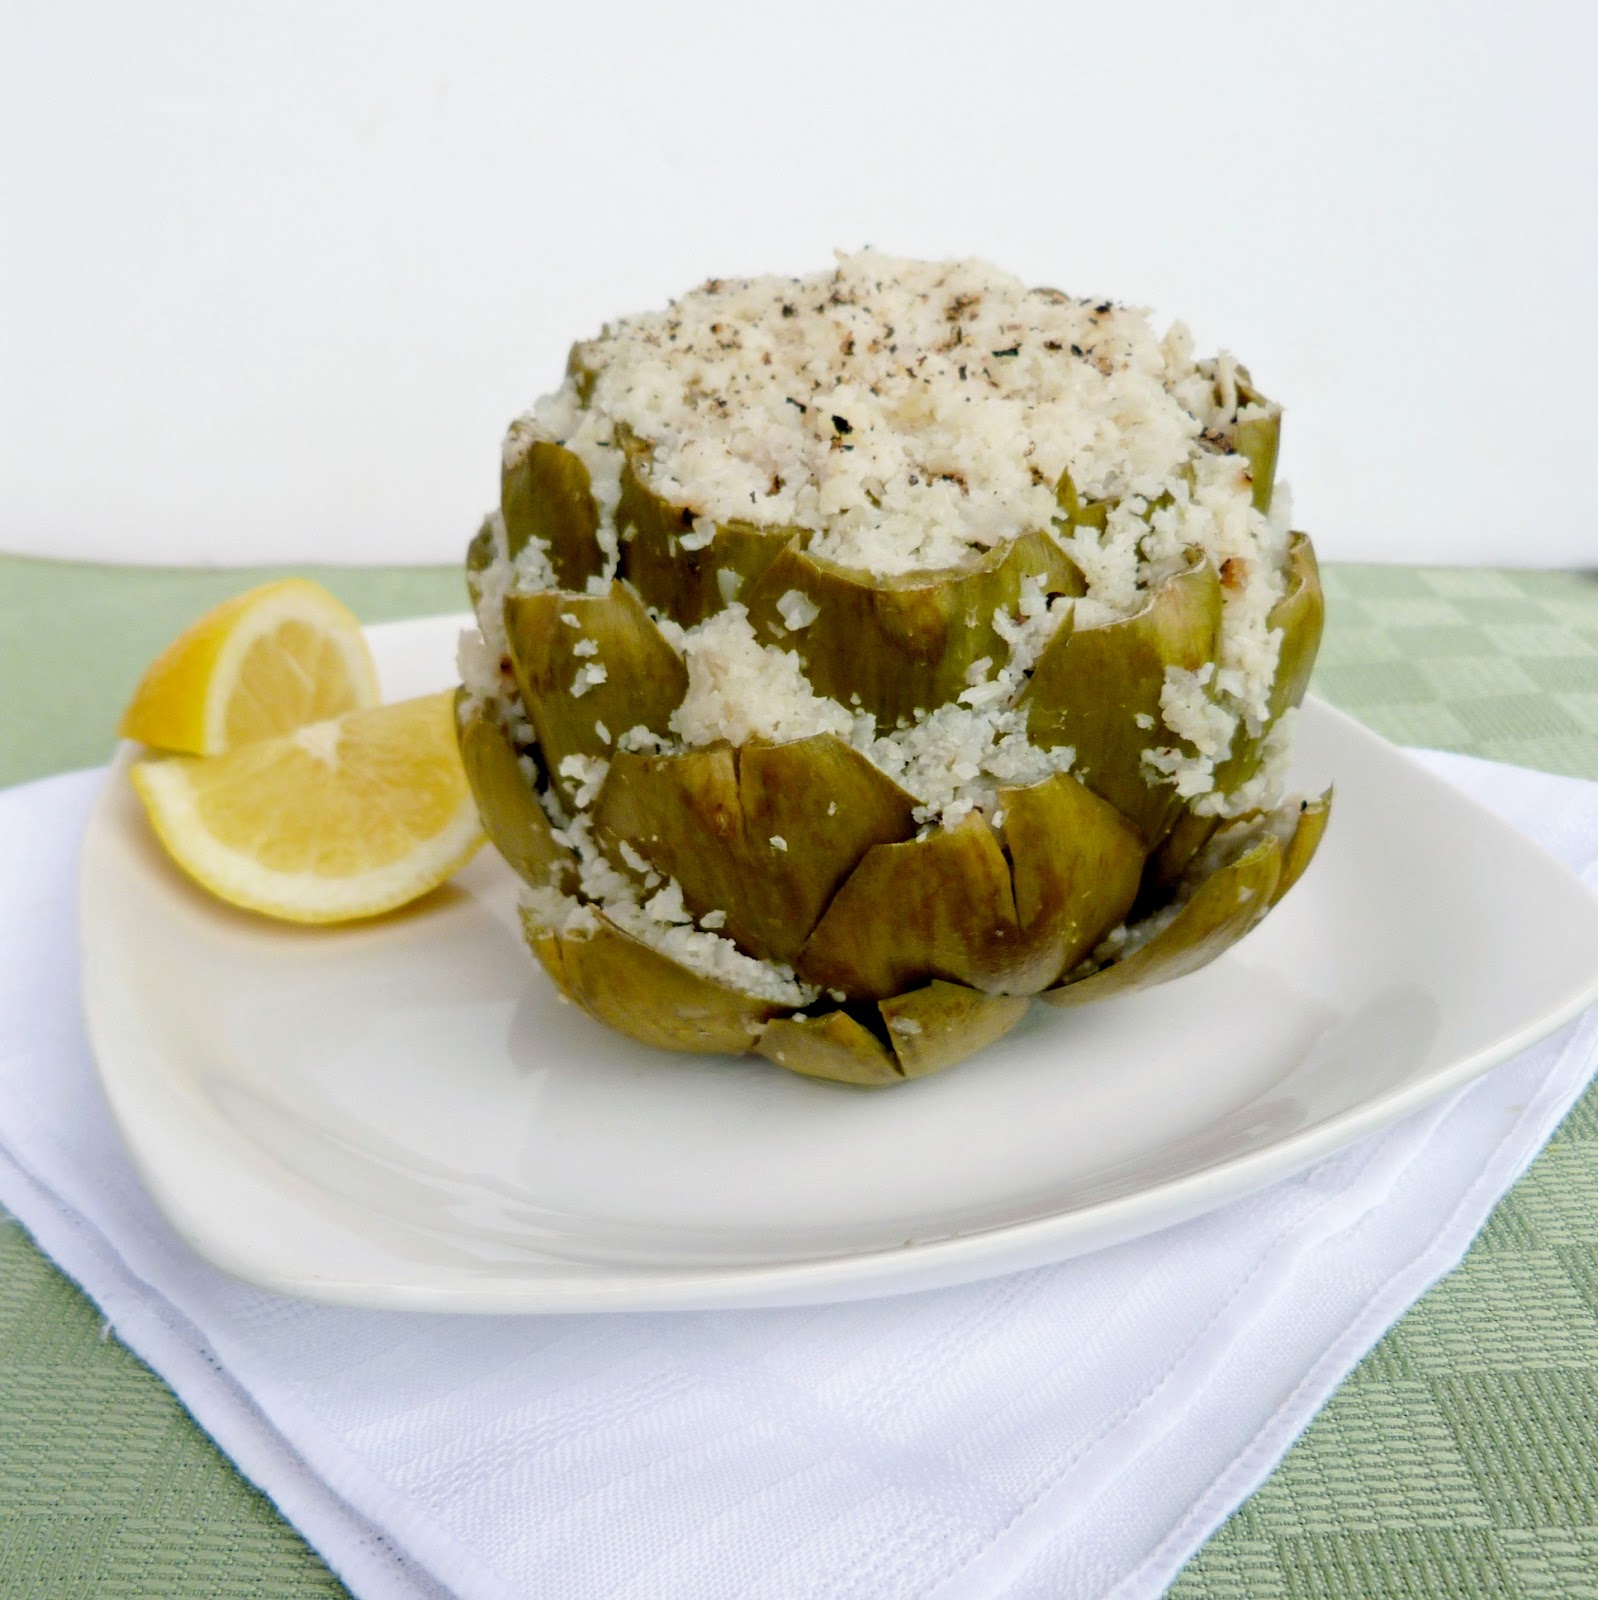
Once it's stuffed and ready to go, all that's left to do is place the whole thing in a steamer basket and wait patiently...but I can assure you, the wait is definitely worth it! I was so excited to finally try the artichoke and it did not disappoint!


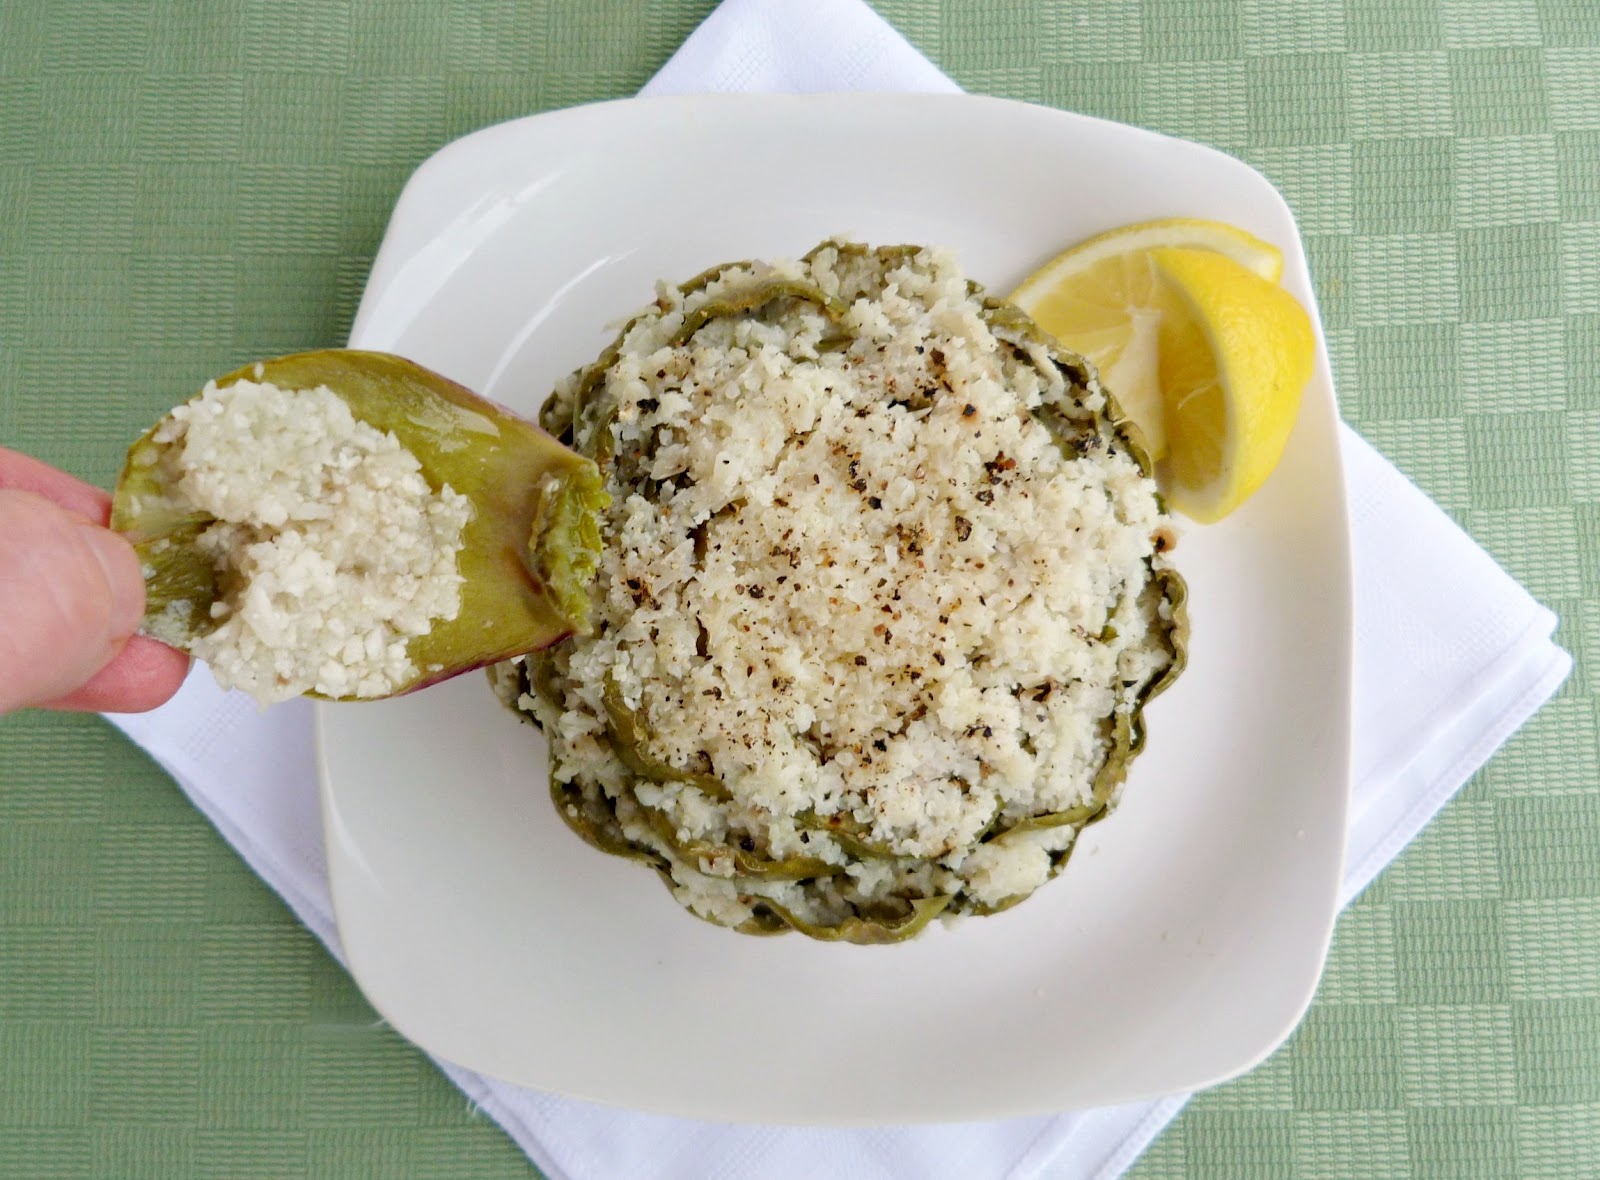
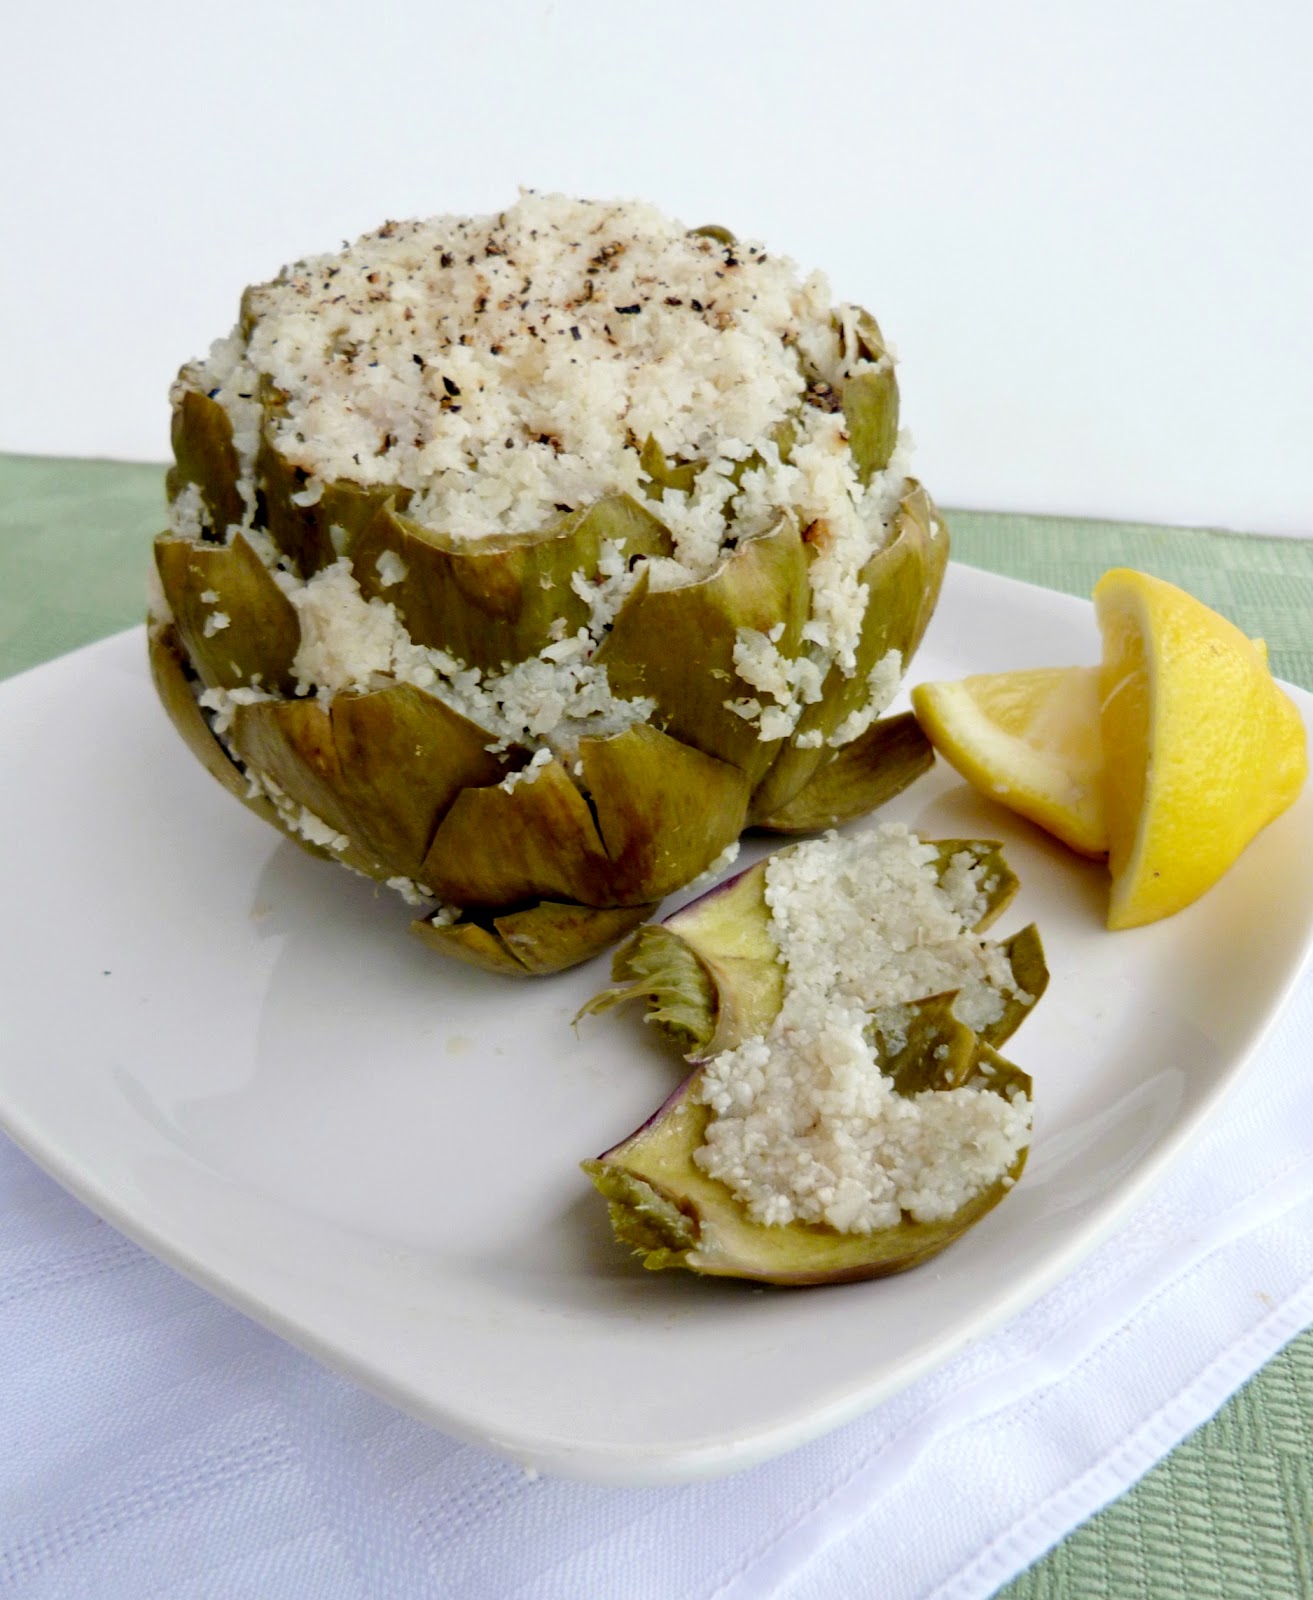
The cauliflower stuffing was soft and moist and had just enough flavour without overpowering the artichoke. And if you've stuffed it well, then each leaf should have a bit of cauliflower on it that you can scrape off with your teeth along with the artichoke meat.

Of course, a big part of the experience is enjoying the process of pulling off each leaf and finding more and more of that delicious artichoke meat as you get closer to the center.

And when you reach the heart in the middle, you'll finally understand why people go to all the work of preparing an artichoke!  The heart of a real artichoke is so much better than any you find in a can or jar - it's so tender and creamy and tastes amazing both on its own and when combined with the cauliflower stuffing.

The whole dish is made even better when it's served with a couple of lemon wedges that you can squeeze over the leaves and stuffing. Artichokes and lemon complement each other really well, so I would definitely recommend that you don't leave that part out!

So if you're like me and have never tried an artichoke, then hopefully I've convinced you to change your mind!  And if you're already a fan of them, then I hope I've at least given you a new idea for a delicious way to enjoy them!


Cauliflower-Stuffed Artichoke


1/4 of a head of cauliflower, chopped (~1/2 lb)
1 shallot, chopped
1 clove garlic, minced
Salt and pepper
1 large globe artichoke
Olive oil (optional)
Lemon wedges for serving

First, prepare the cauliflower stuffing:  
Roughly chop the cauliflower into pieces and add to a food processor through the feed tube, using the grater blade (this should turn it into finely chopped pieces). Replace grater blade with the regular blade.  Add the shallot and garlic to the food processor with the cauliflower and pulse a few times. Season with salt and pepper to taste. Transfer mixture to a bowl and set aside (you should have about 2 cups).

Next, prepare your artichoke: 
Slice off the stem at the bottom so that you have a flat base and the artichoke can stand upright. Trim the pointy tips of the artichoke leaves using kitchen scissors and discard. Slice off about 3/4” from the top of the artichoke so that the leaves can open up and be pulled apart.  Spread the leaves so that you can see the inside of the artichoke – the flowery, hairy part (the choke) is the part you want to scoop out.  Use a small spoon or ice cream scoop to scoop out the inner choke.  Once it is clean inside, squeeze some lemon juice all over the artichoke to prevent browning.

Prepare your steamer by bringing a pot with filled about a couple inches of water to a boil on the stove.

Meanwhile, stuff your artichoke: First, spoon the cauliflower mixture into the hollow centre of the artichoke. Keep stuffing, packing it down as you go, until you can’t fit any more inside.  With the remaining stuffing, fill the inner side of each of the outside leaves, using a small spoon or your fingers to push the mixture down into the leaves.  Drizzle a bit of olive oil over the stuffed artichoke.

To cook:
Place your stuffed artichoke into a steamer basket and insert into the pot of boiling water.  Reduce heat to a simmer, cover the pot, and steam for 30-40 minutes (once you can easily pull off one of the outer leaves, it should be done). Keep an eye on the water level and if it starts to get too low, add some more hot water to the pot.

To eat:
Carefully remove artichoke from steamer and transfer to a plate.  Season with additional ground pepper and serve with lemon wedges to squeeze over top.

Begin by pulling off the outer leaves one by one. Use your teeth to scrape off the stuffing and the “meat” at the base of the leaf, and discard the rest of the leaf. (Note: you’ll notice that as you get closer to the inner layer,  the leaves will have more white meat on them). You can spoon some more of the stuffing from the center onto the leaves as you go if you like. Once you get to the middle, you’ll be left with the artichoke heart, which is the best part – you can eat all of it, along with the rest of your stuffing!

Serves 1.

This was submitted to Wellness Weekend at Diet, Dessert and Dogs.

October 03, 2011

Thanksgiving Week - Day 2: Curried Pumpkin Cauliflower Soup


For Day 2 of Thanksgiving Week, I decided to post a recipe for the perfect comforting soup to add to your Thanksgiving meal. I realize that soup isn't traditionally served at Thanksgiving, but I think it makes a great addition to a vegetarian meal, for those who won't be eating turkey or ham.

Besides, this curried pumpkin cauliflower soup is so good that all of your guests will be happy to eat it! They will also be surprised at how healthy it is when you tell them that this super creamy and delicious soup has no cream or other dairy products in it!

I found the recipe on Cookstr, and made a few changes to improve the taste and texture. I decided to puree half of the cauliflower and leave the rest as whole pieces. This technique made the soup nice and creamy, and the pieces of toasted cauliflower that were mixed in throughout the soup made it extra special!

Besides the interesting mix of textures, I also loved the flavours in this soup - the cauliflower mixed with onion, garlic and curry powder would have tasted great on its own, but combining all of these ingredients with pumpkin puree gave the soup an even richer, smoother taste.

This was submitted to Souper Sundays, hosted by Deb at Kahakai Kitchen.


Curried Pumpkin Cauliflower Soup
Adapted from Cookstr, originally from Eat to Beat Prostate Cancer Cookbook

2 tbsp olive oil
One head of cauliflower, trimmed and chopped
1 yellow onion, peeled and chopped
2 cloves of garlic, peeled and minced
1 tbsp curry powder
4 cups vegetable broth
16 oz pumpkin puree (I used canned pumpkin)
3/4 tsp salt
Ground pepper

Heat the olive oil in a large saucepan on medium heat. Add the chopped cauliflower and cook, stirring occasionally, for about 5 minutes, until cauliflower is lightly browned. Remove cauliflower from the pot and set aside in a bowl.

Add the onion, garlic and curry powder to the pot and stir around. Cook for about 5 minutes, stirring occasionally, until onion has softened.

Add 2 cups of the vegetable broth and about half of the cauliflower to the pot (try to choose the larger pieces of cauliflower to add to the pot, leaving the smaller pieces aside for now). Bring to a boil, then reduce heat, cover, and simmer for about 15 minutes.

Transfer the mixture to a blender and puree in batches. Return the mixture to the saucepan.

Add the remaining 2 cups of vegetable broth, pumpkin puree, salt, and the remaining cauliflower to the pot. Bring to a boil, then reduce heat, cover and simmer for about 10 minutes.

Serve hot with freshly ground pepper.

Makes 6 full-sized servings (or more as an appetizer).


Don't Miss:
Thanksgiving Week - Day 2 recipe on Once Upon a Cutting Board: Spicy Pumpkin Hummus - a unique dip idea to serve as an appetizer!


LinkWithin

Related Posts Plugin for WordPress, Blogger...