
Showing posts with label frozen. Show all posts

August 06, 2013

Vegan Tropical Mango Ice Cream


As I mentioned in my last post, I just got my first ice cream maker this summer. I was always so jealous of other bloggers who dream up such inventive flavour combinations for ice cream that they can actually make at home, so I'm excited that I can finally join in!

So far, I've only experimented with vegan ice creams using coconut milk as the base rather than heavy cream or eggs. I figure I can go out and and buy decadent ice cream any time I want, so if I'm going to go to the effort of making my own personalized ice cream, I might as well take advantage of the opportunity to make it a bit healthier too!


I love tropical flavours and anything with mango, so when I saw a recipe for frozen mango coconut "thaiphoon" ice cream in my Vegan Planet cookbook, I knew I had to give it a try.

The ice cream itself is a blend of coconut milk, lime juice, and pureed mango, and I guess the "thaiphoon" part comes from the toppings that are added afterwards - chopped nuts, toasted coconut, and diced mango (which I forgot to add until after I took my photos and devoured most of the bowl!).
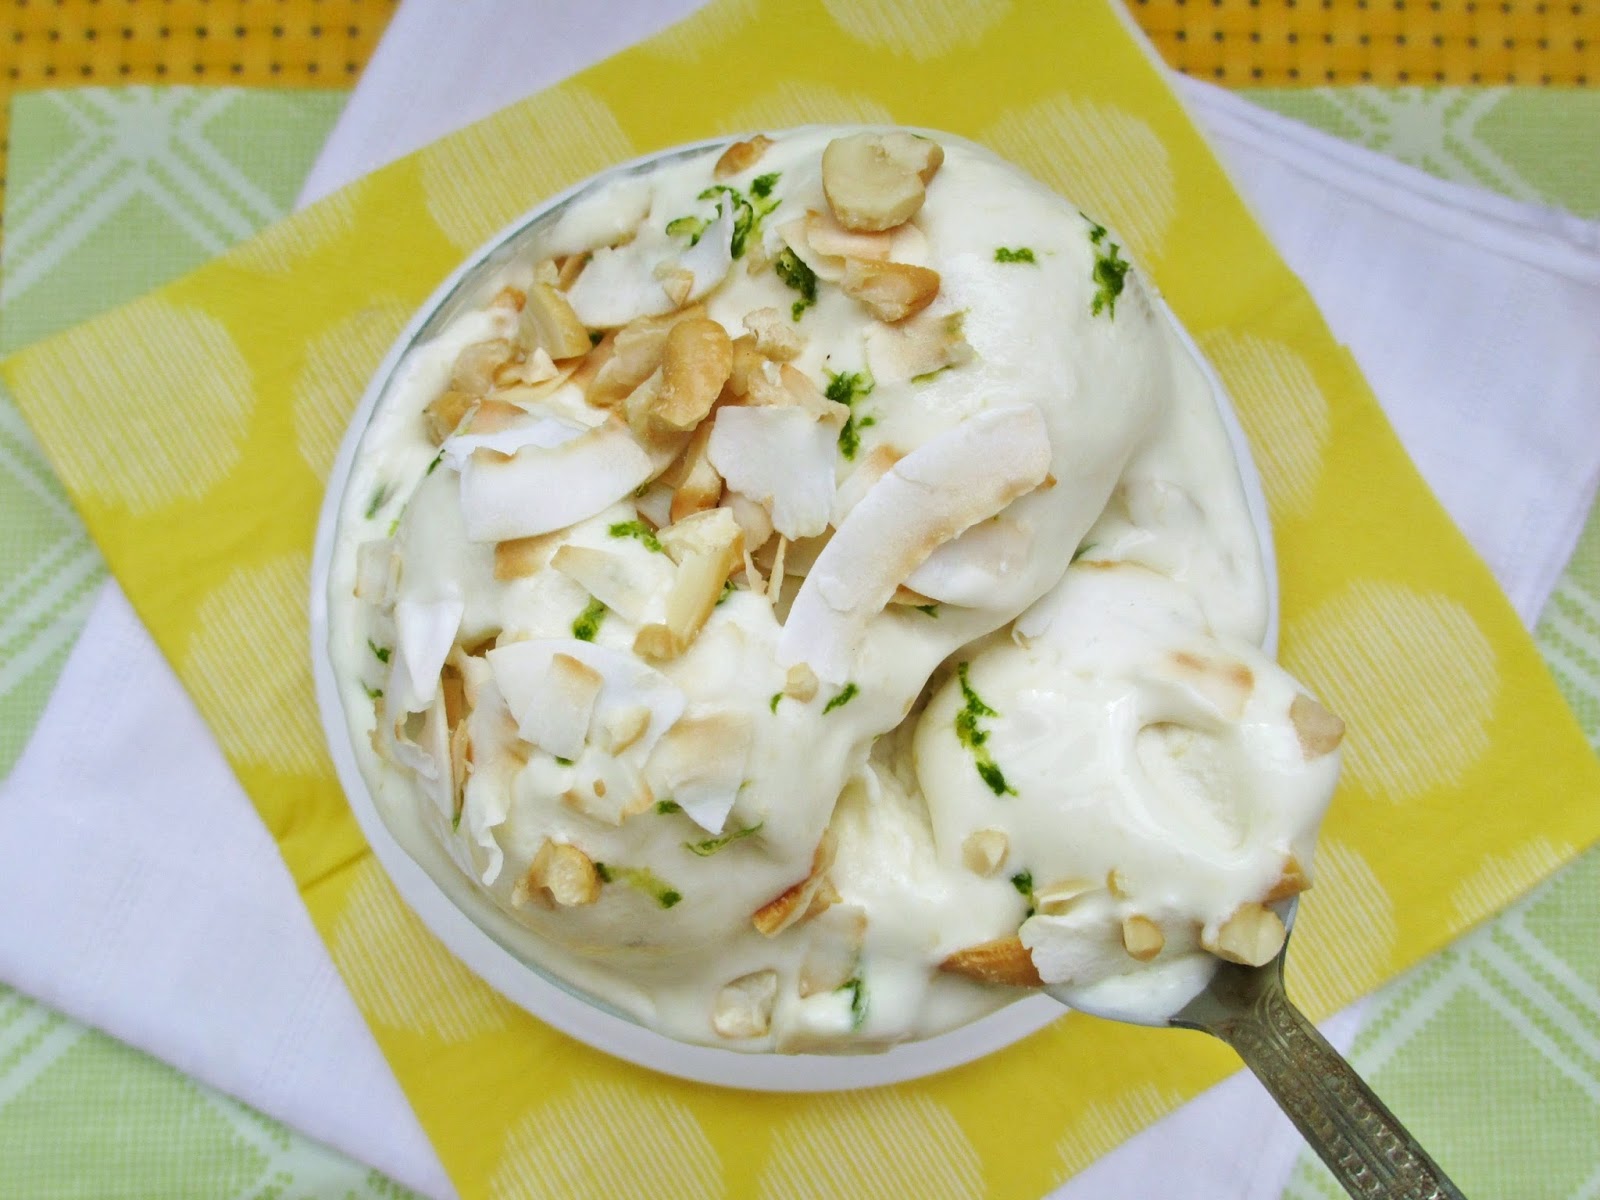

I liked this ice cream best just after it was churned, when it was still soft-serve consistency with a super creamy texture.

The ice cream itself wasn't too sweet and had hints of coconut and mango flavours with just enough lime. I loved the crunchy cashews and chewy coconut flakes sprinkled on top, but if you're not a fan of crunchy or chewy pieces in your ice cream, you can definitely eat it on its own and it will be just as tasty!

Now I just need the weather to cooperate and realize it's still supposed to be summer, not fall, so that I can keep making and enjoying more ice cream!
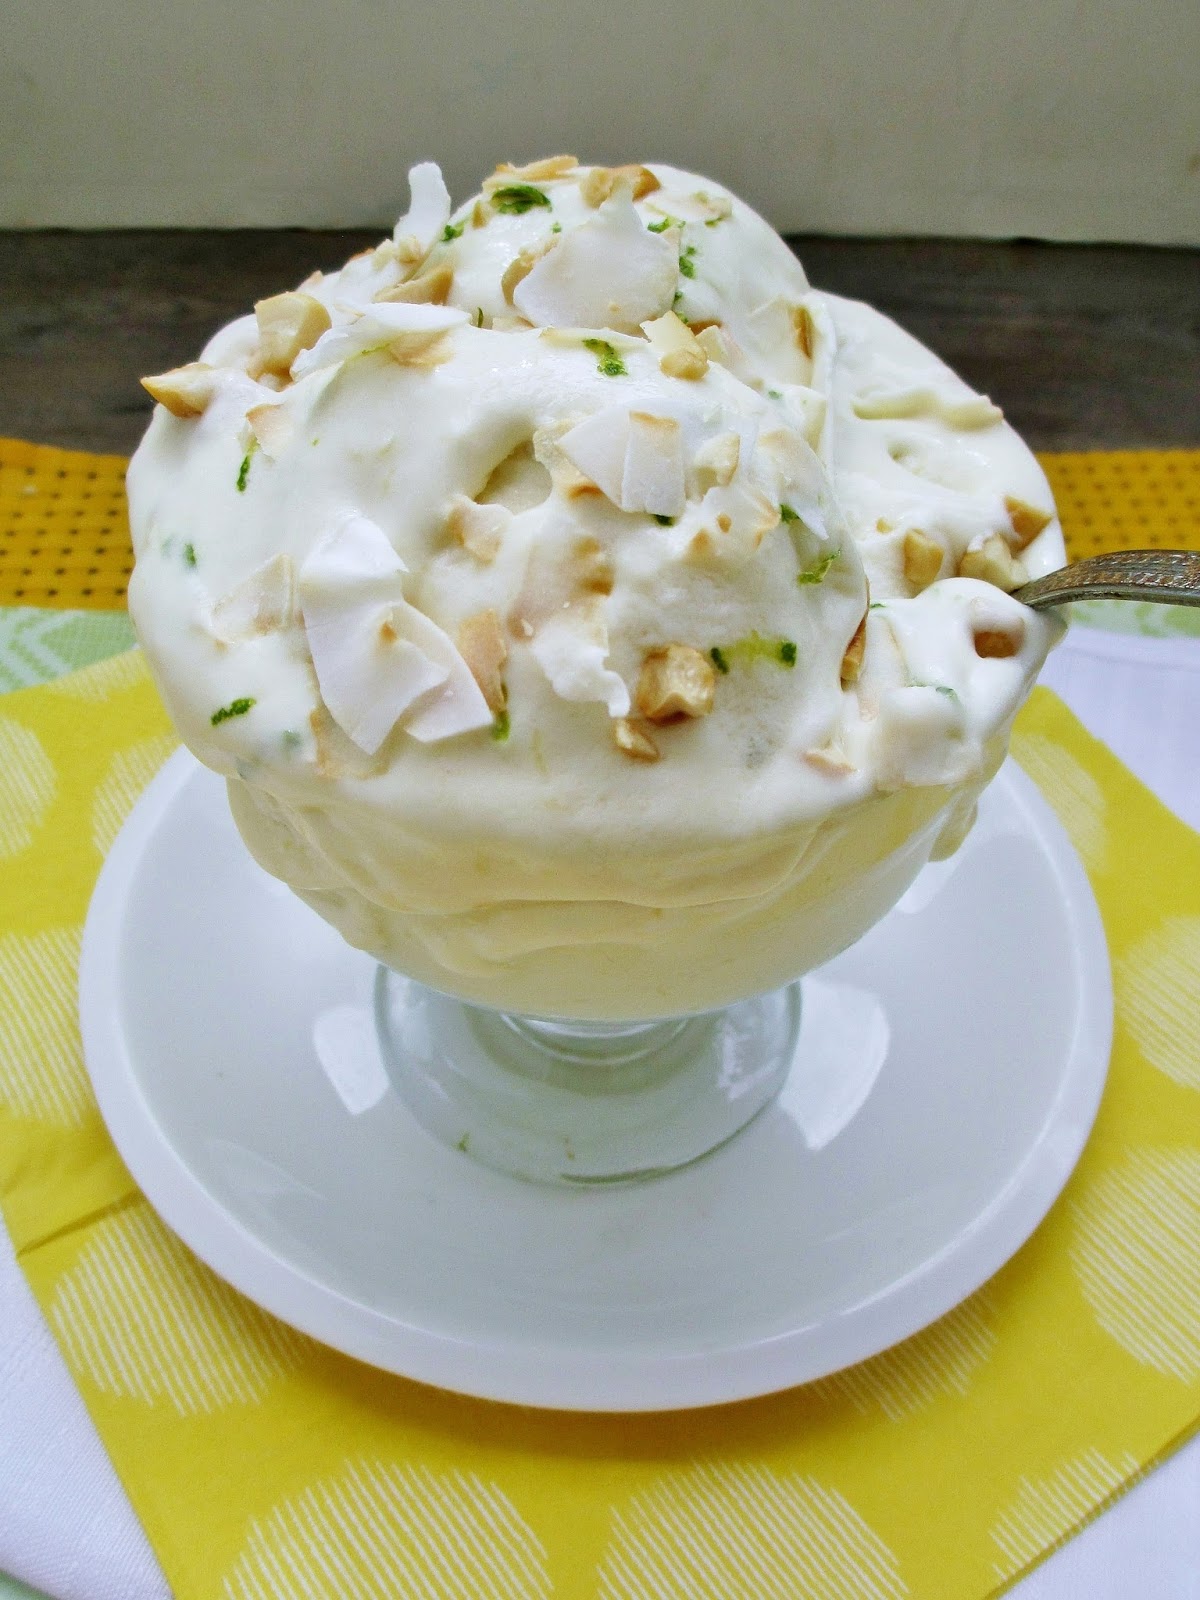


Tropical Mango Ice Cream
Adapted from Vegan Planet

Ice Cream Base
2 tbsp arrowroot powder
1/2 cup non dairy milk (I used almond milk)
2 cans full fat coconut milk
1/4 cup + 2 tbsp agave nectar
1 tsp lime zest
2 tbsp fresh lime juice
1 tsp vanilla extract
1 mango

Toppings (per serving)
~1/4 tsp lime zest (optional)
1 tbsp finely chopped roasted cashews (can substitute peanuts)
2 tbsp unsweetened coconut flakes, toasted
Diced fresh mango (optional)


In a small bowl, stir together the arrowroot and almond milk until smooth.

Add coconut milk to a saucepan and heat on medium until it just starts to simmer. Stir in the arrowroot mixture and reduce heat to medium-low. Continue to heat, stirring constantly, for about 5 minutes, until the mixture has thickened a bit. Remove from heat and stir in the agave, lime zest, lime juice, and vanilla extract.

Puree the mango by cutting it into pieces and blending in the small bowl of a food processor until smooth. To make it easier to blend, add 1-2 tbsp of the coconut milk liquid mixture. Stir the pureed mango back into the ice cream mixture. Let cool, then transfer to a container and chill in the fridge until completely cold, preferably overnight.

When ready, pour mixture into your ice cream maker and churn according to the manufacturer’s instructions. 

Eat immediately for soft-serve consistency, or return to the freezer for a couple of hours first to firm up more. (Note: if you're eating it from the freezer, let it thaw at room temperature for at least 15-20 minutes first, as it firms up quite a bit after being stored in the freezer for awhile).  

To serve, place desired ice cream amount in a bowl and top with a bit of lime zest, cashews, toasted coconut, and mango (if desired).


June 29, 2012

Mini Frozen Coconut-Raspberry Loaf for Canada Day


Somehow June has sped by, and I can't believe that this weekend we'll already be moving into July!  That also means that this weekend is a long weekend, since July 1st is our Canada Day holiday.

It seems like there aren't that many recipes or ideas out there for Canada Day treats, so I wanted to contribute something to honour our country's birthday!

I decided to make something simple using our national colours of red and white.  Strawberries and raspberries are both good options for making Canada Day treats since they're naturally red, so I bought some raspberries with the intention of making some kind of frozen treat.

I ended up choosing Chocolate Covered Katie's recipe for vegan vanilla ice cream, but I used coconut milk to make it a bit creamier.  I poured the liquid mix into my mini loaf pan so that it would freeze in a rectangular shape, like a Canadian flag.  I also added some raspberries to the mixture before freezing so that the frozen loaf would be studded with red berries. 


Once the mixture was frozen solid, I made a red "glaze" to spread over the ends of the loaf to make the Canada flag design.  I wanted the glaze to stay in place once I spread it on, but I wasn't sure how to do that at first, until I thought of the "magic shell" idea.  If you haven't heard of this idea, you basically mix melted coconut oil with melted chocolate, and if you pour this mixture onto cold ice cream, the coconut oil hardens again, creating a solid chocolate shell.

I've experimented in the past with a peanut butter "magic shell", using another of CCK's recipes.  Since it worked with peanut butter, I decided to try mixing raspberry jam with coconut oil to make a red magic shell that I could use on my frozen loaf.

It took me a few attempts to get it right, but eventually I managed to get a thick, spreadable glaze that hardened in the freezer.  My first attempts didn't work out properly because the jam separated too much from the coconut oil, and the whole mixture was too liquidy.  I started wondering how I could thicken the mixture, when I had another idea - coconut flour!  I knew that coconut flour absorbs liquids really well and can be used to thicken frostings, so I tried adding a small amount to my jam-coconut oil mixture, and it worked perfectly - the coconut flour helped to bind the two ingredients and made the mixture thick enough to spread.


Once I'd made my glaze, I spread it over the ends of the frozen loaf and let it harden in the freezer for a few more hours.  The raspberry jam turned out a little dark, but I was really happy with how it worked out - not only did it look very patriotic, but it tasted good too!

I thought the coconut flavour went really well with the tart raspberries, and I loved the sweet jam glaze too.  The one thing that would make the loaf better would be if it had a more creamy texture.  Since I froze the liquid mixture in the loaf pan and wanted to keep its shape, I couldn't stir it around or blend it up again after freezing it, so it ended up being more of an ice-milk loaf instead of ice cream. It actually reminded me of a giant popsicle, which I didn't mind at all (I actually might use this recipe again to make raspberry-coconut popsicles using my popsicle mold)!

To eat this icy treat, let it sit at room temperature to thaw a bit first and then you can cut it into slices.  Or if you don't mind taking apart the flag design, you could try placing the frozen slices in a food processor and blending it up to get more of an ice-cream texture, like the original recipe.  I also liked to add more fresh raspberries to each serving.

You can also change up the recipe by spreading the glaze over the entire cake instead of creating the Canadian flag design.  Or you could also just make the raspberry magic shell recipe and try eating it on regular ice cream or frozen yogurt.

I hope everyone else celebrating Canada Day this weekend enjoys the holiday and lots of food, and that my American readers enjoy their own holiday next week!


Mini Frozen Coconut-Raspberry Loaf

1 recipe for vegan vanilla ice cream, found here (Note: I used 3/4 cup vanilla Coconut Milk beverage plus 1/4 cup canned coconut milk)
a few raspberries, chopped

Glaze:
1 tbsp coconut oil
2-3 tsp seedless raspberry jam
1/2 tsp coconut flour

To make the loaf, mix all ingredients for the ice cream, following the directions in the original recipe.

Line a mini loaf pan with saran wrap, letting it hang over the edges of the pan. Pour the mixture over the saran wrap to fill the loaf pan (leave a tiny bit of room for expansion once it freezes).  Scatter the chopped raspberries over the liquid in the loaf pan and press each one down gently to submerge them.

Place loaf pan in freezer and freeze until solid (I left mine overnight).

To make the glaze, place the coconut oil and jam in a small microwave-safe bowl and microwave for about 10-20 seconds, until the coconut oil is melted.  Whisk the mixture, then add the coconut flour and whisk or stir again until the coconut flour is absorbed (you might still have a few lumps).

Remove loaf pan from freezer and run the bottom of the pan under hot water to help loosen the loaf.  Run a knife around the edges and invert the pan onto a plate, or pull the edges of the saran wrap to remove the loaf.

Spread the glaze onto the two edges of the loaf (or over the entire surface if you don't want to make a Canadian flag design). Place another drop in the center and stick a raspberry on top.

Return loaf to the freezer to harden for at least 1-2 hours.

Remove from freezer and let thaw for at least a few minutes.  Slice into pieces and serve with fresh raspberries.


This was submitted to Ricki's Wellness Weekend at Diet, Dessert and Dogs.

December 09, 2011

Vegan Eggnog Soft Serve


I've mentioned before that my new obsession this holiday season is So Nice Noel Nog. Other than drinking it straight from the carton, I've also used it in cookies and these scones, and now I have another delicious way to use it - creamy, Christmas-y soft serve!

This is another variation of the banana soft serve that has become very popular in the blog world. Not surprisingly, I'm not the first blogger to come up with an eggnog version - Peas and Thank You posted the perfect recipe last year so mine is based on hers, which you can find here.


I also thought that some graham cracker crumbs would be the perfect topping for my eggnog soft serve, but I didn't have any in my pantry at the time, so I ambitiously set out to make my own graham crackers from scratch....unfortunately, my attempt wasn't that successful - even though I checked on them in the oven early, they were already burnt and barely edible.

Luckily I managed to salvage a few of the least burnt crackers to crumble up and use for a topping, so it still worked out just how I was hoping!

Even though the base of the soft serve is a banana, the eggnog was definitely the dominant flavour, with a touch of cinnamon and nutmeg. This makes a great healthy holiday treat that is so easy to whip up for dessert or as a snack any time!


Vegan Eggnog Soft Serve
Adapted from Peas and Thank You

1 frozen banana
2.5 tbsp non-dairy egg nog (I used So Nice Noel Nog)
1/2 tsp agave syrup (I used a vanilla-flavoured one)
1/4 tsp pumpkin pie spice
pinch of nutmeg
cinnamon and graham crackers for topping

Chop up your banana and place in a food processor. Add the eggnog, agave, pumpkin pie spice and nutmeg. Process until the mixture is completely smooth. 

Transfer to a chilled glass or bowl and top with a sprinkle of cinnamon and crumbled graham crackers if desired.

Makes 1 serving.


This is linked to FaveDiet's December Blog Hop - you can vote for me here!

LinkWithin

Related Posts Plugin for WordPress, Blogger...