Showing posts with label holiday. Show all posts

March 12, 2014

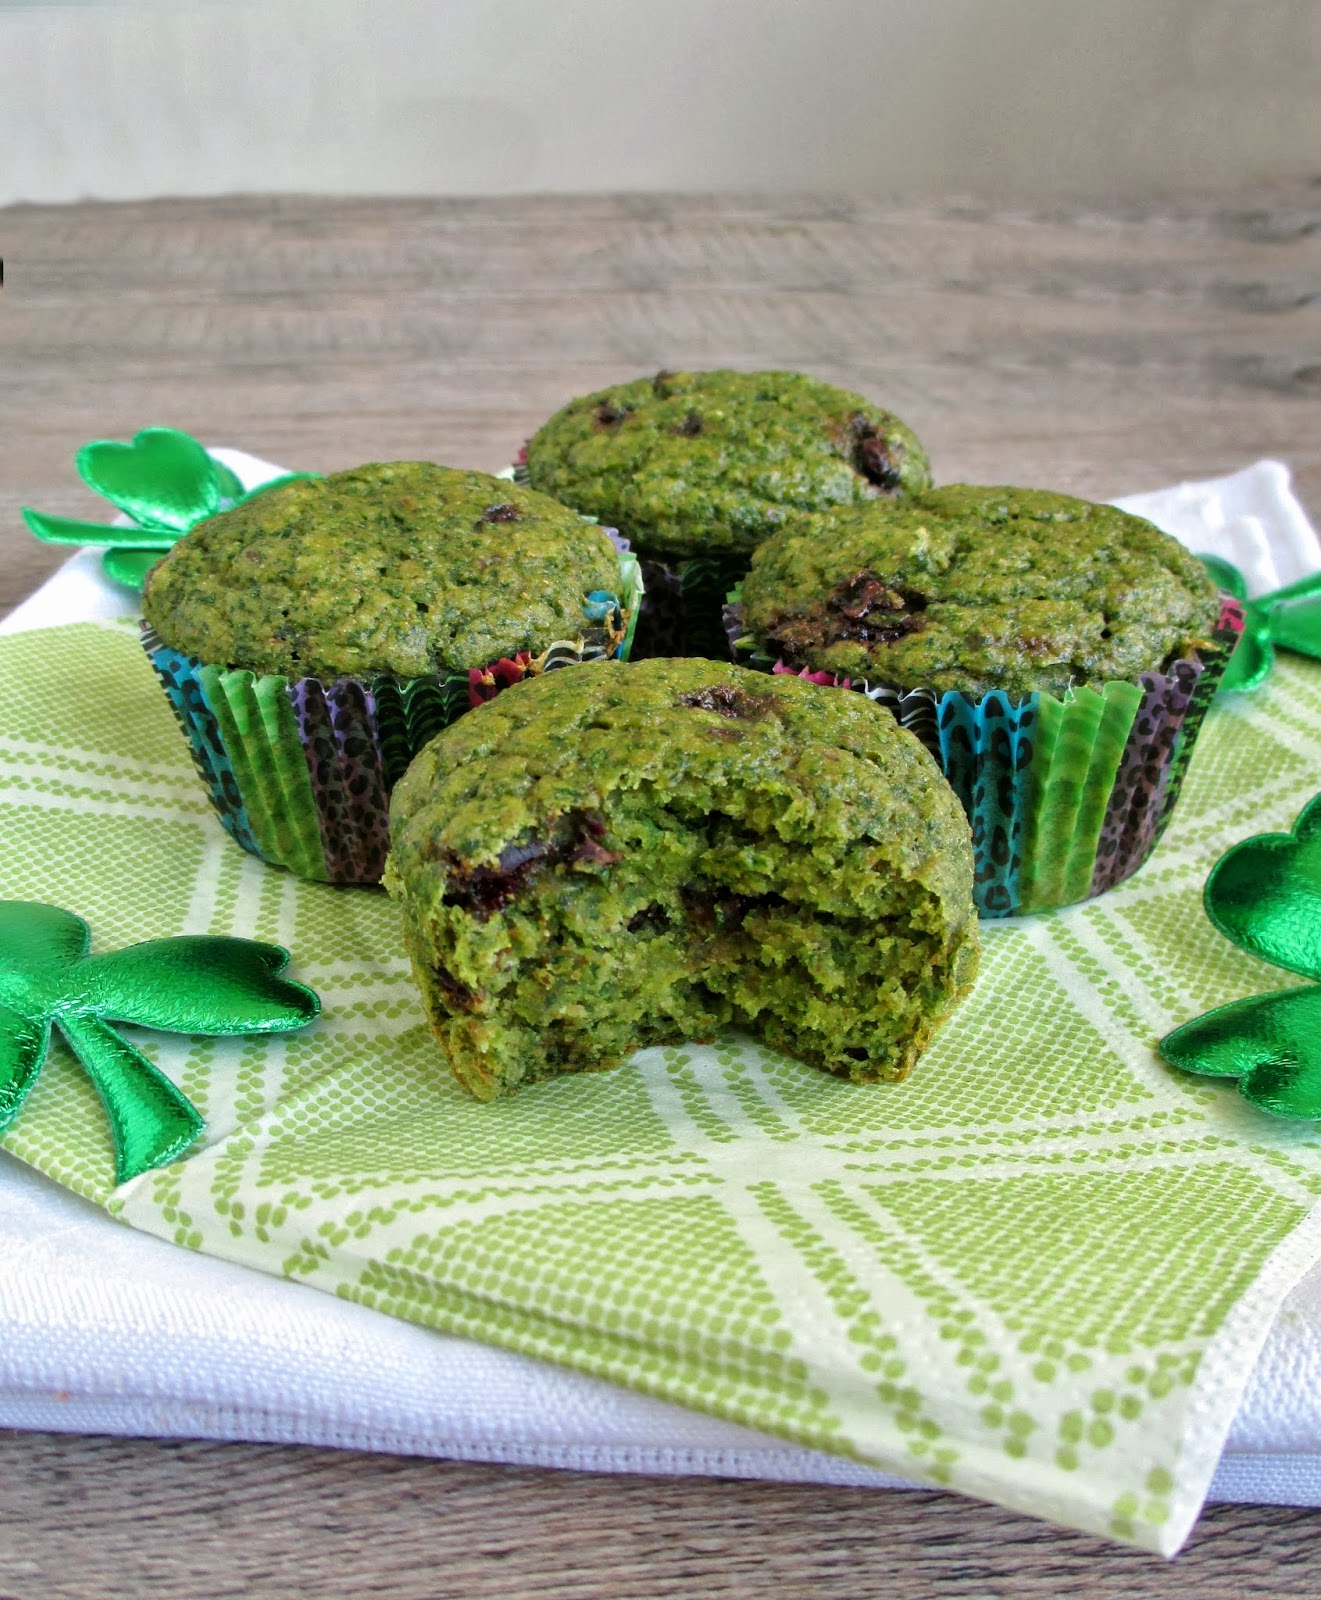
Green Spinach Banana Muffins for St. Patrick's Day


With St. Patrick's Day coming up in less than a week, I've been trying to think of something green and festive to make for it. I don't usually celebrate the holiday itself in any special way (I think I've only gone out to an Irish pub once), but I do like to wear green at least! 

We're also doing a green-themed potluck in our office, so it should be fun to see what everyone comes up with! Last year I made pasta salad with a green avocado yogurt sauce, and this year I'm thinking of cucumber rollups (like these), but we'll see!
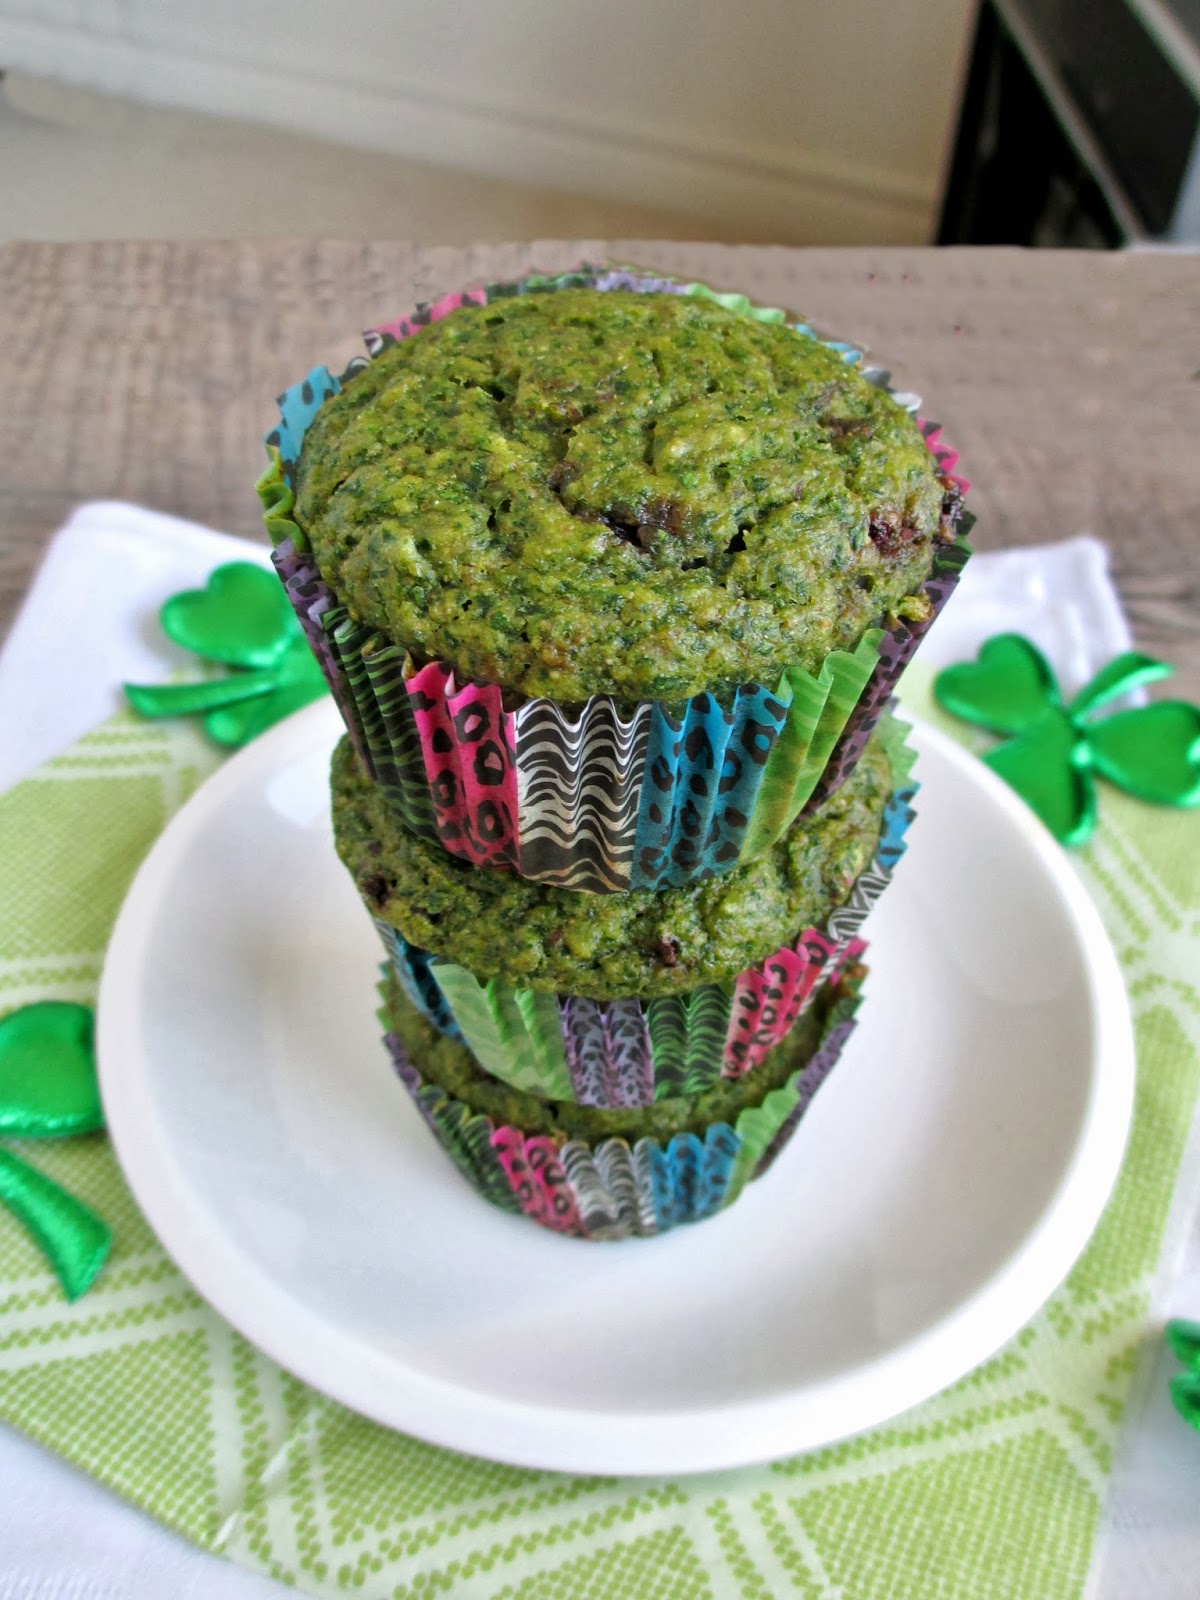

Besides the potluck, I wanted to share something green on my blog too. I figured that if blended spinach can make a green smoothie, why not use it in another breakfast food - healthy muffins! 

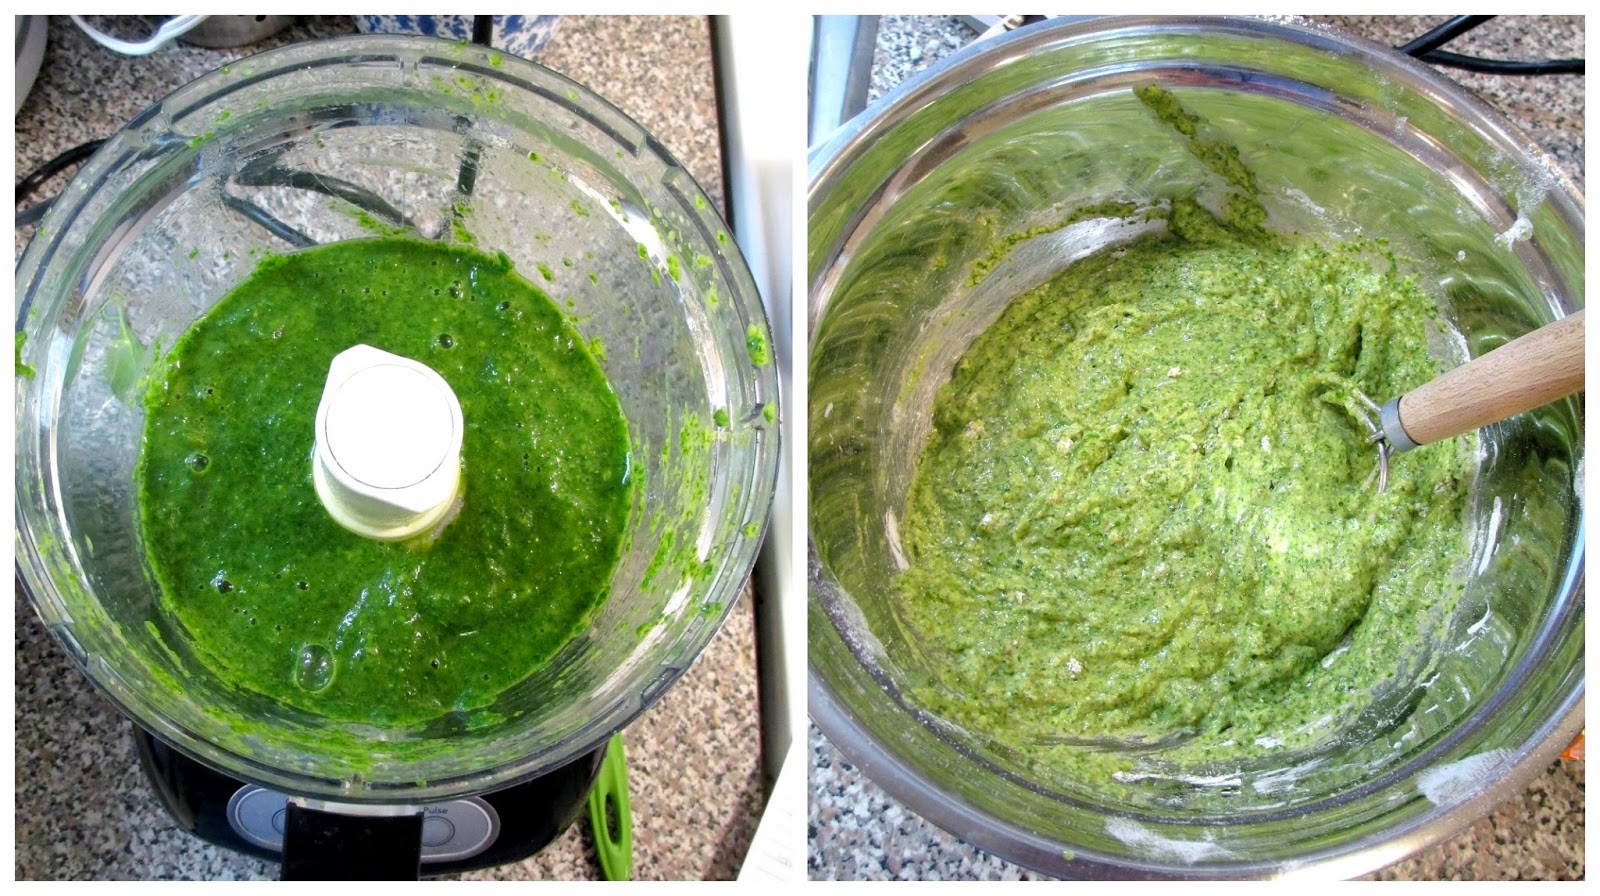
It turns out I'm not the only one to try this idea, and this recipe for popeye muffins from The Green Forks looked perfect for adapting into my own version. By pureeing baby spinach with the wet ingredients, you end up with a pretty intense green batter (see below) that actually keeps its colour after baking. 

To make my muffins a bit more nutritious, I reduced the sugar in the original recipe from 3/4 cup down to just 1/4 cup, since the recipe also uses a ripe banana to add some natural sweetness, and I replaced the oil with applesauce to make them fat-free. I also used a mix of spelt and whole wheat flours, added a flax egg, and mixed in some cacao nibs for a bit of chocolately crunch (chocolate chips would work really well too!). 

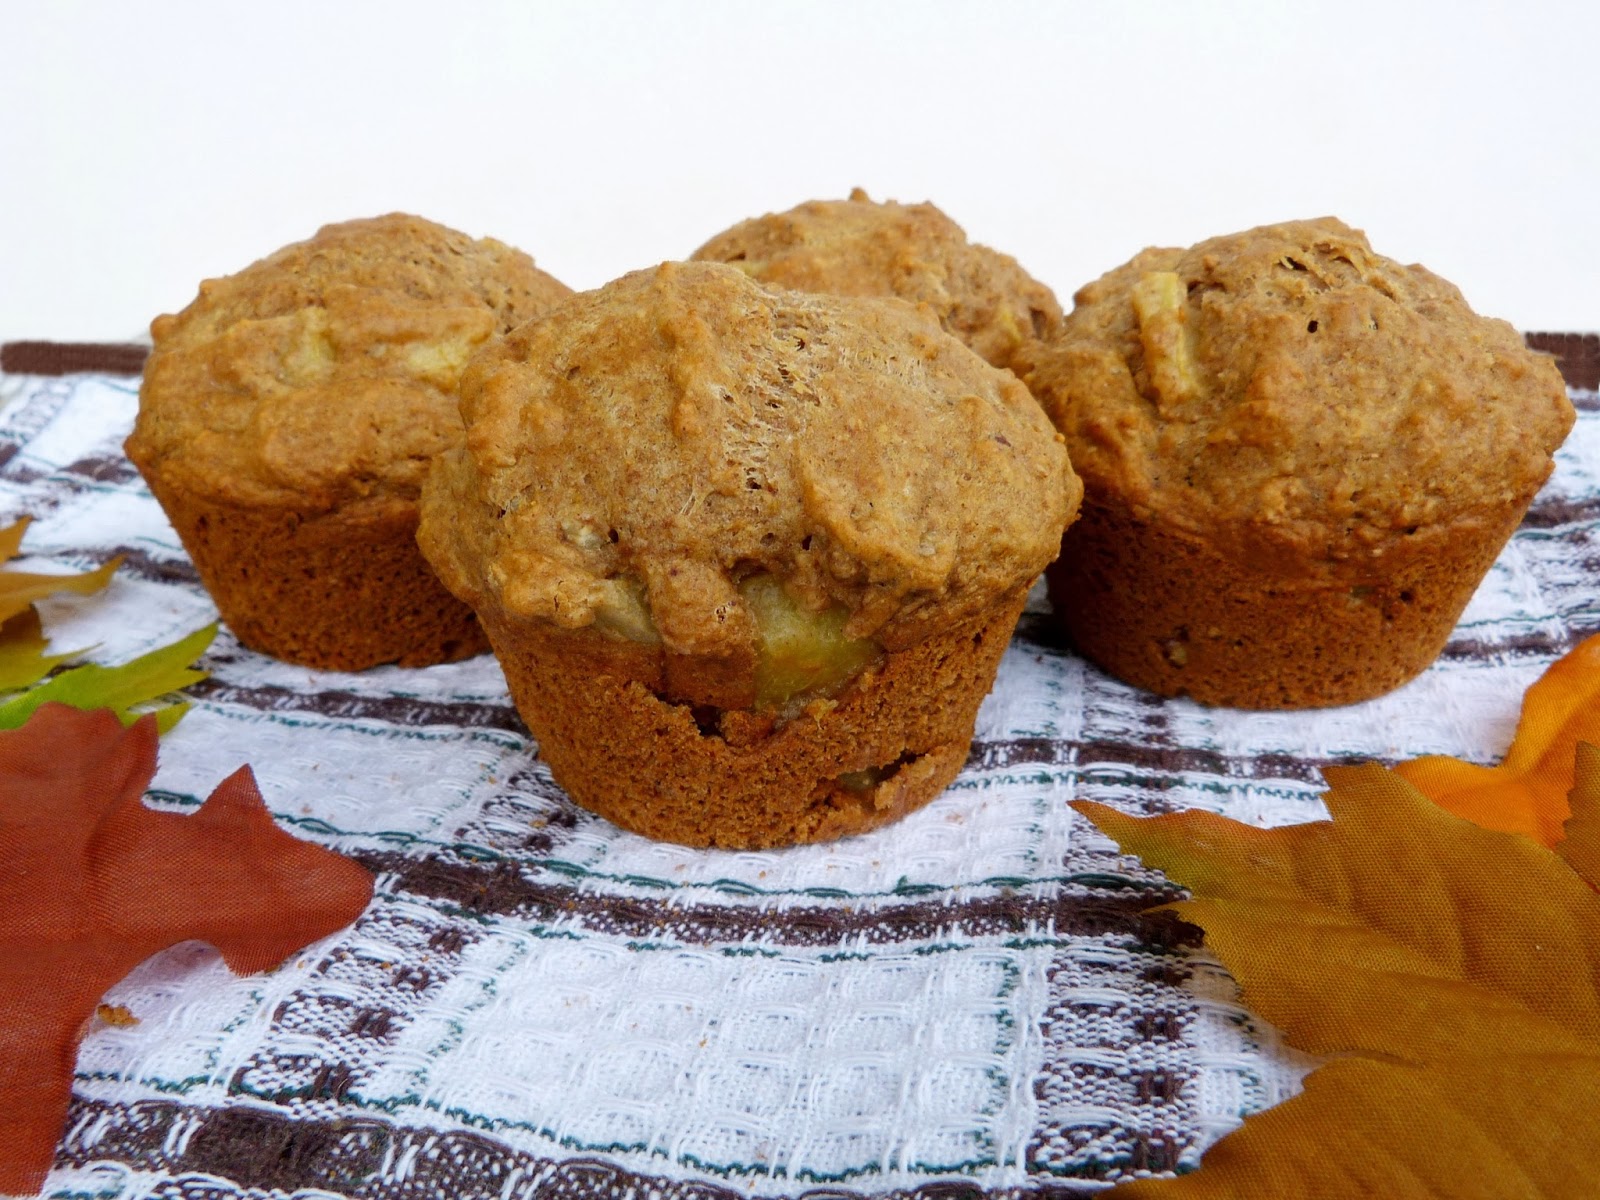
I loved the texture of these muffins - fluffy and moist inside, and they had a nice mild taste with a hint of banana. And if you're worried about the spinach, I couldn't really taste it (although I did detect a slight spinach smell by the second day). 

These would make a fun treat for St. Patrick's Day, or a healthy snack any time!
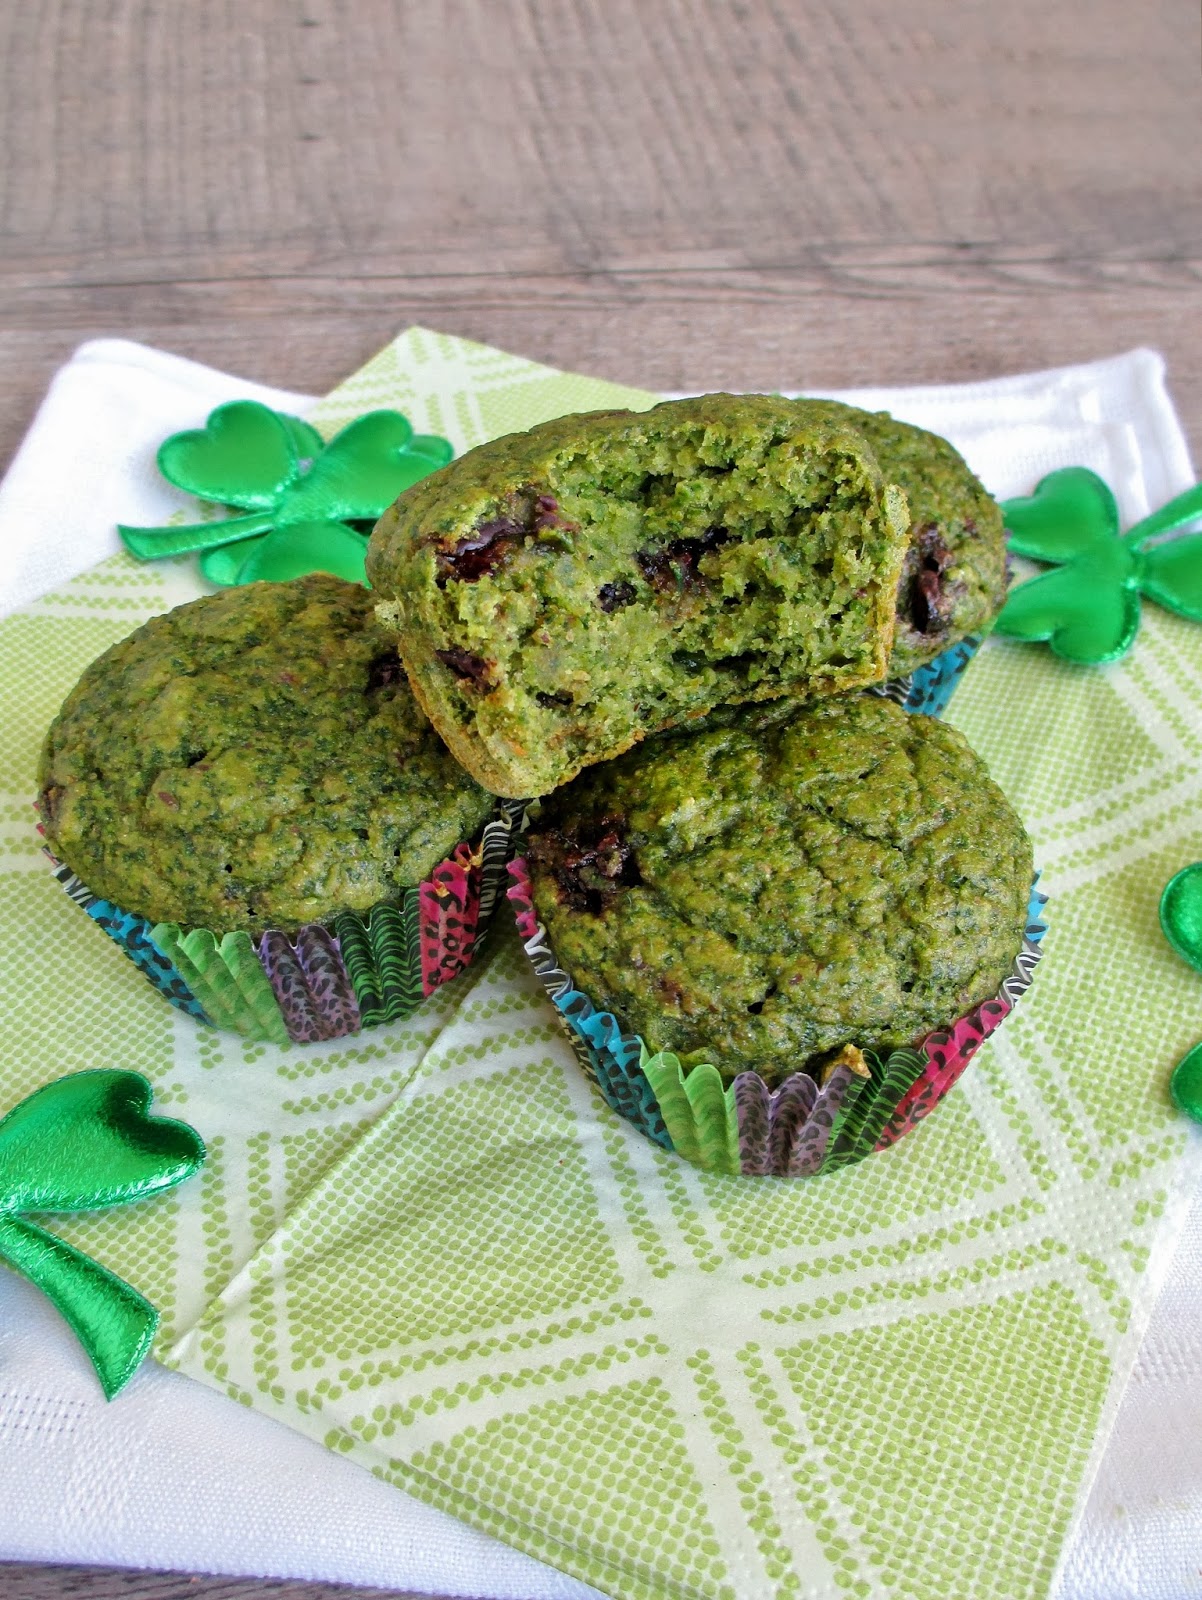


Spinach Banana Muffins
Adapted from The Green Forks

1 tbsp flax + 3 tbsp water
1 cup whole wheat pastry flour
1 cup light spelt flour (or all purpose, or more whole wheat)
1/4 cup cane sugar (increase to 1/2 cup if you like a sweeter muffin)
2 tbsp baking powder
1/2 tsp baking soda
1/2 tsp salt
1 (5-6 oz) container baby spinach
1/2 cup mashed ripe banana (1 large banana)
1/4 cup unsweetened applesauce*
3/4 cup almond milk (or other non-dairy milk)
1.5 tsp vanilla extract
2 tbsp cacao nibs (can substitute desired amount of chocolate chips)

*Note: If you don't like the texture of fat-free baked goods, feel free to use oil instead of the applesauce. You can also make these less "healthy" tasting by increasing the sugar and adding chocolate chips!


Preheat oven to 350°F and prepare a 12-cup muffin tin by lining with paper cups and spraying with cooking spray.

In a small bowl, stir together the flax and water and let sit for at least five minutes to thicken.

In a large bowl, whisk together the dry ingredients (flours to salt). In a blender or food processor, add the spinach, banana, applesauce, milk, and vanilla and puree until smooth. Pour the spinach mixture into the dry ingredients and add the flax mixture. Stir gently just until all the dry ingredients are incorporated. Fold in the cacao nibs.

Divide batter evenly into the muffin cups, filling each one about 2/3 full. Bake in the preheated oven for 20-25 minutes, until the muffins feel firm on top and a toothpick inserted in the center comes out clean.

Let muffins sit in pan for a few minutes, then remove them from the pan and let cool on a wire rack.

Makes 12 small muffins.


February 11, 2014

Raspberry Salad or Flatbread with Cocoa Balsamic Vinaigrette


With Valentine's Day coming up this week, I've been trying to come up with a cute Valentines-themed recipe to celebrate the holiday with.

In the past, I've made this miniature raw beet cheesecake, these baked banana, chocolate and strawberry wontons, and this pretty pink beet pasta, but this year I just couldn't seem to come up with anything unique that hasn't already been done.

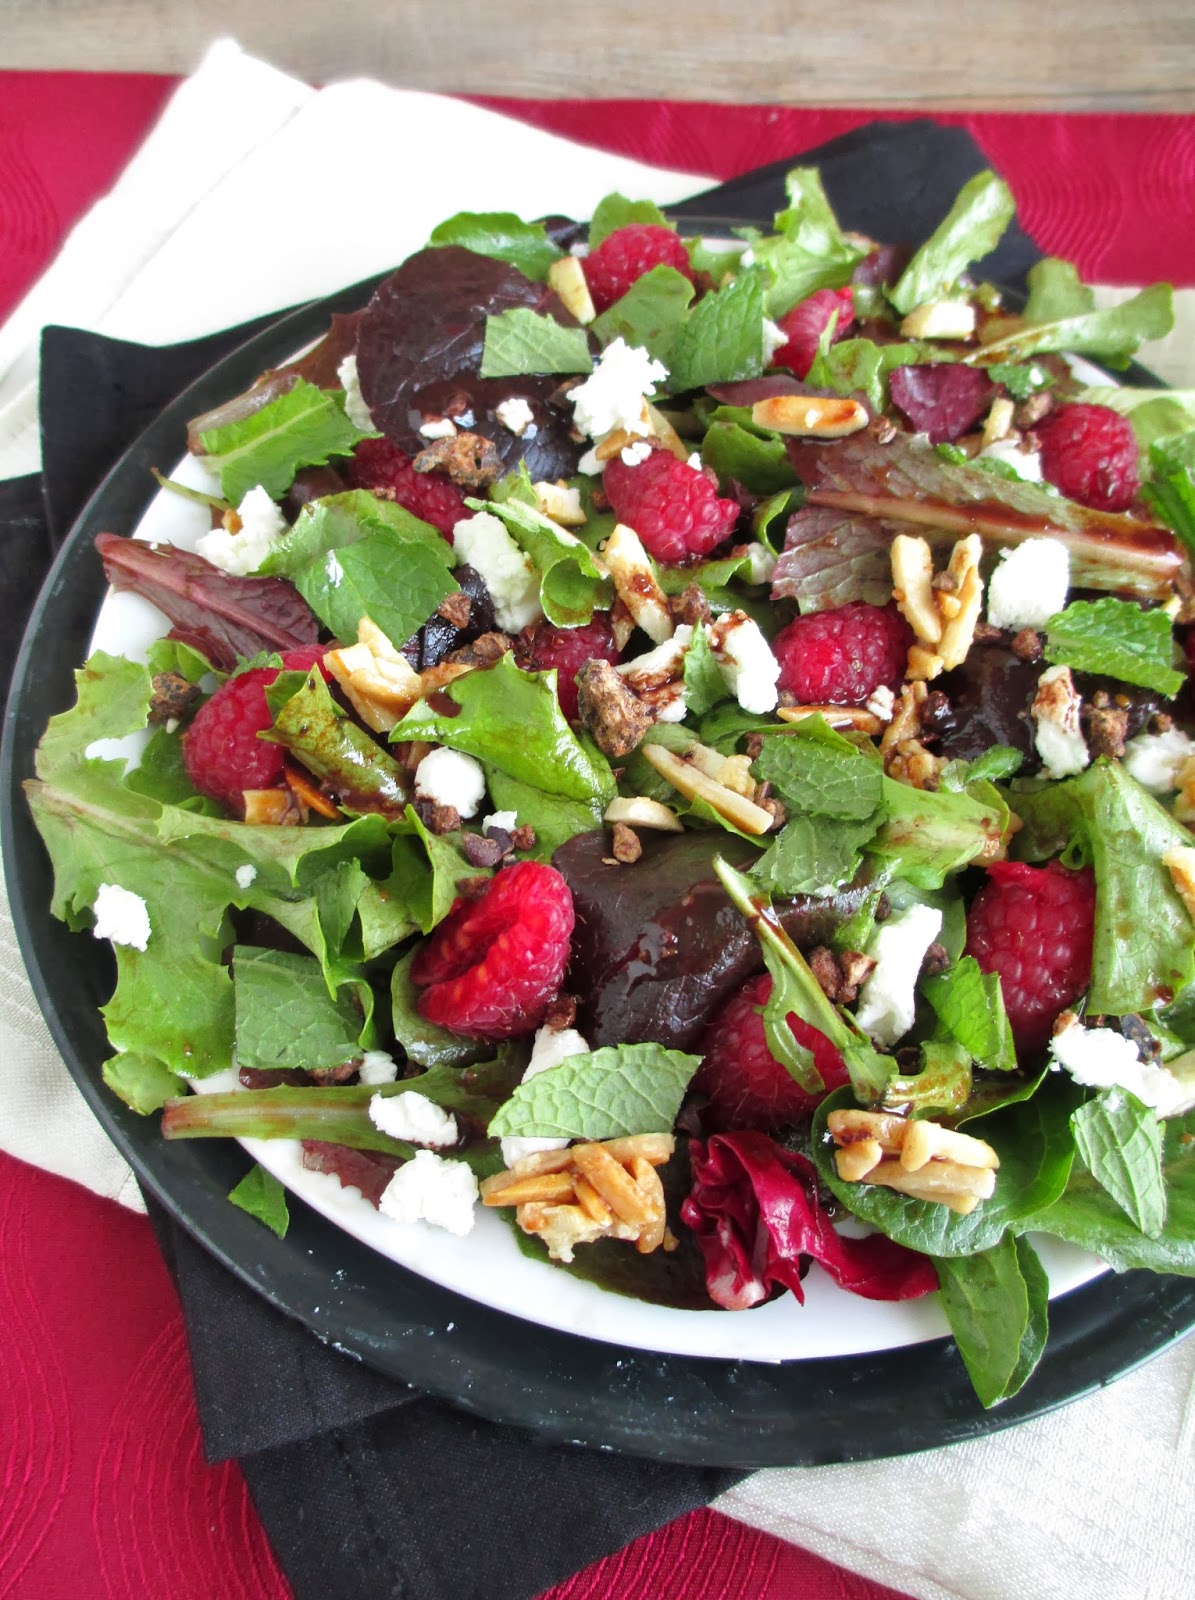
So I gave up on trying to think of a heart-shaped or red-coloured dessert and instead decided to make something to serve as part of your Valentine's dinner menu - this elegant and tasty salad!


I happened to remember Courtney from The Fig Tree's Valentine's Day post from last year when she shared a raspberry salad with cocoa-balsamic dressing. I thought it was such a creative idea to use cocoa powder in a salad dressing, and of course her salad looked gorgeous too!

For my version, I made a couple of slight modifications to the dressing, and for the salad itself I used candied almonds to add more sweetness, goat cheese instead of parmesan, and added some fresh mint and cacao nibs. It may sound like a strange combination of ingredients, but I thought everything worked really well together!

I loved the crunch from the almonds and cacao nibs, and the raspberries paired perfectly with the subtle chocolate notes in the dressing. It almost tasted like eating dessert, but in the form of a salad that you can start off your dinner with instead!


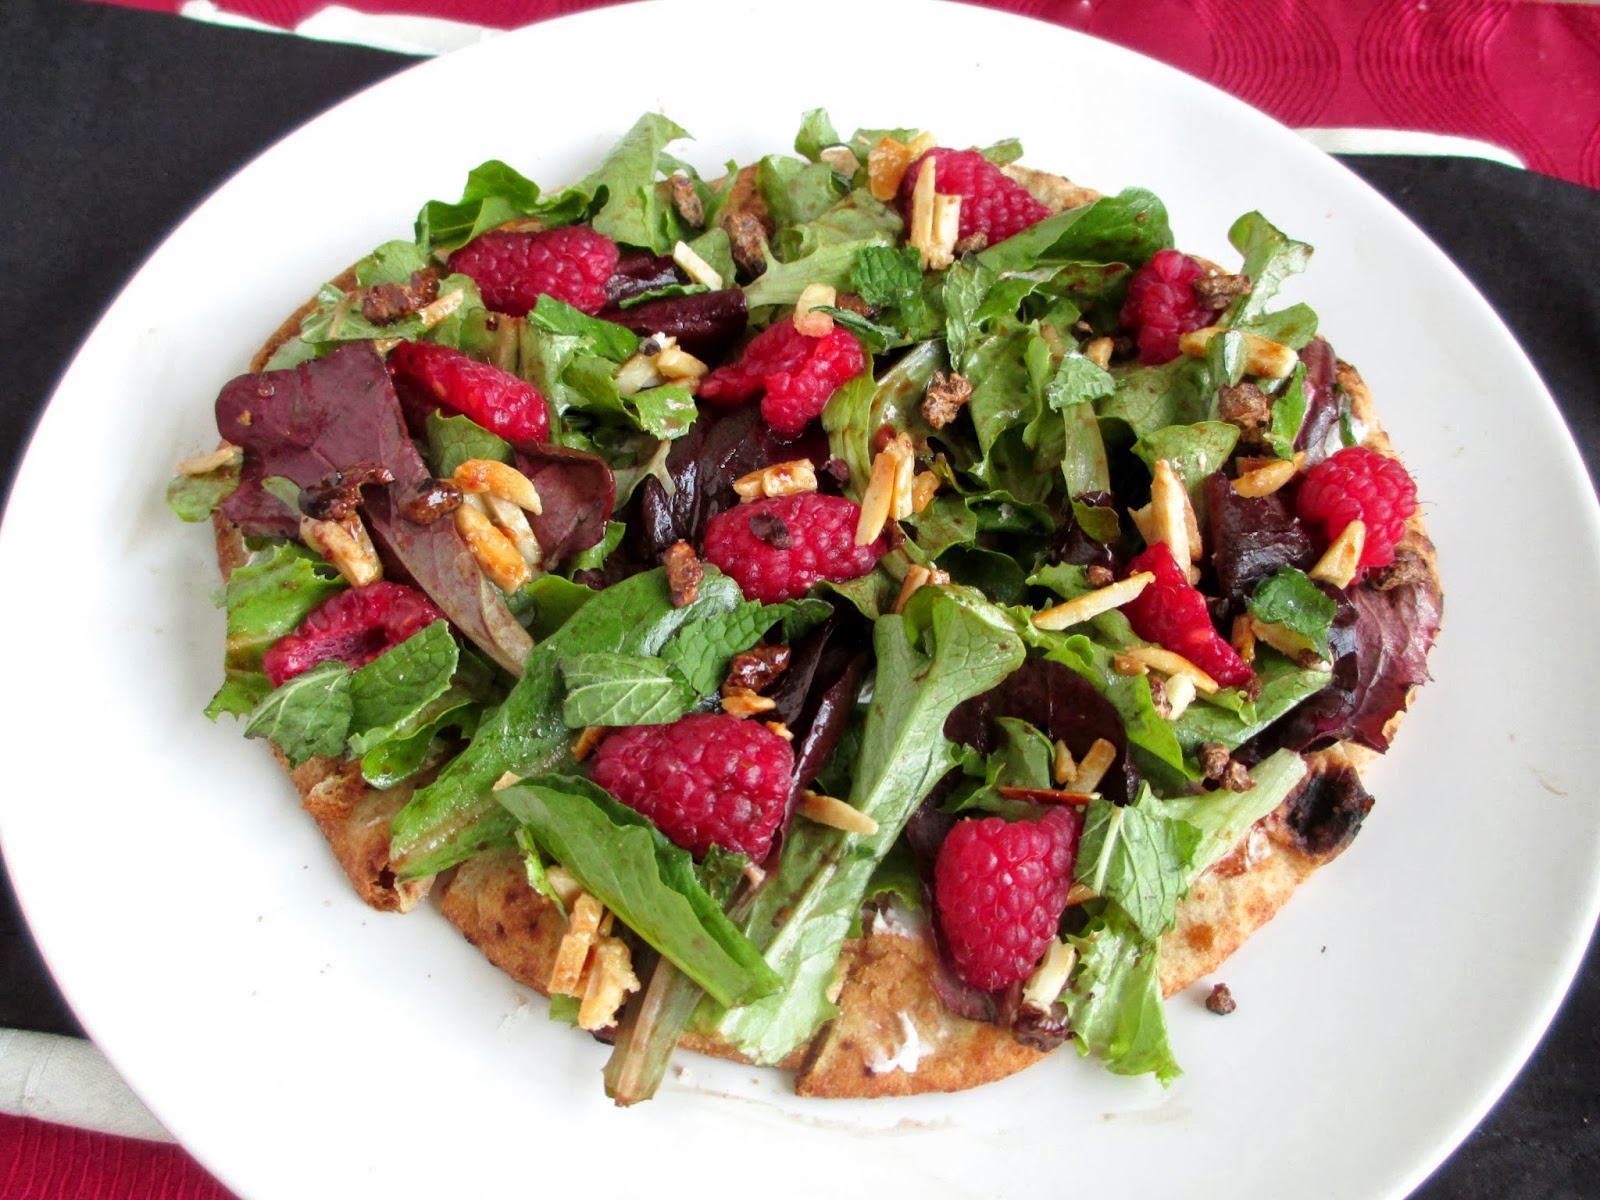
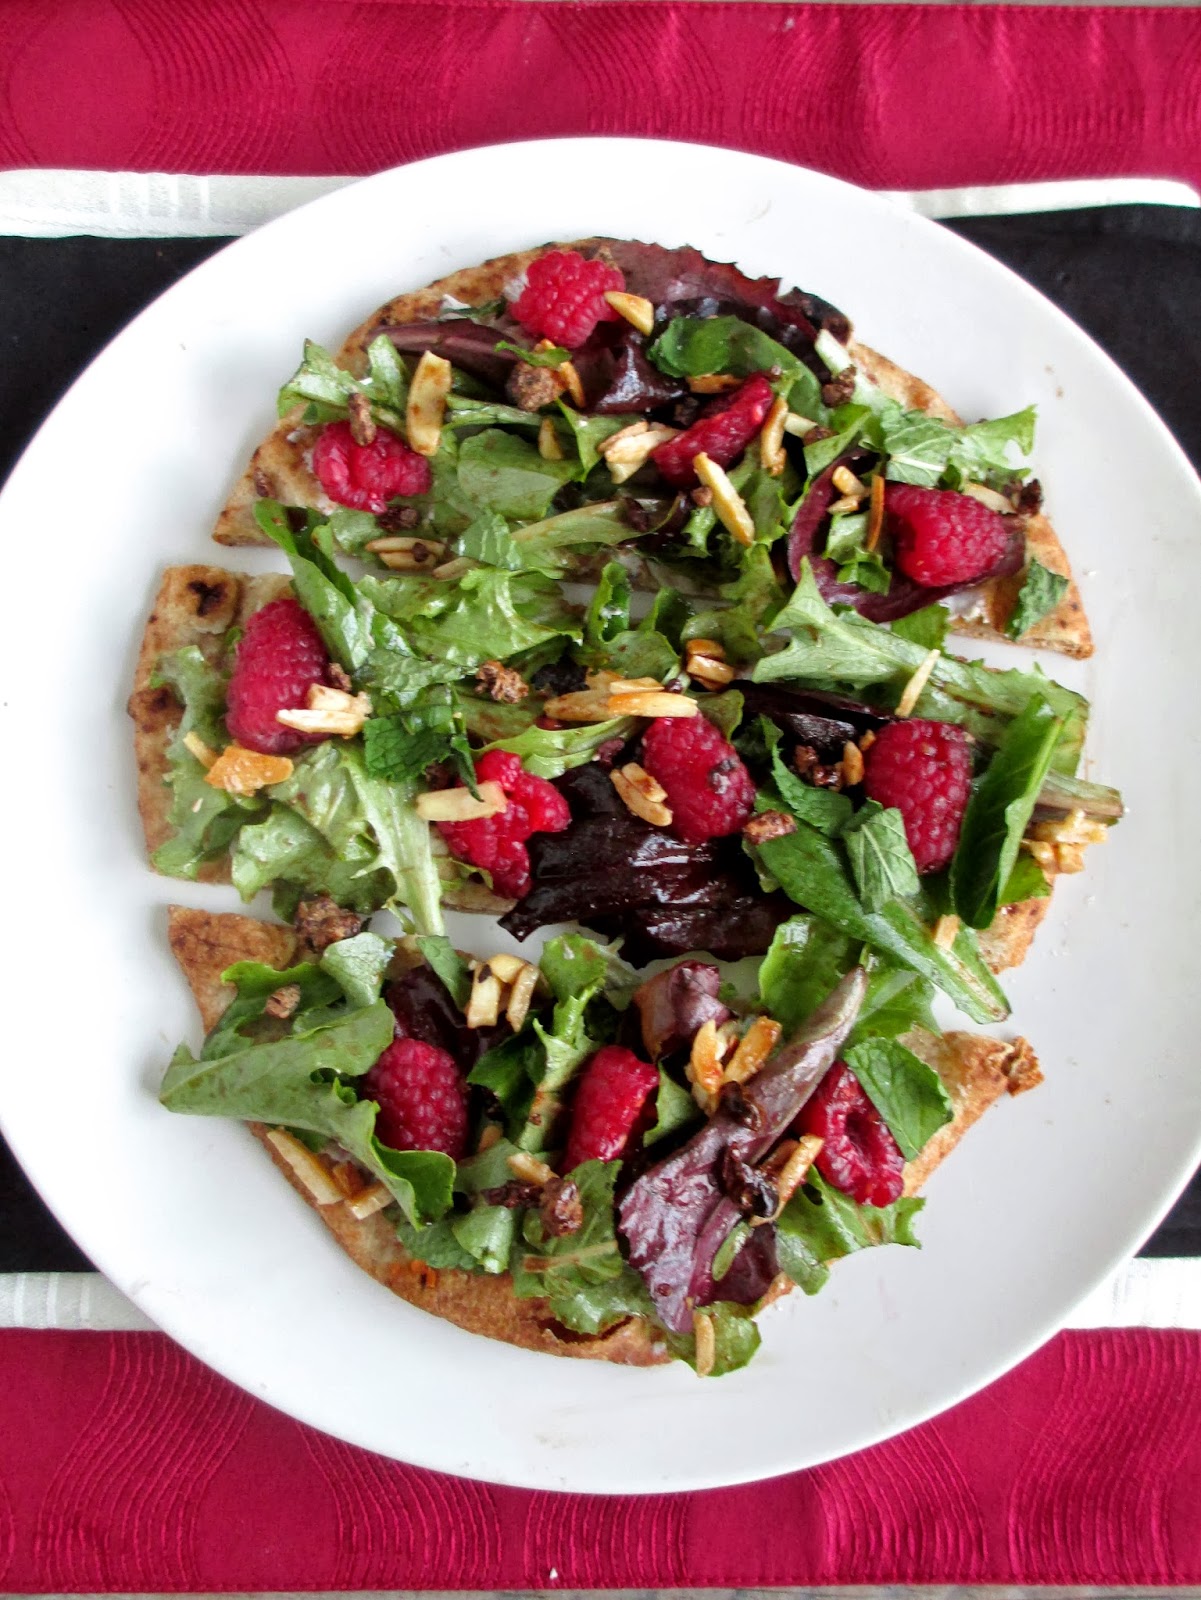
Or if a salad doesn't fit into your menu, another option is to turn this into an easy flatbread - just toast a piece of naan bread in the oven, spread some goat cheese on it, and top with the rest of the salad ingredients. I usually like to have bread with my salad anyway, so this was a fun way to eat both together!

After trying the recipe both ways, I couldn't decide whether I liked the salad version or the flatbread best!

Whether you plan on celebrating Valentine's Day or not, this would still be a nice appetizer to impress a date or to share with a friend or loved one. I actually haven't figured out what I'll be eating on the day itself, but I do plan on making cookies to share - after all, even if a lot of people hate Valentine's Day, most of them still like cookies!


Raspberry Almond Salad or Flatbread with Cocoa-Balsamic Vinaigrette
Adapted from The Fig Tree

2 tbsp slivered almonds
1 tsp sugar
~4 cups spring mix or baby greens
fresh raspberries
1-2 tbsp goat cheese, crumbled
2-3 tsp cacao nibs (I used these coconut cacao nibs)
2 tbsp chopped fresh mint
2 pieces of naan bread (optional for flatbread)

Dressing
1.5 tbsp balsamic vinegar
1 tbsp olive oil
3/4 tsp pure maple syrup
1/2 tsp cocoa powder
1/2 tsp balsamic Dijon mustard (or whole grain Dijon)
Salt and pepper


If making the flatbread, preheat oven to 400°F.

Heat a small skillet over medium heat. Add the almonds and sugar and toast for a few minutes, stirring often as the sugar starts to melt and coat the almonds. Keep a close eye on them and once the almonds are lightly toasted, remove from heat and transfer to a small bowl.

To make the dressing, whisk together the first five ingredients in a small bowl. Season to taste with salt and pepper.

Place salad greens in a large bowl and toss with about a couple tablespoons of the dressing.

For salad: arrange dressed greens on two plates. Top each serving with a handful of raspberries (cut them in half first if they’re large), the goat cheese, cacao nibs, mint, and candied almonds. Drizzle remaining dressing over top.

For flatbread: Place two pieces of naan on a baking sheet and bake in the preheated oven for about 10 minutes. Spread the goat cheese over the naan, then top with the dressed salad greens, the raspberries, cacao nibs, mint, and candied almonds. Drizzle remaining dressing over top. Slice into pieces (I found it easier to slice the naan before adding the toppings).


Makes 2 servings


December 19, 2013

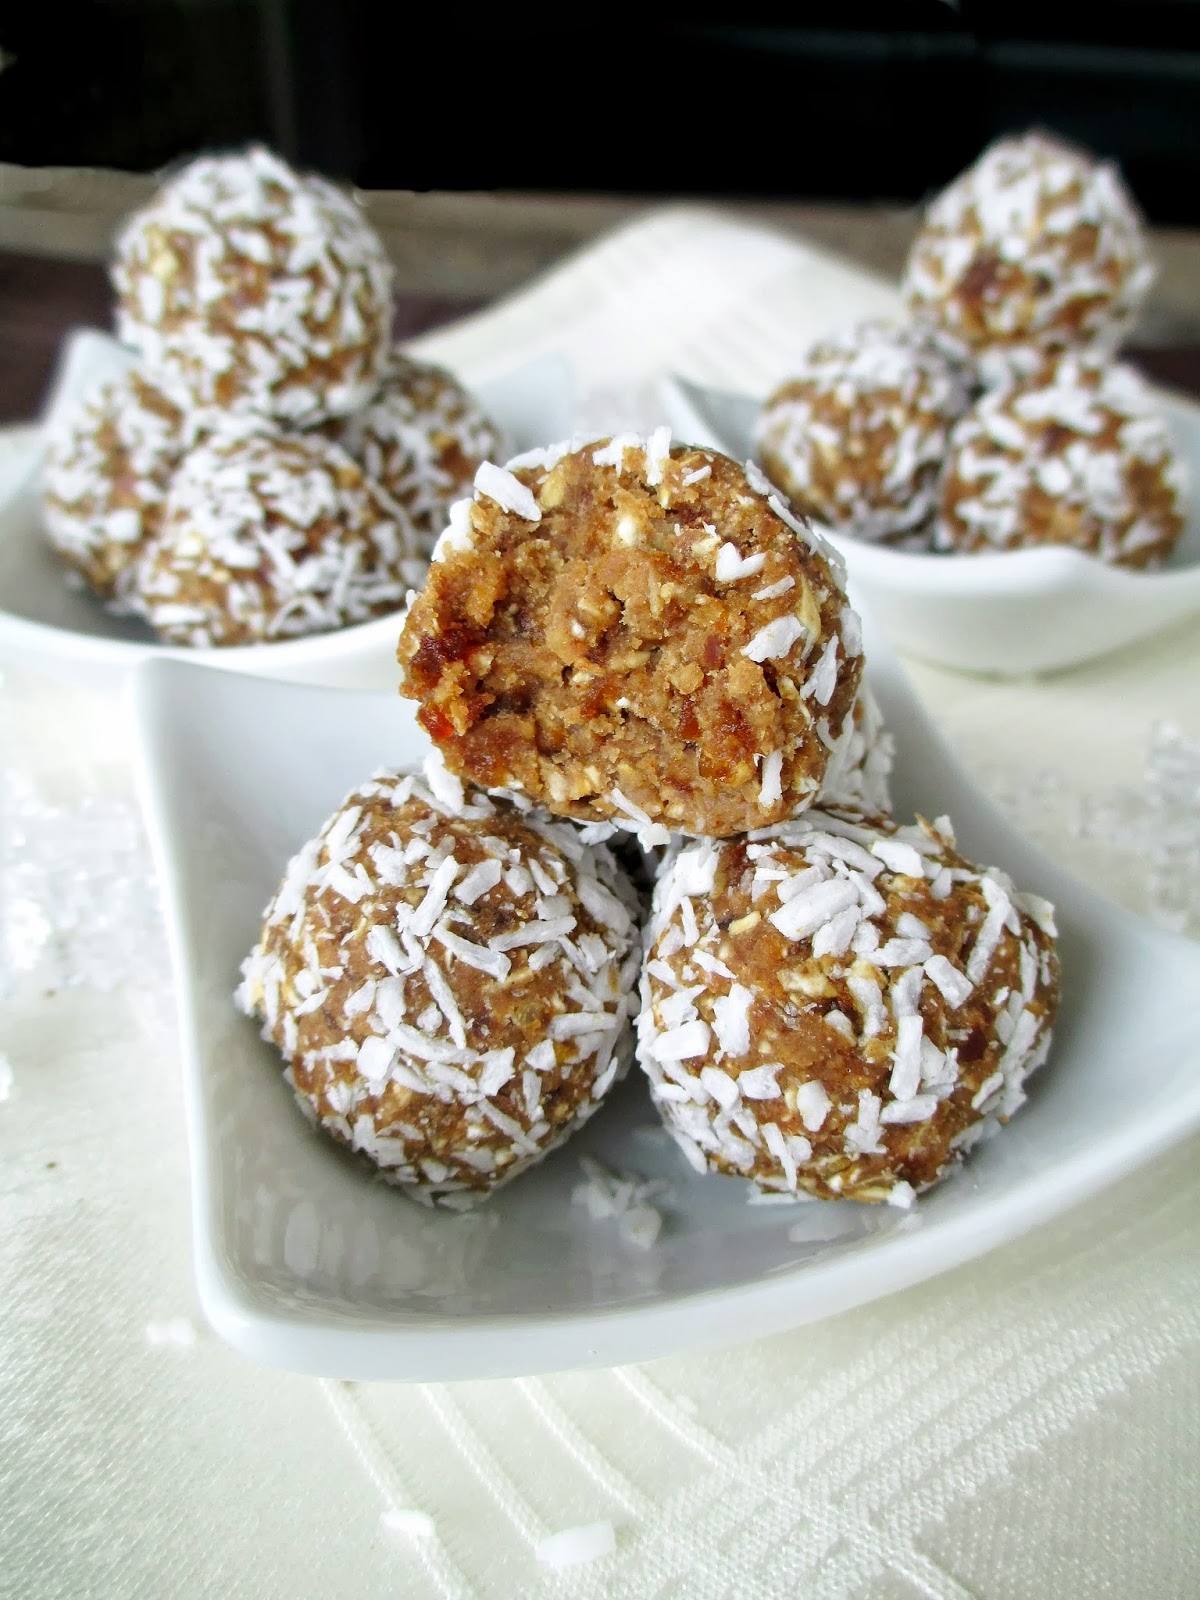
No-Bake Chestnut Balls


I can't believe how quickly the month of December has gone by! I thought I would have tons of time to listen to holiday tunes, come up with some festive recipes, and get all of my Christmas preparations done, but Christmas Day is already less than a week away and I feel like I haven't accomplished nearly as much as I wanted to!

At least one thing I can say I've accomplished is my shopping - as of yesterday, I'm all finished! Now all that's left to do is is wrap my gifts, which isn't exactly my forte but I actually look forward to doing it every year.

As for cooking and baking, I admit I've fallen behind this year with only two holiday themed recipes to share with you so far. First were my gingerbread rye scones, and today I have an even easier no-bake treat for you!


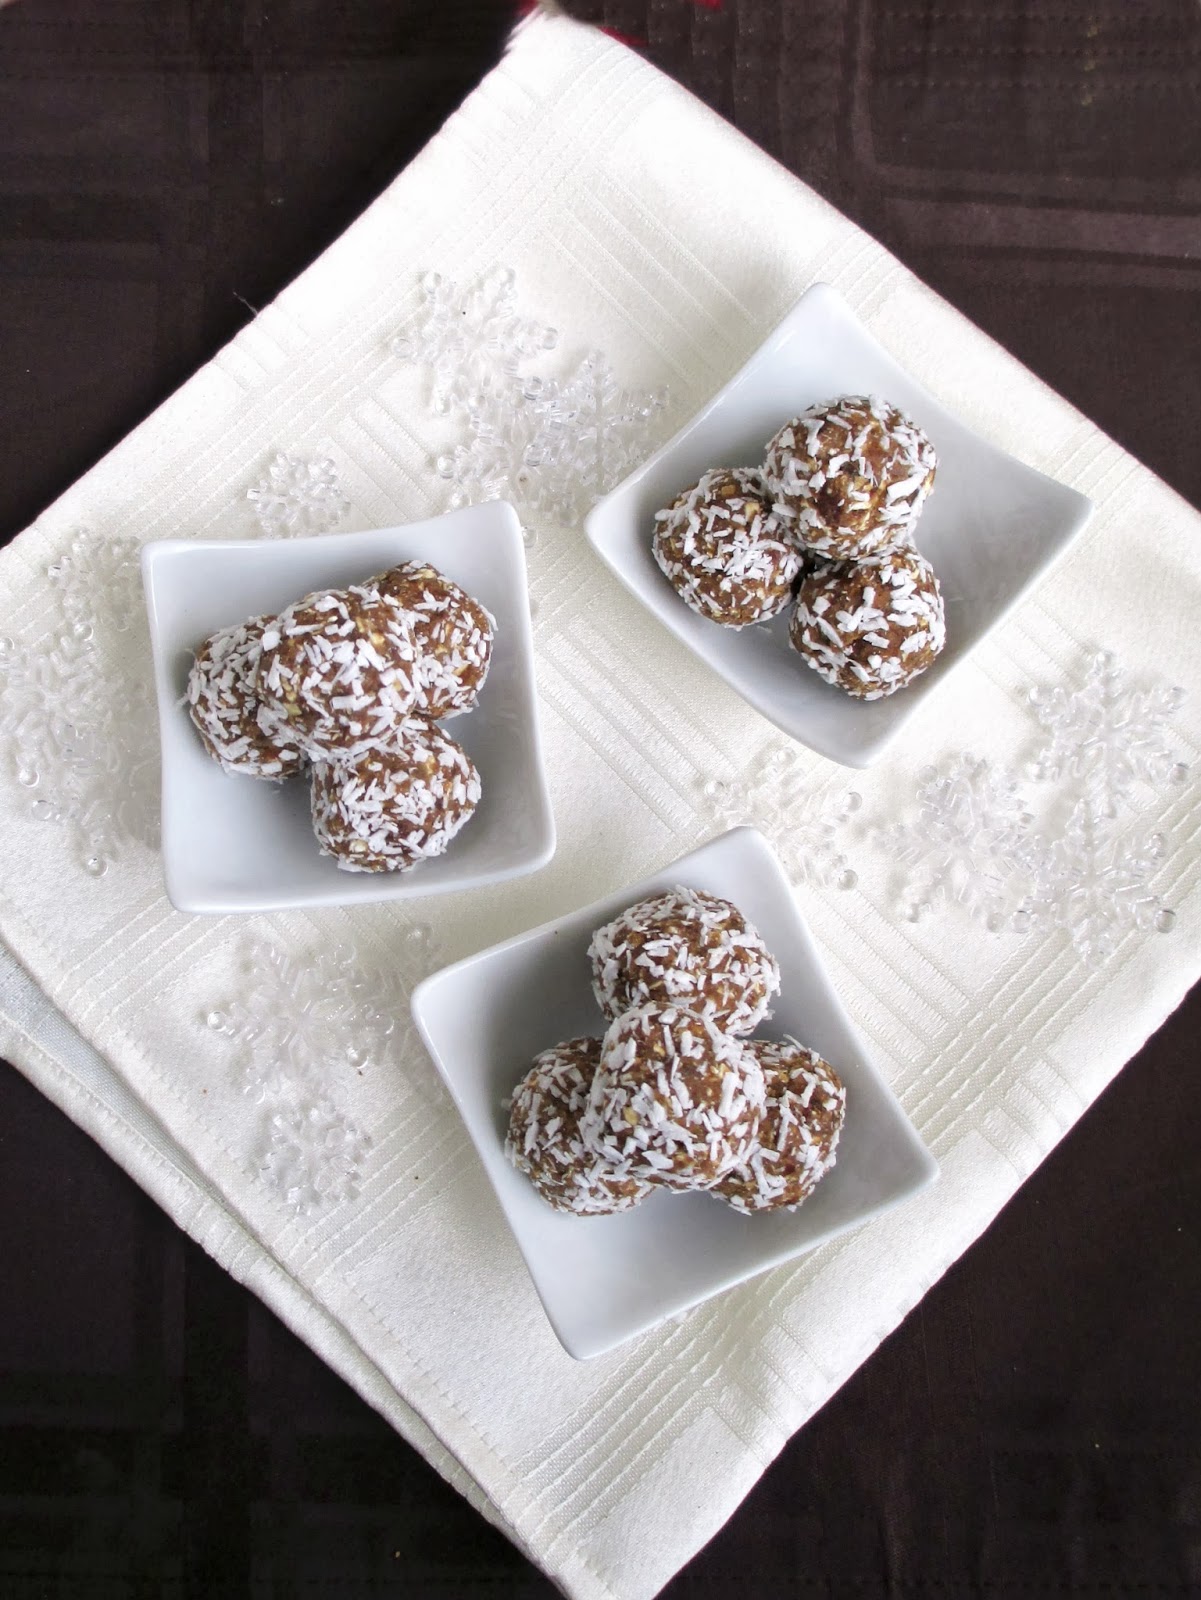
I love roasted chestnuts, but it's a bit of a pain to roast them and pry the shells off. So when I saw bags of pre-roasted chestnuts at the store, I thought I would give them a try and see how they compare. As it turned out, they were much tastier than I thought and couldn't be simpler - you can eat them straight out of the package or heat them up for a warm treat.

Instead of just gobbling them up, I wanted to use my chestnuts in some kind of snack and my first thought were energy balls. I took my basic formula of energy balls but replaced the nuts with chestnuts and added some flavours like cinnamon, maple and vanilla to complement them.

Since the chestnuts were so buttery, they broke down easily in the food processor to create the smoothest "energy balls" I've ever made! These were nice and sweet too, so they tasted more like a dessert even though they're still pretty healthy.

These would make a unique addition to your holiday dessert platters this year, or just to have around as a snack to fuel you through the rest of your holiday preparations!


No-Bake Chestnut Balls

1/2 cup (100g package) roasted peeled chestnuts (I used Aurora ready to eat chestnuts)
1/2 cup dates
1/4 cup rolled oats
1/2 tsp cinnamon
Dash of salt
1/2 tsp artificial vanilla extract (if you only have pure vanilla, use 1/4 tsp)
1 tbsp pure maple syrup
~1/4 cup dessicated unsweetened coconut


Place the chestnuts, dates, and oats in the small bowl of a food processor and process until everything is broken down. Add cinnamon, salt, vanilla, and maple syrup and process again until the mixture forms a sticky dough.

Roll mixture into bite-sized balls. Sprinkle the coconut onto a plate and roll balls in the coconut, using your hands to help press it in.

Store in the fridge.


Makes 12-13 balls

December 04, 2013

Vegan Gingerbread Rye Scones


For my first post of December, I thought it would only be appropriate to share a holiday recipe! As I'm sure you've all noticed, as soon as American Thanksgiving was over last week, bloggers couldn't wait to get into the Christmas spirit, and I'm definitely one of those bloggers! 

My holiday baking started last week with our annual cookie swap at school, and even though I had just gotten back from a conference and didn't have much time to prepare for it, I couldn't miss the opportunity to try out a Christmas cookie recipe - and to sample everyone else's Christmas baking! 

I brought these cranberry apple crumble squares from Sweet Twist of Blogging, and I loved how they turned out! And for the record, I think it was our best cookie swap yet, everyone's treats were so good (as evidenced by the rate at which my stash disappeared afterwards)!


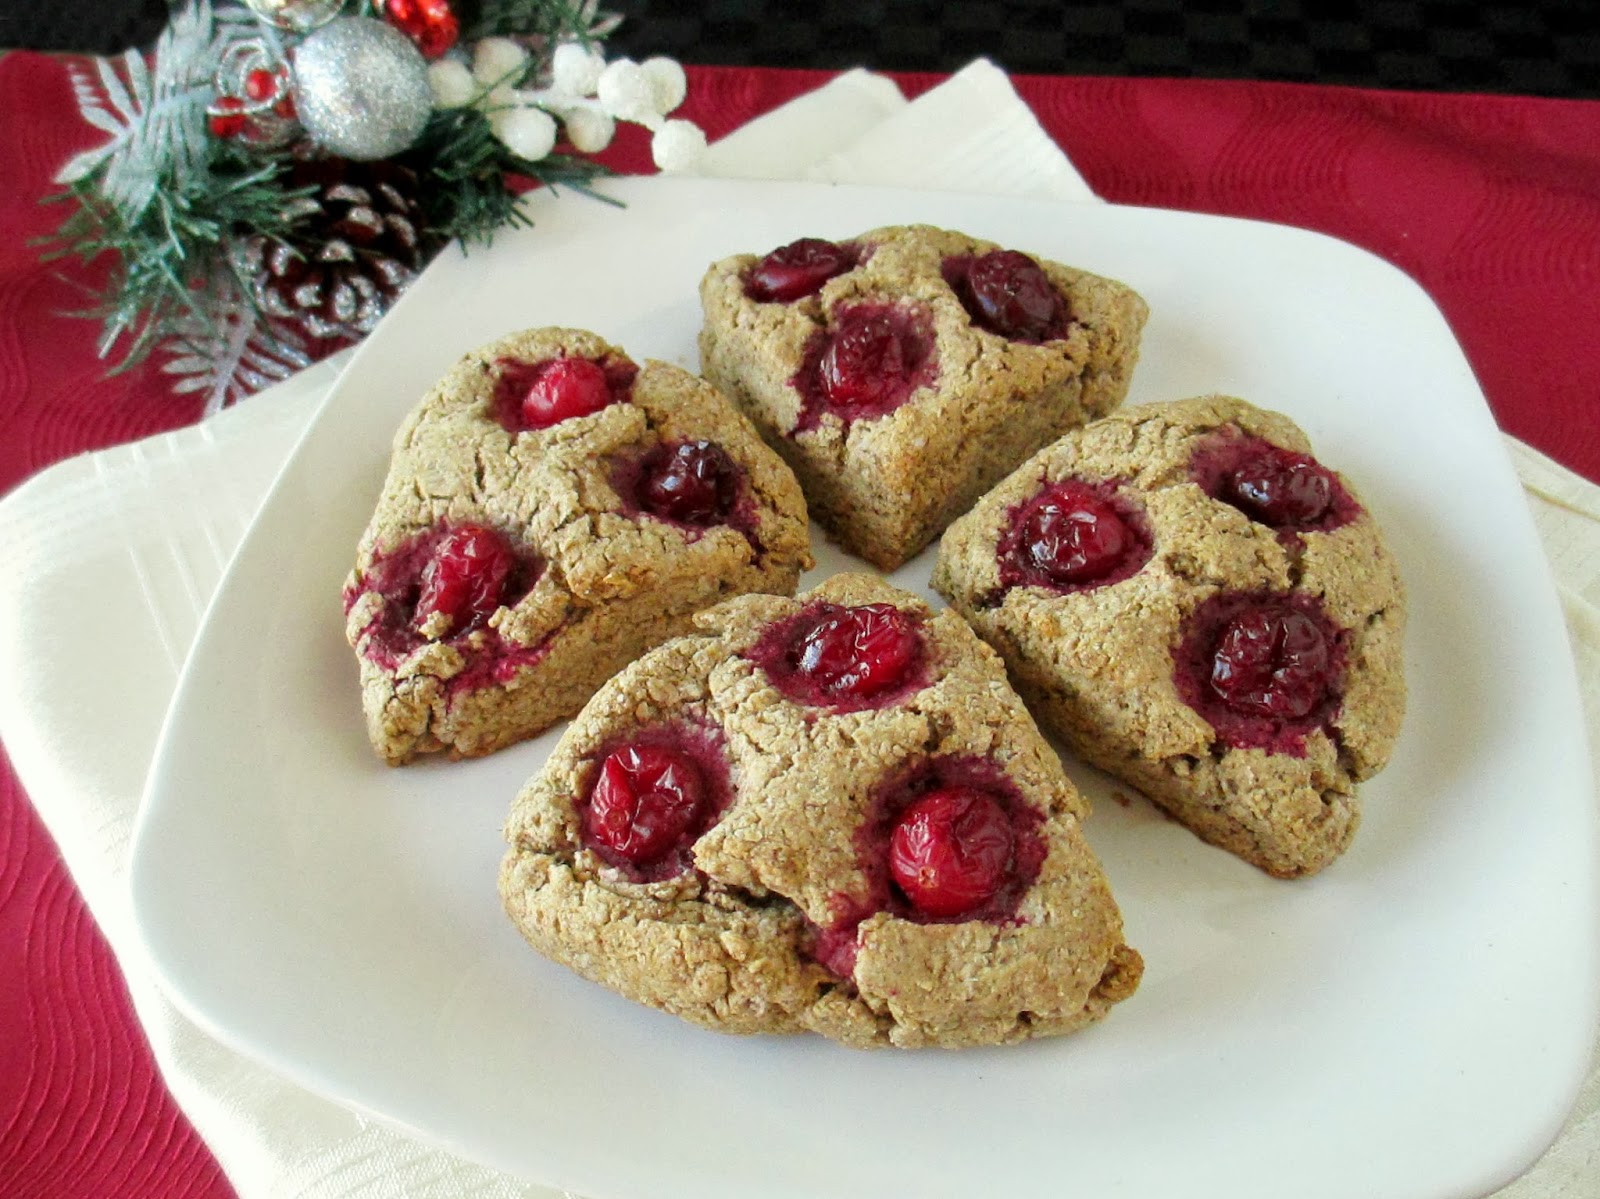
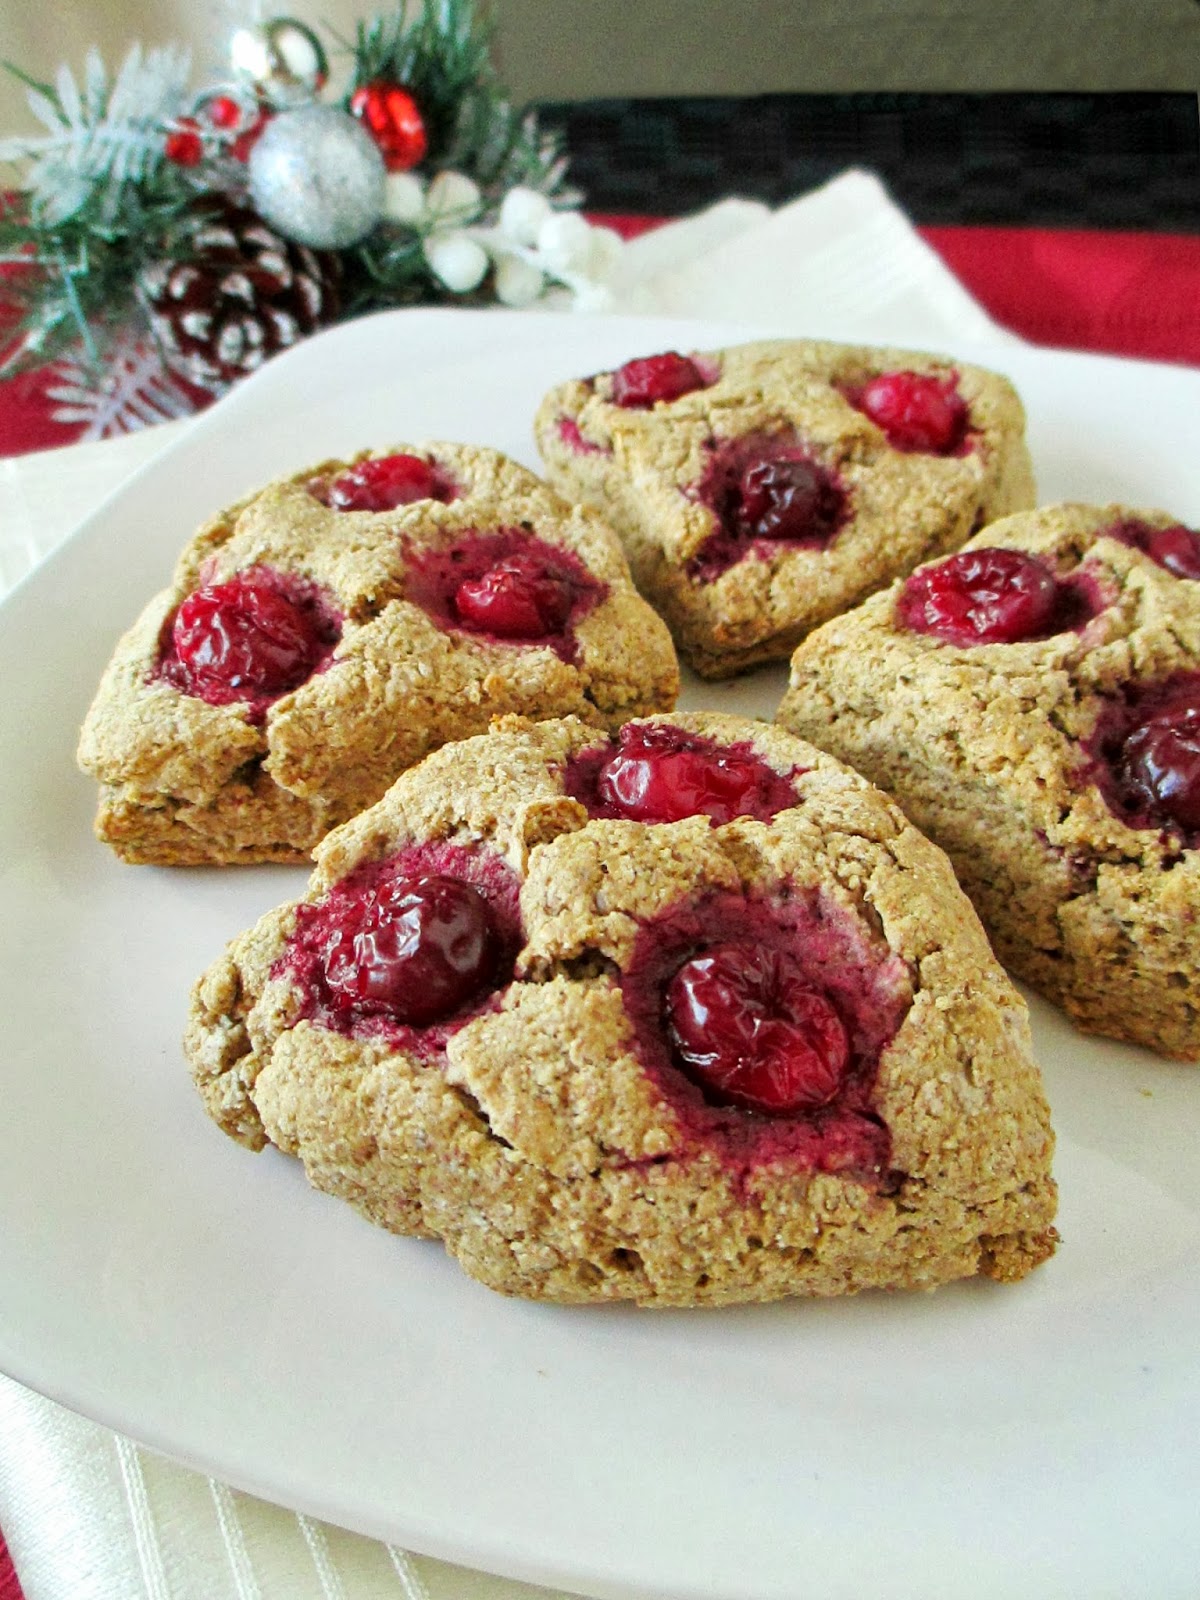
My second holiday themed treat so far this year were these gingerbread scones. These aren't your average fluffy white scones, since they're made with a mix of whole wheat and rye flour and use coconut oil instead of butter. I liked how the darker flours gave the scones a bit of a deeper flavour though and complemented the gingerbread notes well too.

Lightly sweetened with a bit of maple syrup and molasses and spiced with both ground and fresh ginger, these scones have a subtle kick to them. You could leave them plain to highlight the gingerbread, or you could add a few whole cranberries to each scone like I did to double up on the Christmassy flavours! 

Hopefully I'll have more treats to share with you in the next few weeks!


Gingerbread Rye Scones
Adapted from Gnom-Gnom

1/2 cup whole wheat pastry flour
1/2 cup dark rye flour
1/2 tbsp baking powder
3/4 tsp ground ginger
1/2 tsp allspice
Dash of salt
3 tbsp solid coconut oil
3 tbsp almond milk
2 tbsp maple syrup
1 tbsp molasses
1/2 tbsp vinegar or lemon juice
1/2 tsp grated fresh ginger
1/2 tsp vanilla
~1/4 cup fresh or frozen cranberries (optional; if frozen let them thaw a bit first)


Preheat oven to 350°F and line a baking sheet with parchment paper.

In a large bowl, whisk together the dry ingredients (flours to salt). Add the coconut oil and use a fork or a pastry cutter to cut the coconut oil into the dry ingredients until it is fully broken down and the dry ingredients are crumbly.

In a separate bowl, mix the almond milk, maple syrup, molasses, vinegar, ginger, and vanilla. If your molasses is really thick, you can blend the ingredients in a blender until smooth (I used this method). Pour the wet ingredients into the dry ingredients and stir just until the dry ingredients are incorporated.

Transfer mixture to a clean surface and pat it into a thick round circle. Cut into four equal wedges. Press a few cranberries into the tops of each scone if desired.

Place scones on the prepared baking sheet and bake in the preheated oven for 17-20 minutes, until they are browned on the bottom and firm on top. Let cool on a wire rack.

Best served warm, spread with a bit of margarine or vegan butter.

Makes 4 small scones (recipe can be doubled for a larger batch - just cut the dough circle into 8 wedges instead of 4).


November 12, 2013

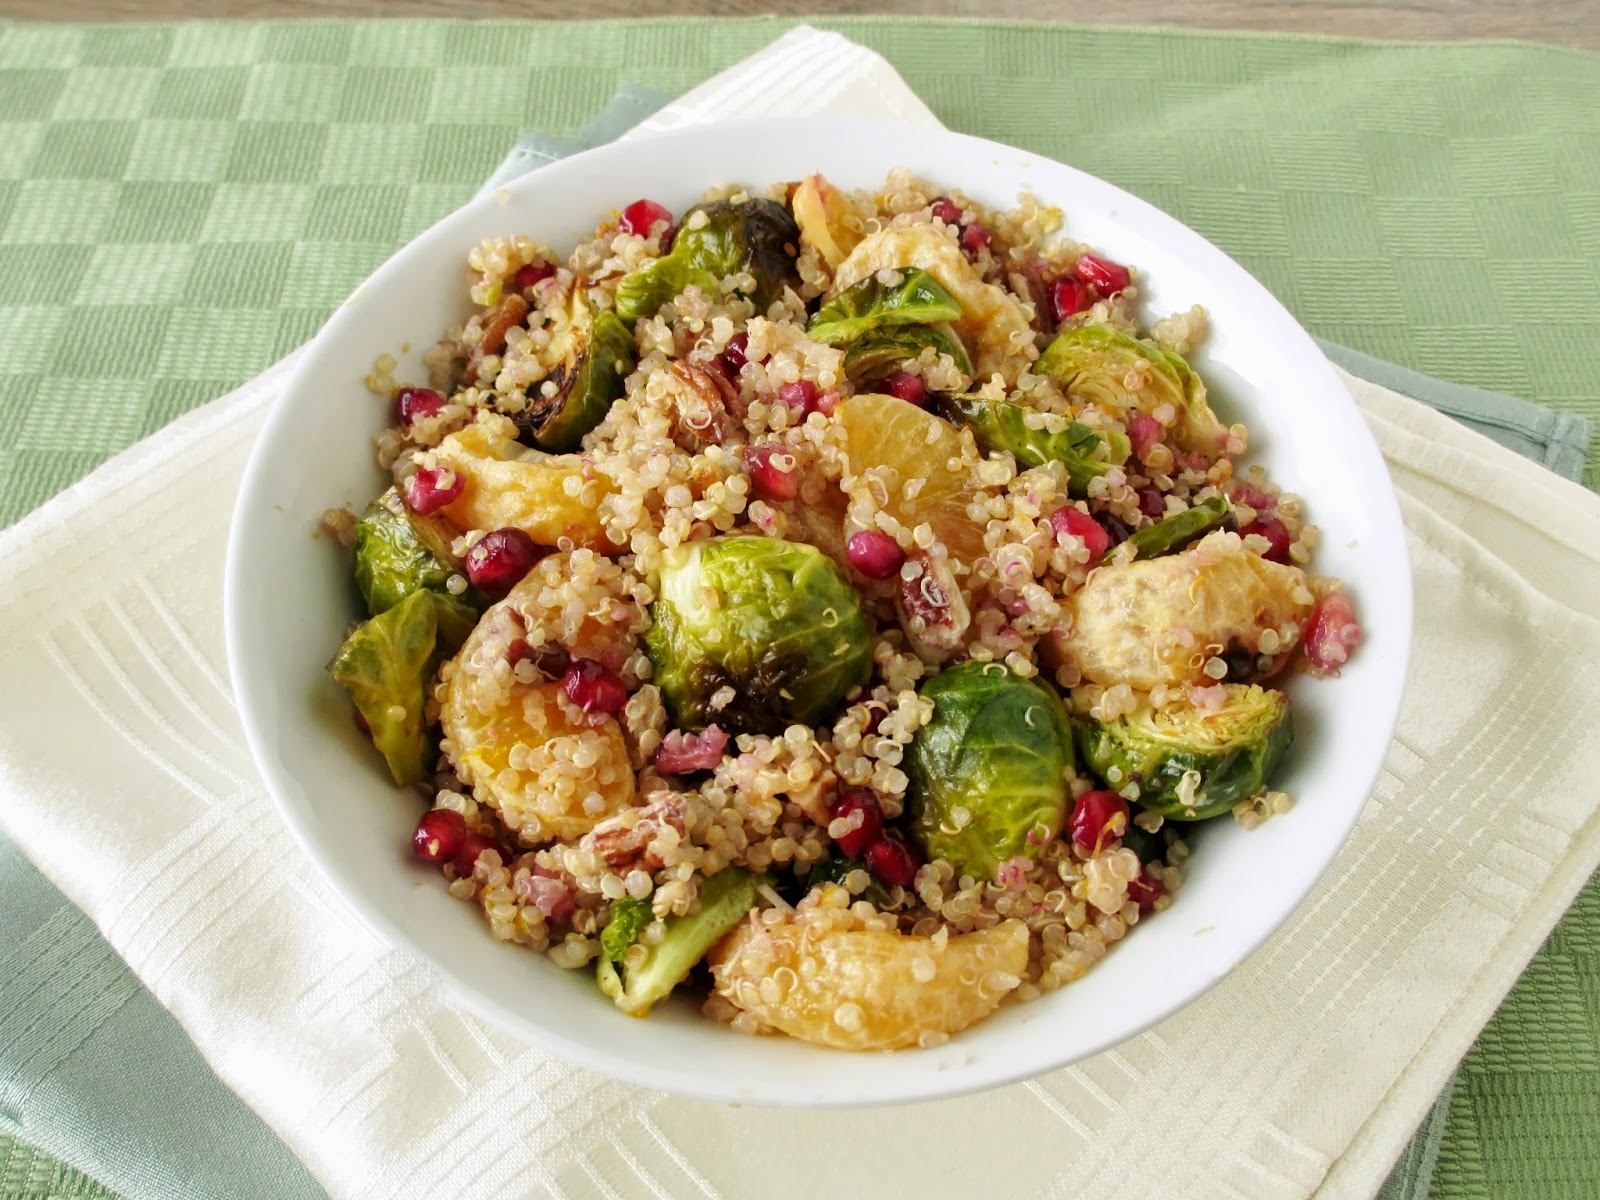
Quinoa with Roasted Brussels Sprouts, Clementines & Pomegranate


Now that we've had our first official snowfall of the year (as in, the snow actually stays on the ground and doesn't just melt away immediately), I think it's appropriate to share a holiday recipe on the blog!

This recipe can actually be made any time, it's not just for the holidays - I just think it looks so festive with the green, red, and gold colours in it, and it tastes Christmassy too!

I saw this recipe for roasted brussels sprouts, clementines, and pomegranate on Edible Perspective and thought it would make a great quinoa dish. It may sound like an odd combination of ingredients at first, but when everything is tossed together in a citrusy dressing with crunchy pecans, it works!


Roasted brussels sprouts are my favourite way to eat them, and if you've never tried roasting citrus fruit, this is a great way to try it out too! The slightly charred clementine segments come out of the oven soft and warm and bursting with juice. Plus, you don't have to worry about any pesky seeds with clementines!

The pomegranate arils add lots of crunch to the mix along with the toasted nuts, and I loved the sweet and tangy clementine dressing with a bit of a kick from some garlic and ginger.

I think this could make a nice side dish to keep in mind for your holiday meal planning over the next month or two!


Quinoa with Roasted Brussels Sprouts, Clementines & Pomegranate
Inspired by Edible Perspective, dressing loosely adapted from Oxmoor House

1 lb brussels sprouts
1 tbsp olive oil
salt and pepper
3 clementines
1 cup quinoa
1/4 cup chopped pecans
3/4 cup pomegranate arils (I recommend buying POM POMS if you can find them)

Dressing
2 tsp clementine zest
1/4 cup fresh clementine juice (from about 1 large clementine, blended then strained to remove pulp)
2 tbsp fresh lemon juice
2 tbsp olive oil
2 tsp agave nectar (can substitute honey for non-vegan)
1 clove garlic, finely minced
1-2 tsp minced fresh ginger (to taste)
1/4 tsp salt
Freshly ground pepper


Preheat oven to 450°F and prepare a large baking sheet by lining with tin foil.

Wash the brussels sprouts and trim off the bottoms and outer leaves. Slice in half (or quarters for larger ones) and toss with the olive oil, some salt and pepper. Peel the clementines (tip: before peeling, remove enough zest for the dressing) and separate each one into four or five sections. Toss clementine pieces with the brussels sprouts, then spread everything out onto the prepared baking sheet. Roast for 20-25 minutes, until the brussels sprouts are browned. Remove from oven. When cool enough to handle, separate the clementine chunks into single pieces.
Meanwhile, bring 2 cups of water to a boil in a medium sized saucepan. Add the quinoa, reduce heat to medium-low, cover, and simmer for about 15 minutes (or according to package directions). Remove from heat and let sit covered for 5 minutes, then fluff with a fork.
Heat a small skillet over medium heat and toast the pecan pieces for a few minutes, until lightly toasted and fragrant. Remove from heat and transfer to a small bowl.

Prepare the dressing by whisking together all ingredients in a small bowl.

Transfer quinoa to a large bowl and add the roasted brussels sprouts and clementines. Add the toasted pecans and pomegranate arils. Toss to combine. Pour over the dressing and toss well to mix. Season with additional salt and pepper if desired.

Serve warm.

Makes 4 servings.

(Note: Leftovers will keep in the fridge, but I liked the best when it was freshly made...after a day or two, the clementines get a bit too soft and reheated brussels sprouts never smell very good!)

October 15, 2013

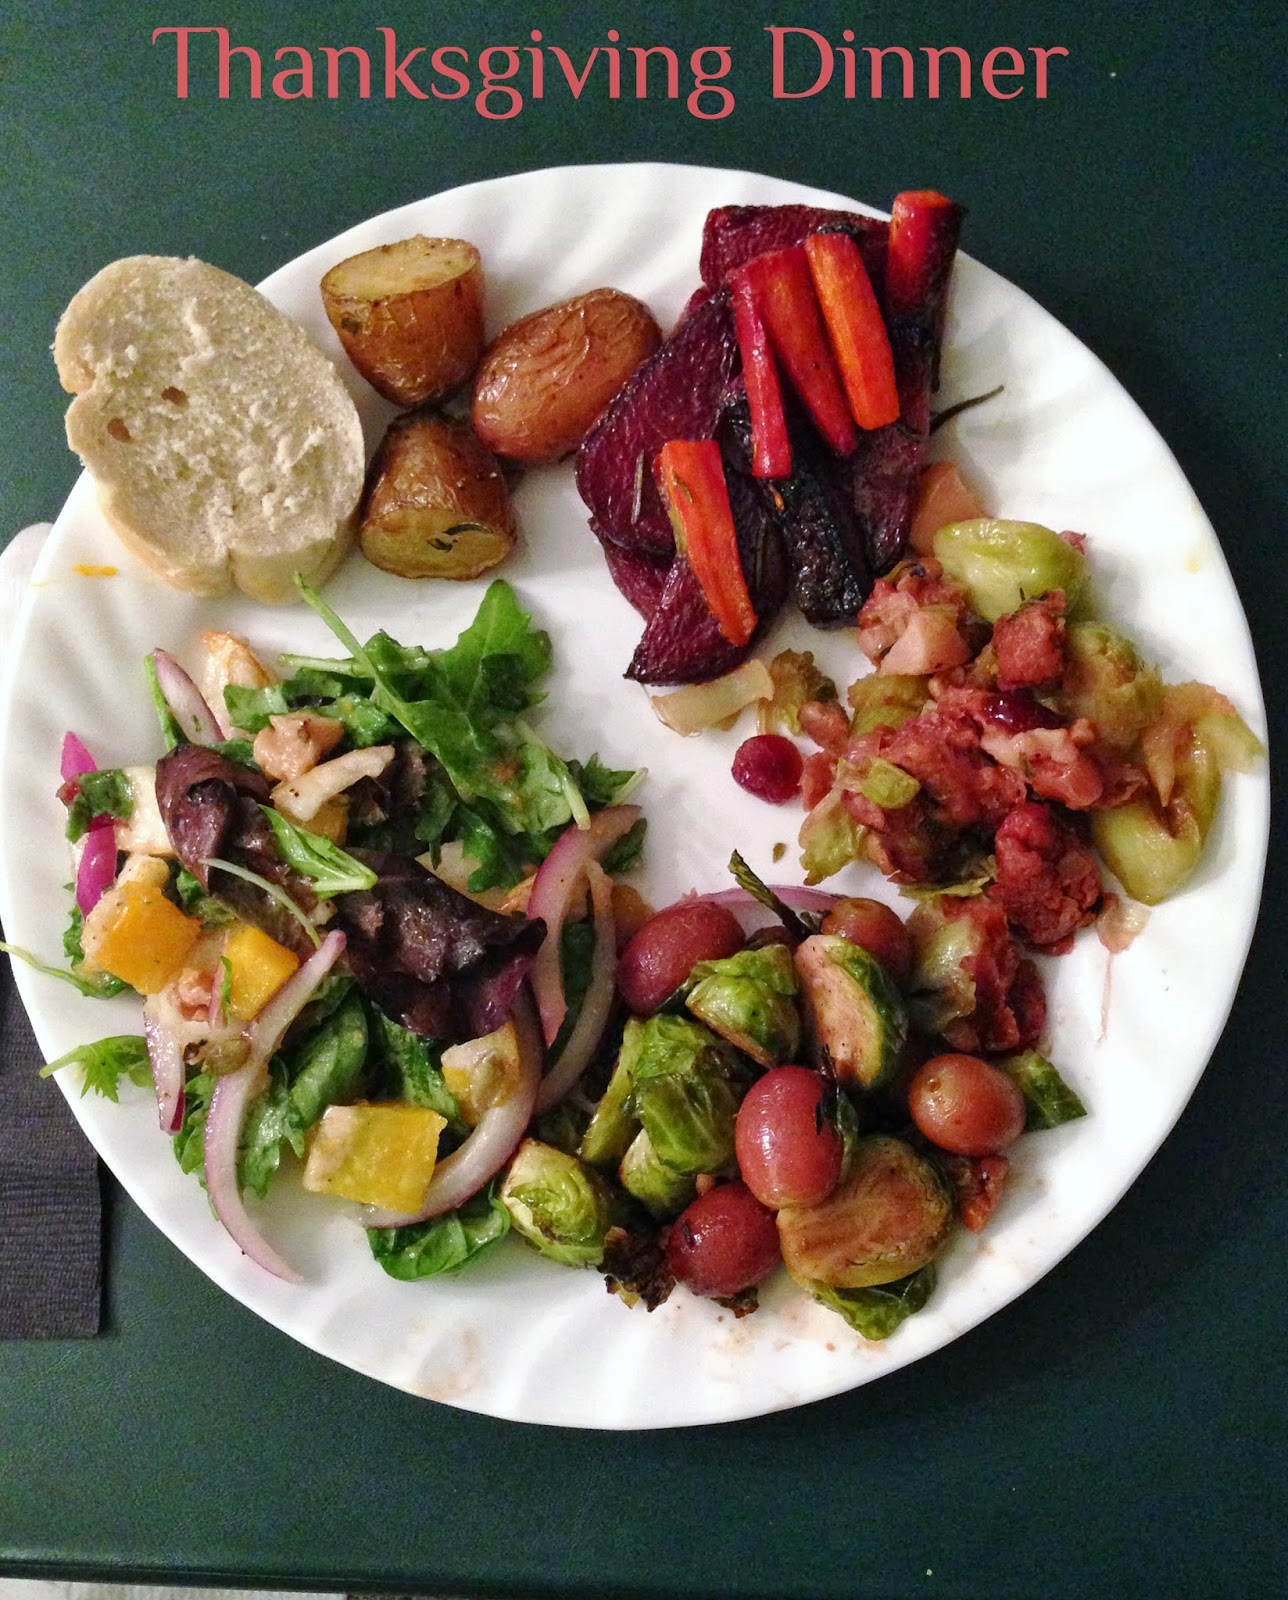
Thanksgiving 2013 Recap


As many of you know (especially if you read my post on Friday), this past weekend was our Thanksgiving holiday here in Canada. We lucked out with beautiful weather, and combined with lots of good food and time spent with family and friends, it was a great weekend!

Before I get back to regular recipe posts, I wanted to share our holiday meal with you, since I liked everything so much! And for those of you who are still planning their own upcoming Thanksgiving dinners (whether you celebrate it with relatives the week after Thanskgiving, or next month for Americans), maybe you'll get an idea or two!


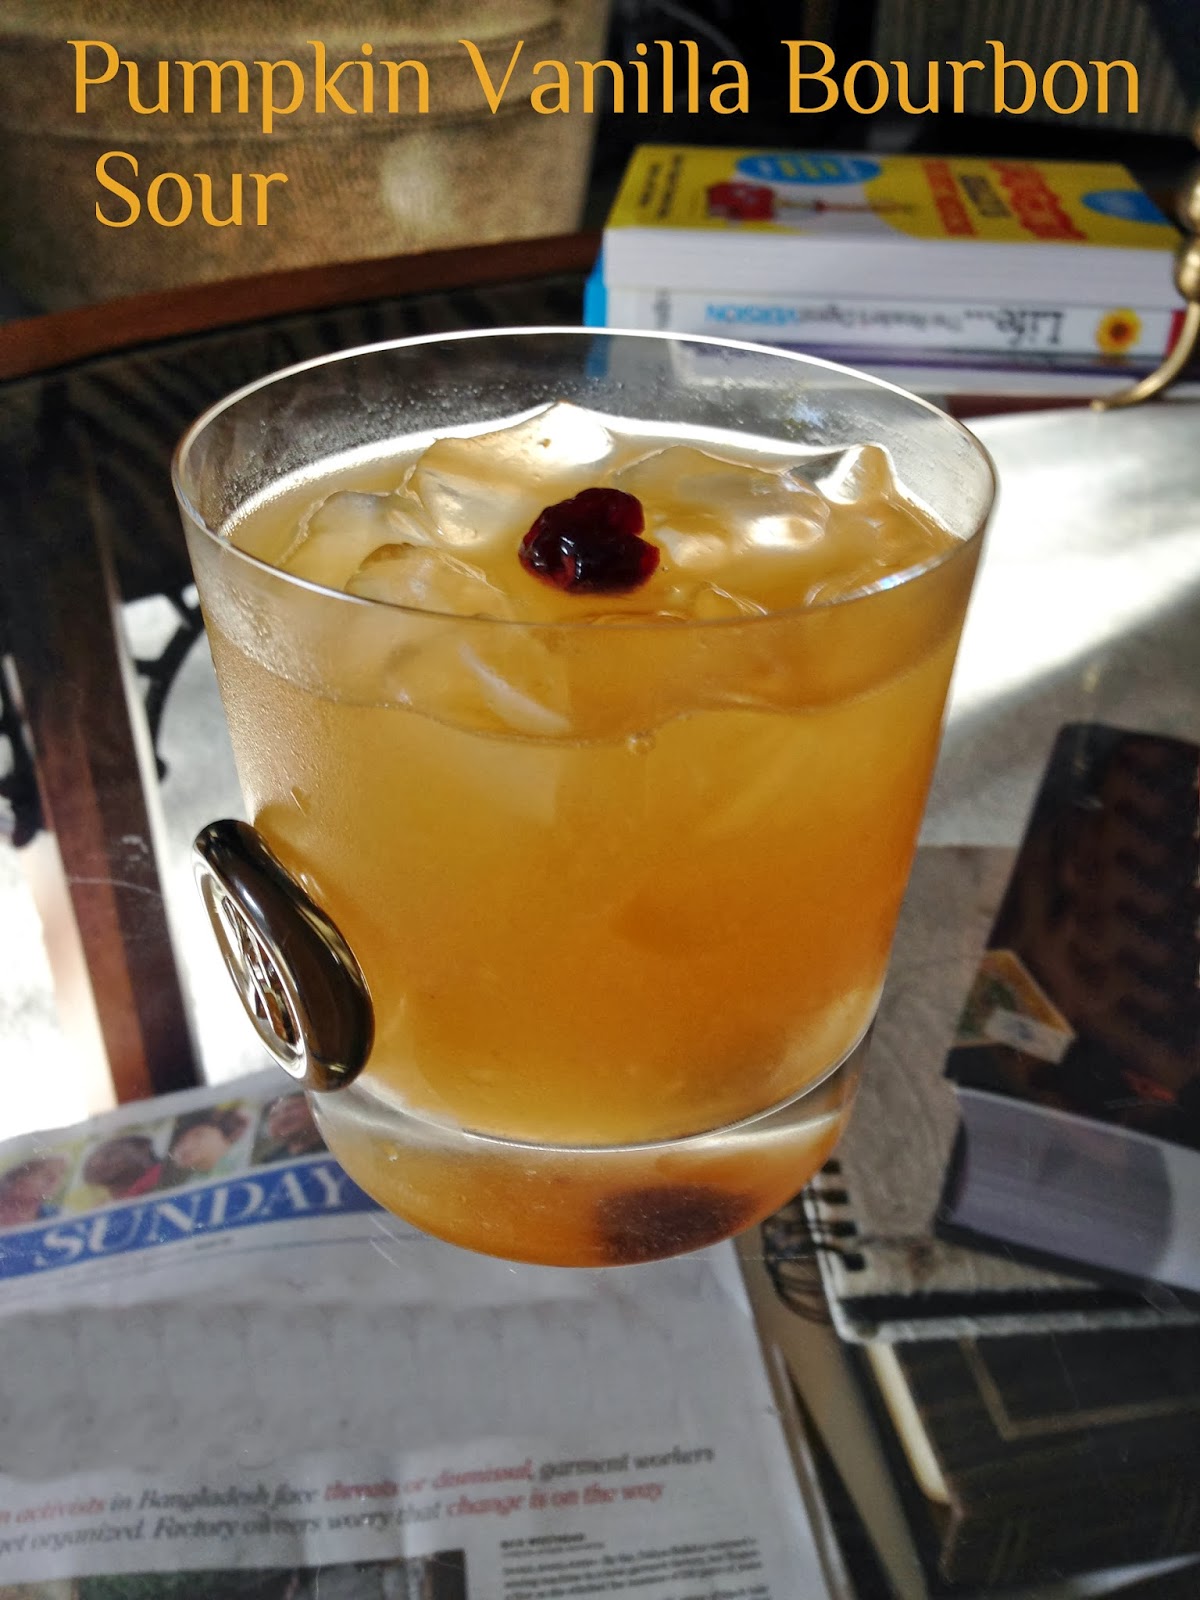
We started off the evening with some delicious cocktails prepared by my uncle. I don't have an actual recipe for these, but they were made with pumpkin orange juice, vanilla, bourbon, and lemon juice for the sourness. So tasty!


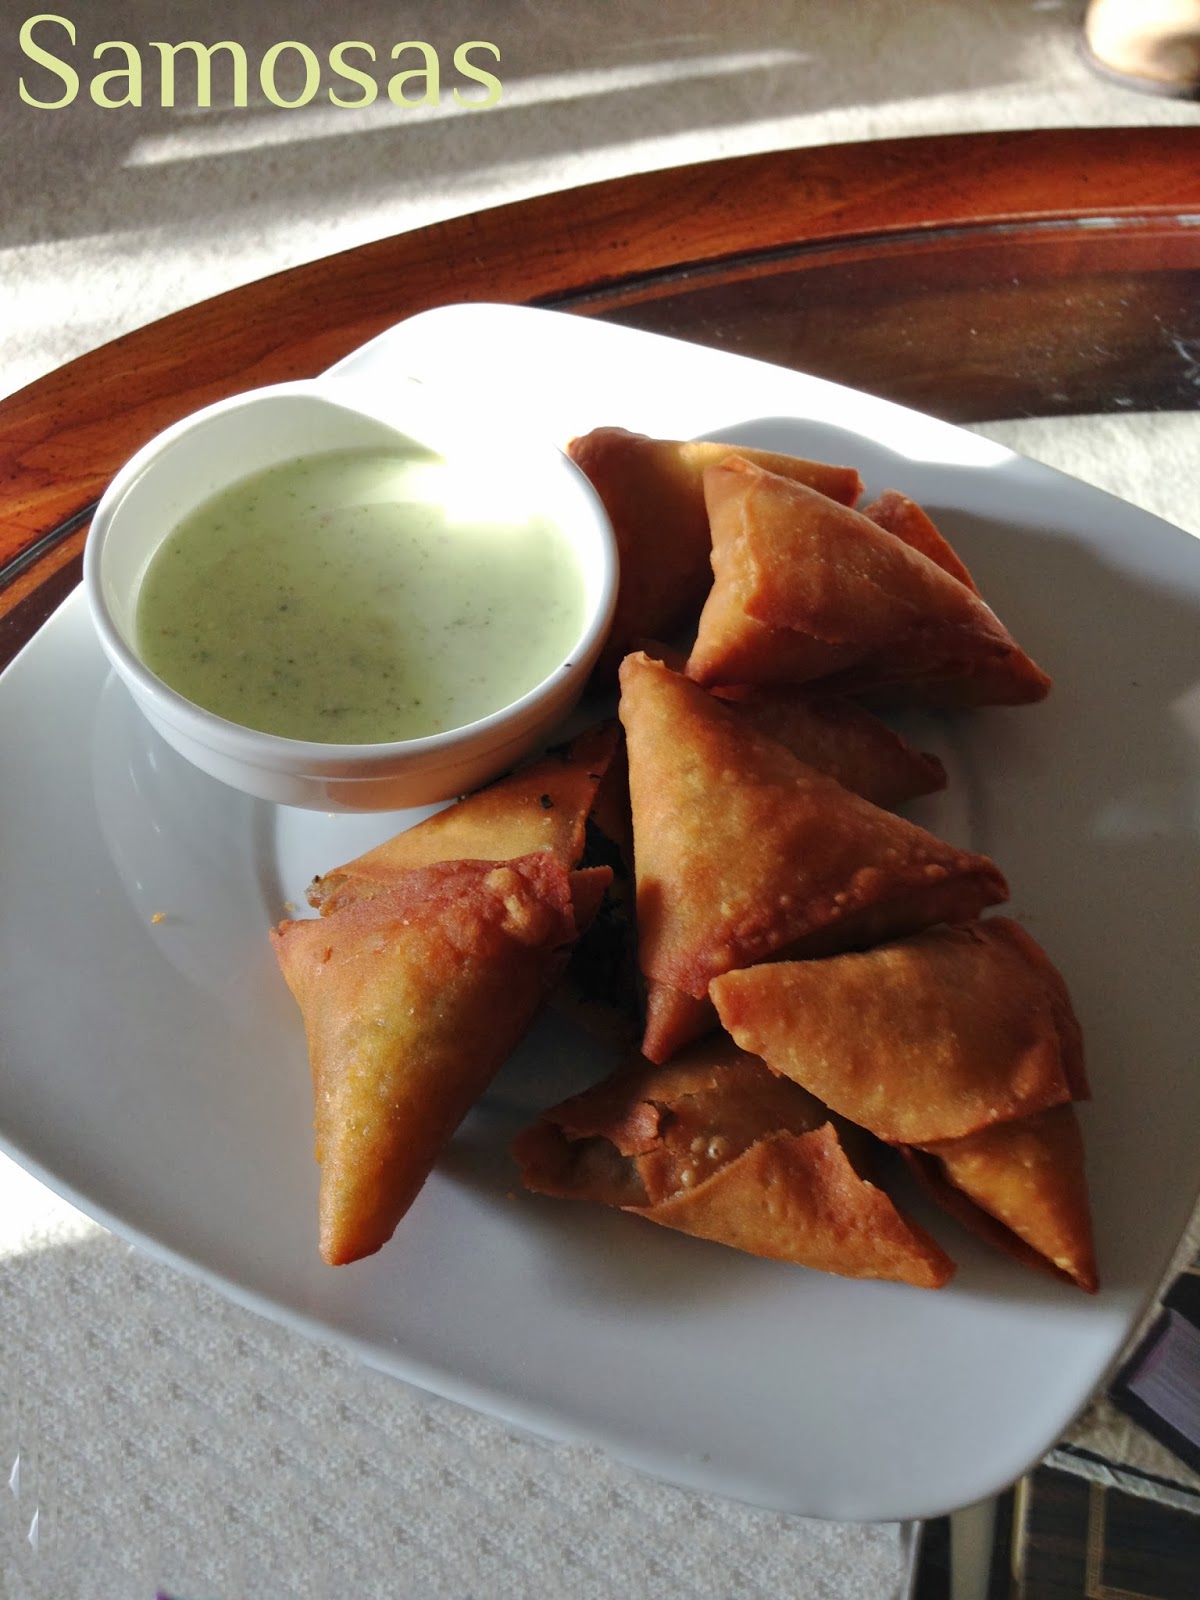
We tend not to have a lot of appetizers on Thanksgiving so that we don't fill up too much before the actual meal, so all we had were these mini samosas from a store in Toronto (the only part of our meal that wasn't homemade!). There was a variety of meat and veggie samosas, served with a cilantro yogurt dipping sauce - a bit non-traditional, but we all loved them anyway!


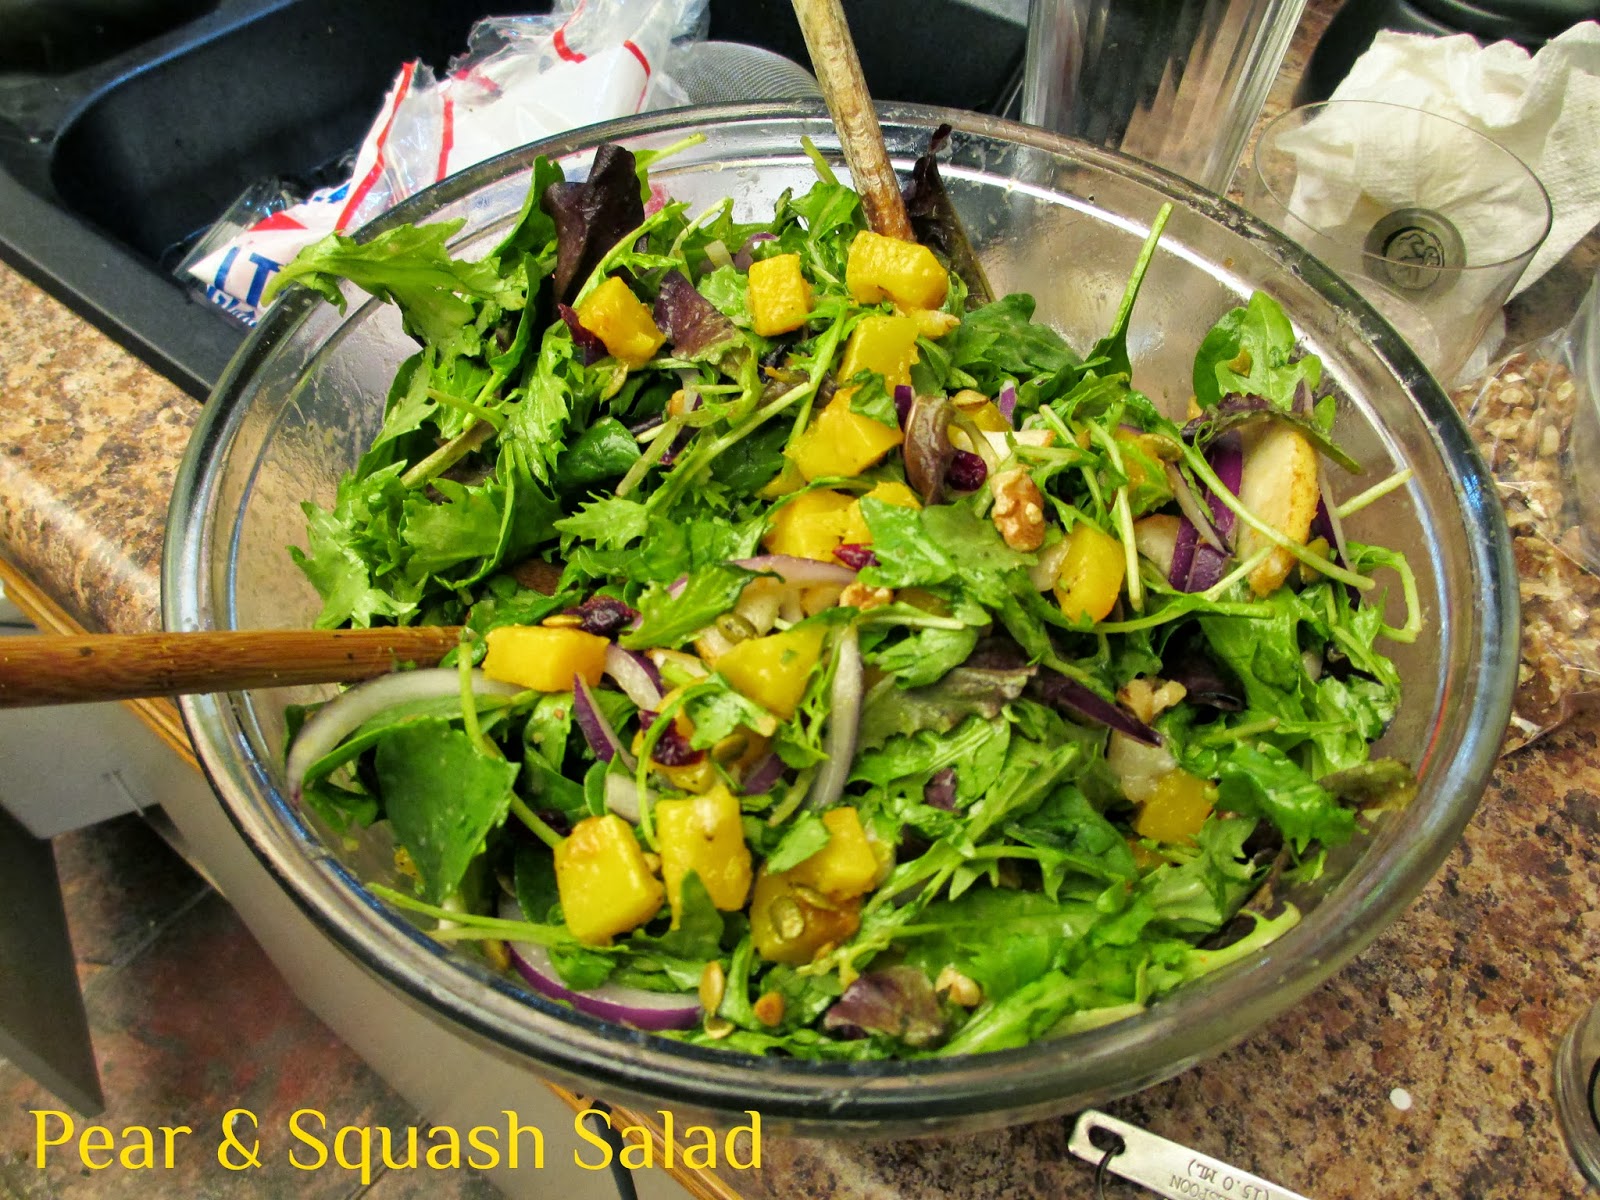
One of my contributions to the meal itself was this pear and squash salad that I posted on my blog last week. I had to make it a bit differently this time, preparing as much as I could ahead of time and cutting the squash into cubes instead of slices, so it didn't taste quite the same but it was still a nice addition to the meal! I also realized once I was already eating it that I had forgotten to add the goat cheese, which would have made a difference - oh well!


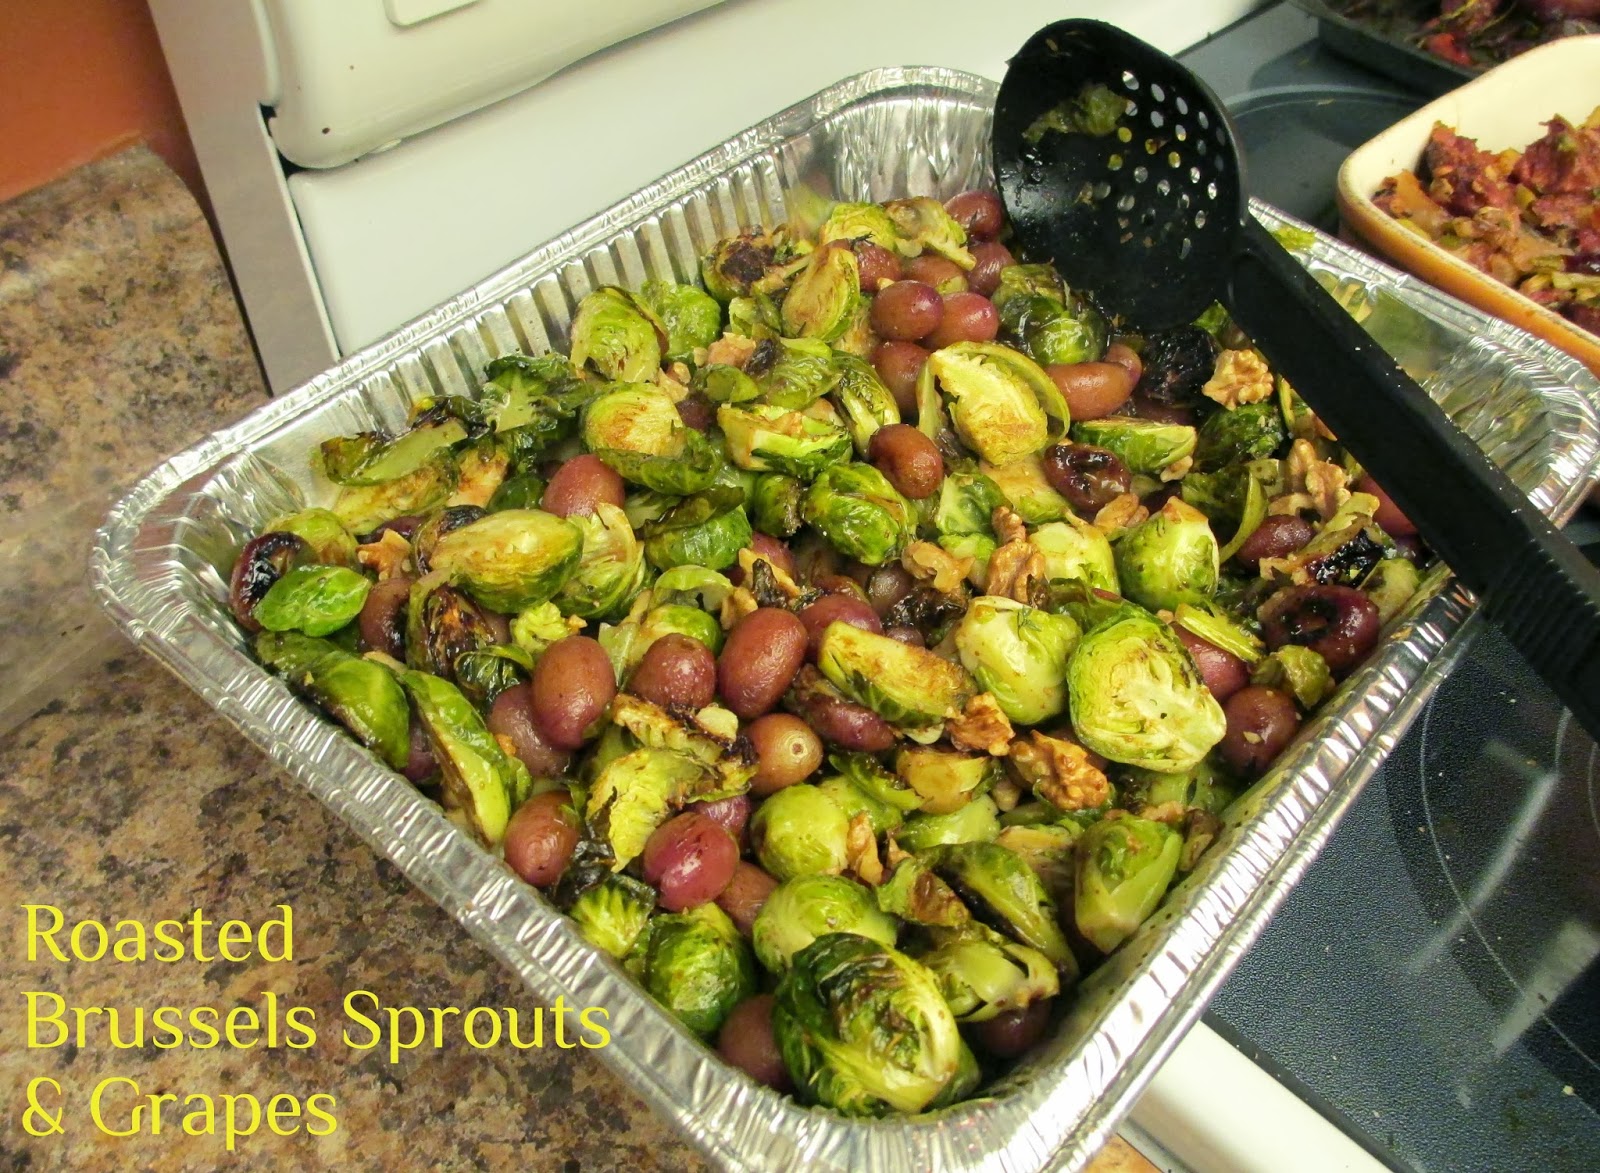
My other contribution were these roasted brussels sprouts and grapes with walnuts from Whole Living. Not everyone was willing to try this, but it was one of my favourite parts of the meal! If you like brussels sprouts, you'd love this dish, and if you've never tried roasting grapes before, I definitely recommend it!


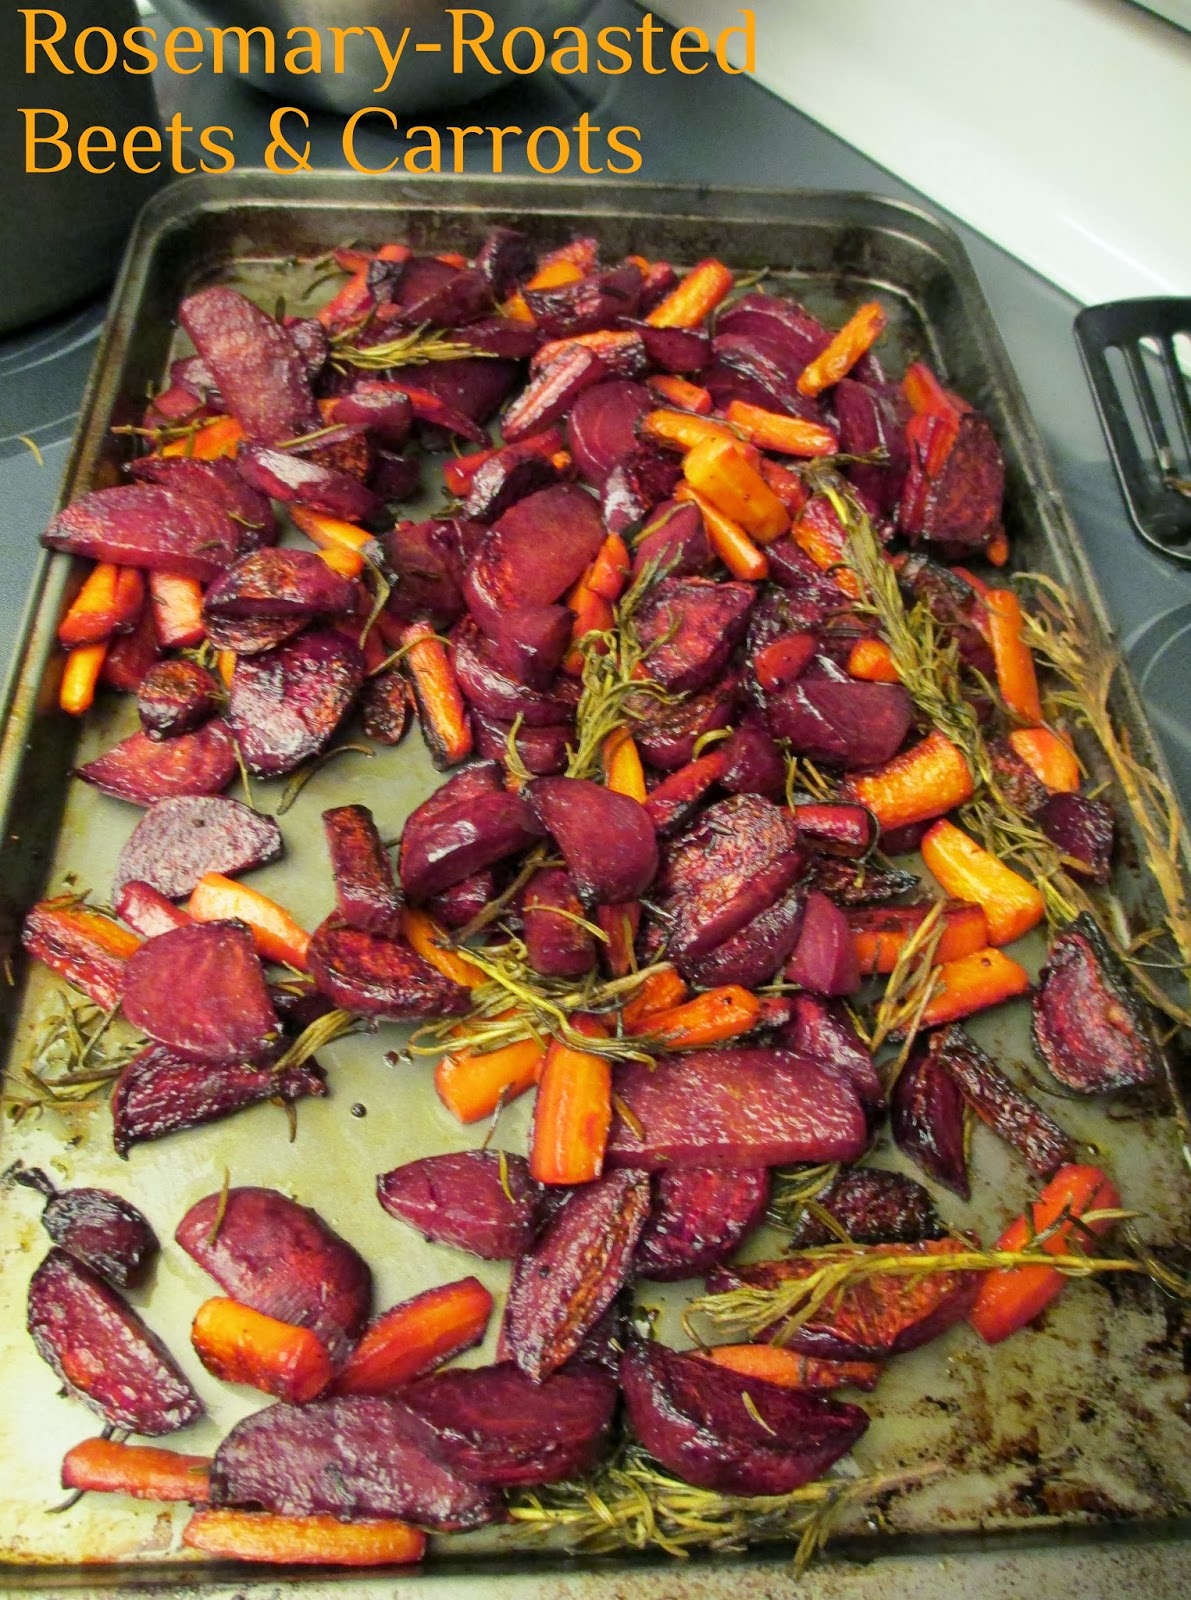
I was super excited when I found out that my aunt was making beets as one of the side dishes because I love beets but we don't usually have them at family meals because they're not everyone's favourite vegetable...Even beet haters would have to like this rosemary-roasted beets and carrots dish from Real Simple though!


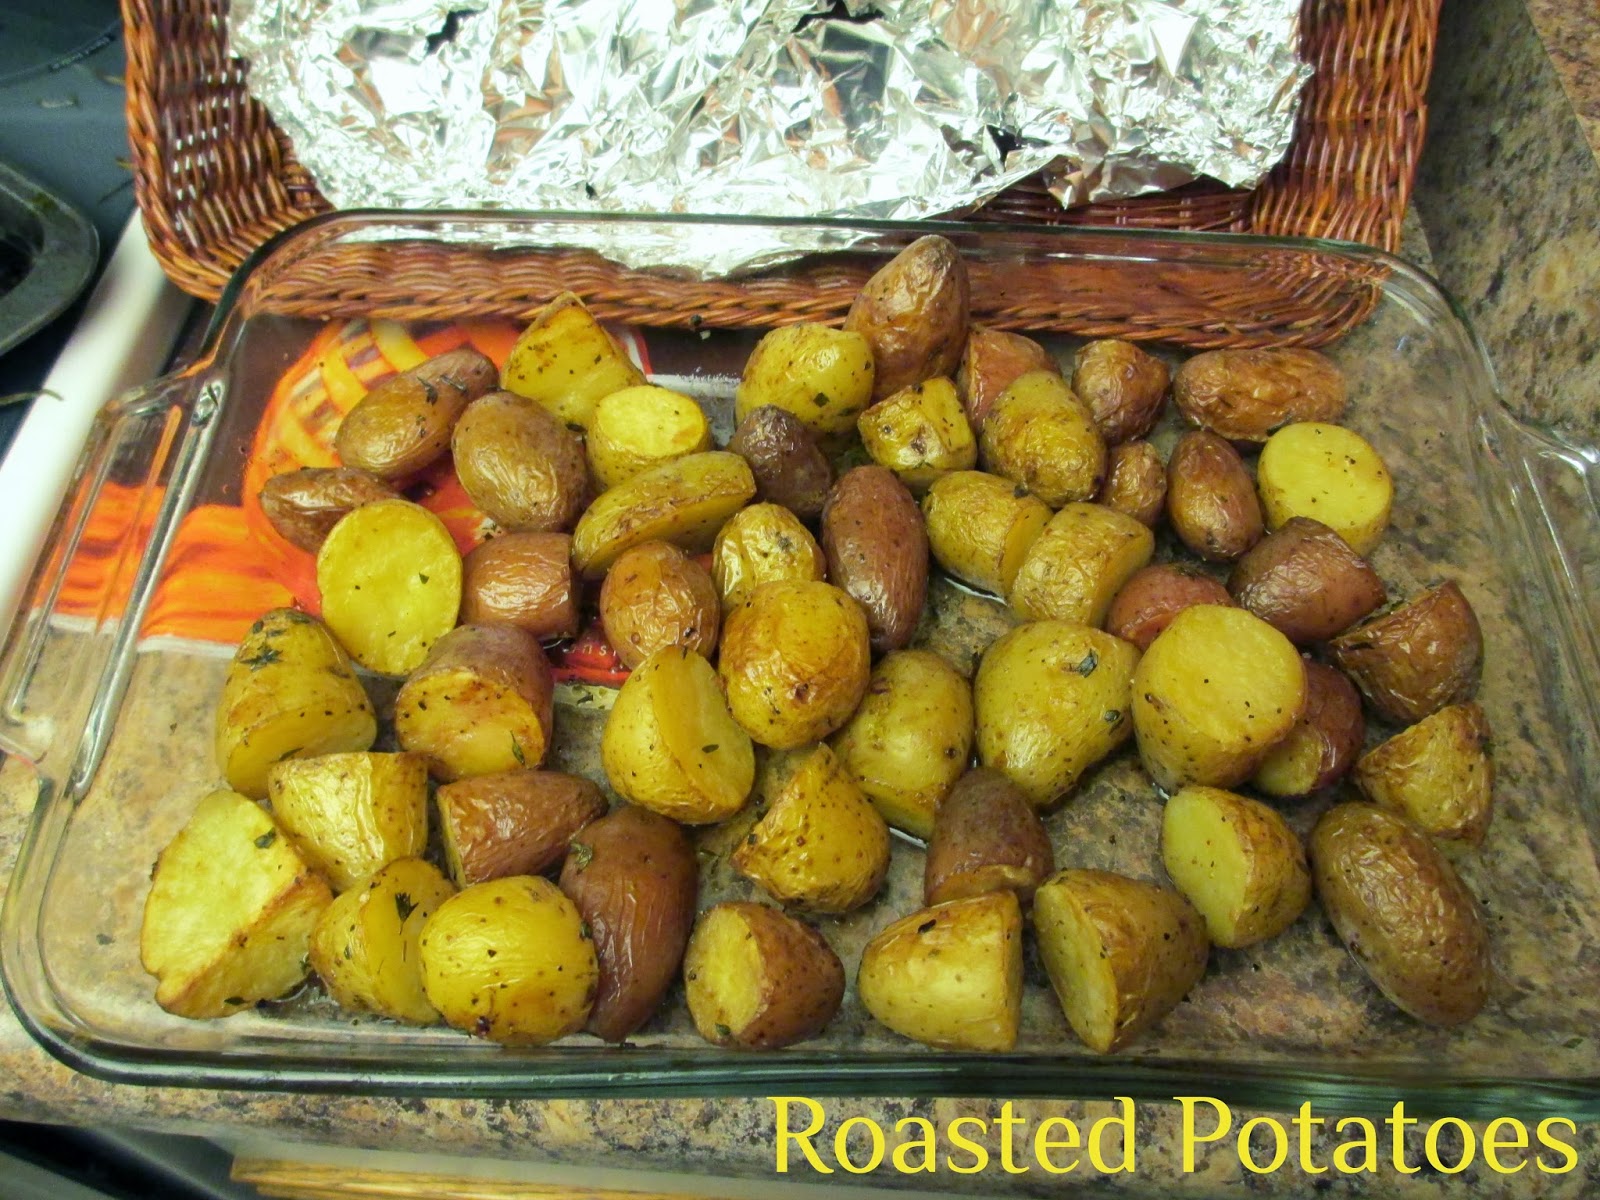
The other veggie side dish we had were these roasted fingerling potatoes that my mom made. Our usual potato dish on Thanksgiving is scalloped potatoes, but I'm not really fan of them so I was much happier with adding these simple but tasty potatoes to my plate instead!


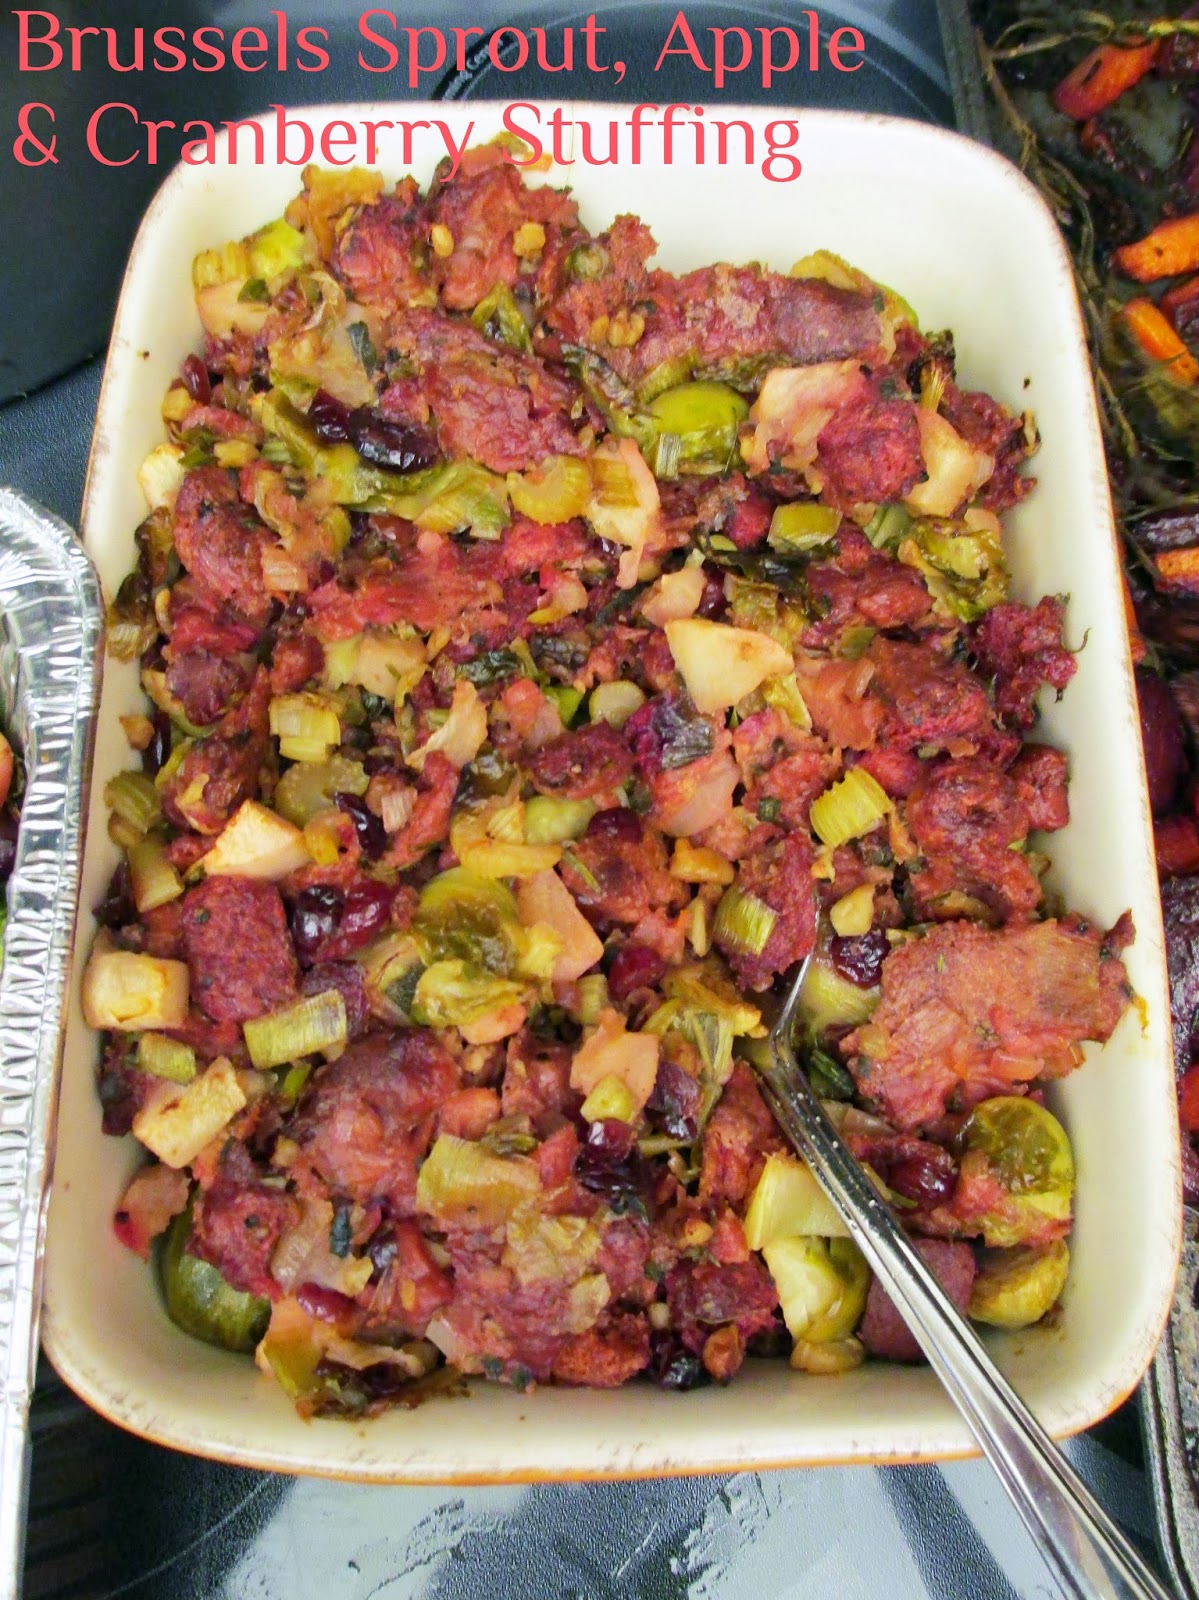
You can't have Thanksgiving without stuffing, and luckily for me, my vegetarian sister offered to make a special vegan stuffing for us to enjoy! She used this recipe for squash, brussels sprout and apple stuffing from Choosing Raw as a guide, but left out the squash and used a beet-carrot bread from the market as the bread (which is why it looks so purple!). I loved this non-traditional twist on stuffing!


My plate was full of so many delicious veggie side dishes that I didn't miss the turkey and gravy at all! I had to limit myself to only one serving of everything so that I could save room for our homemade desserts...


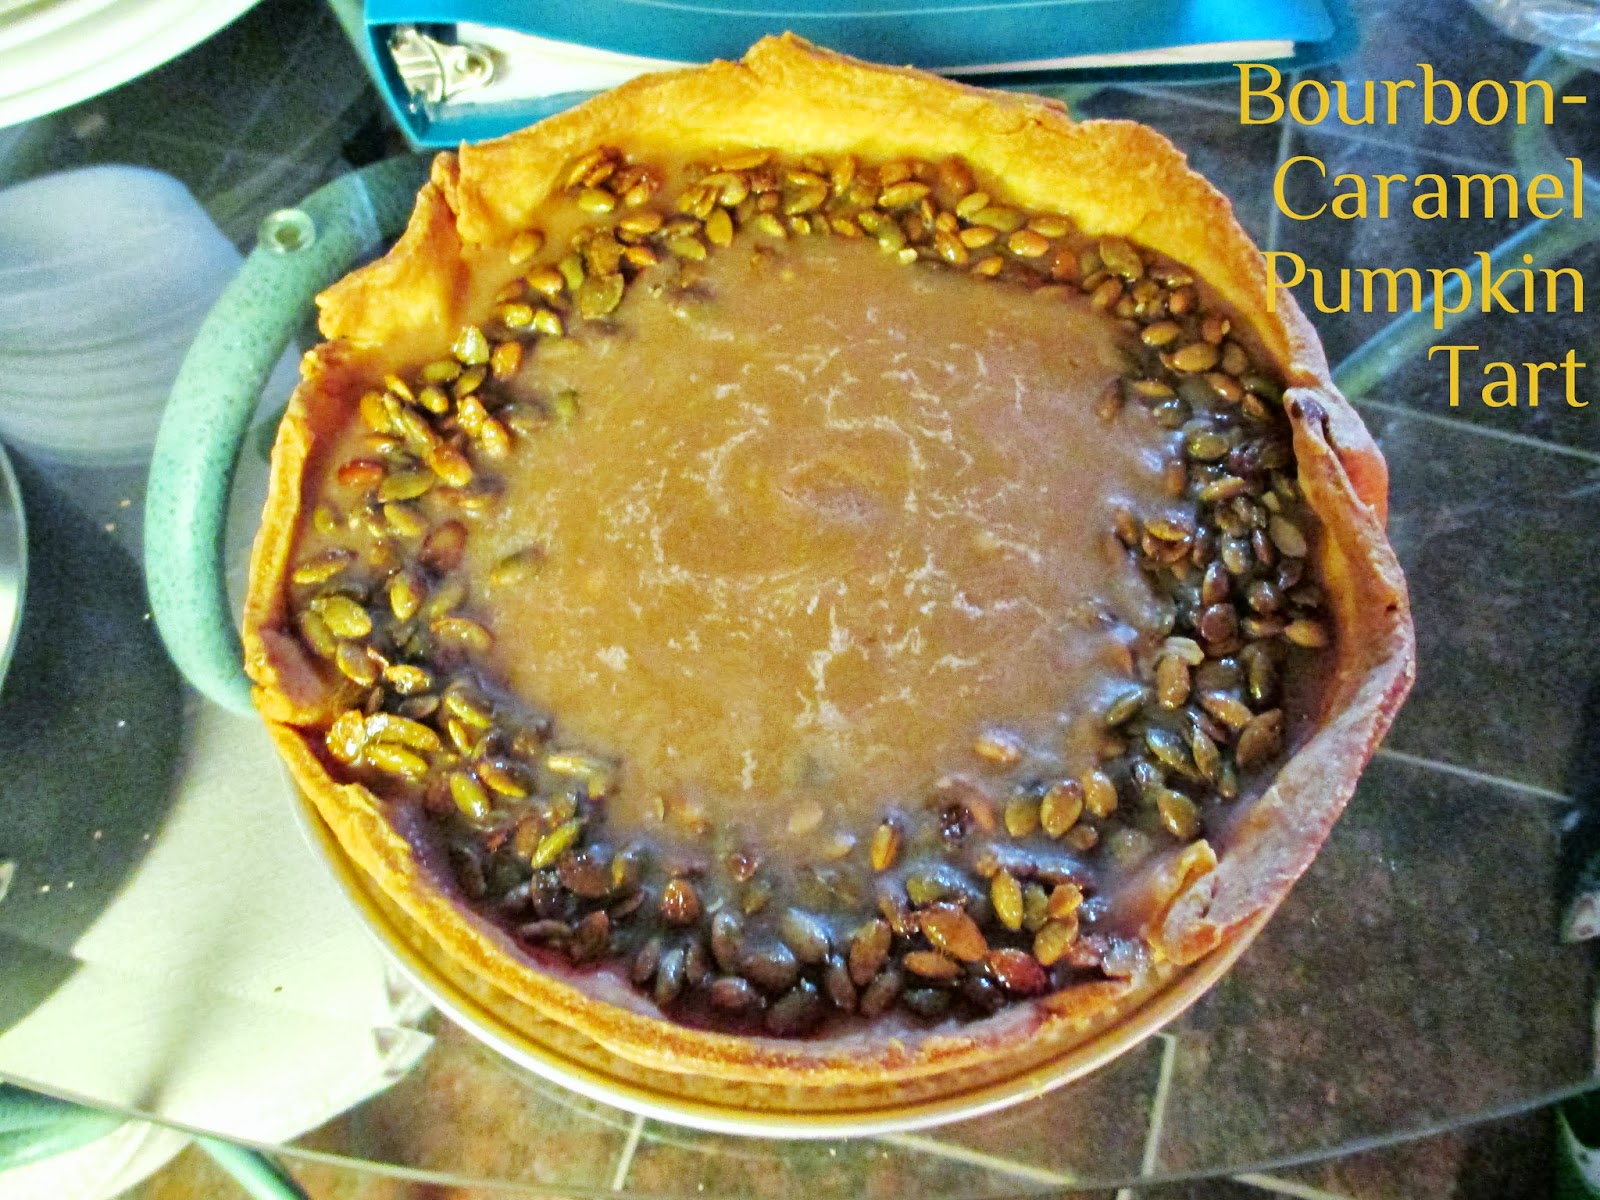
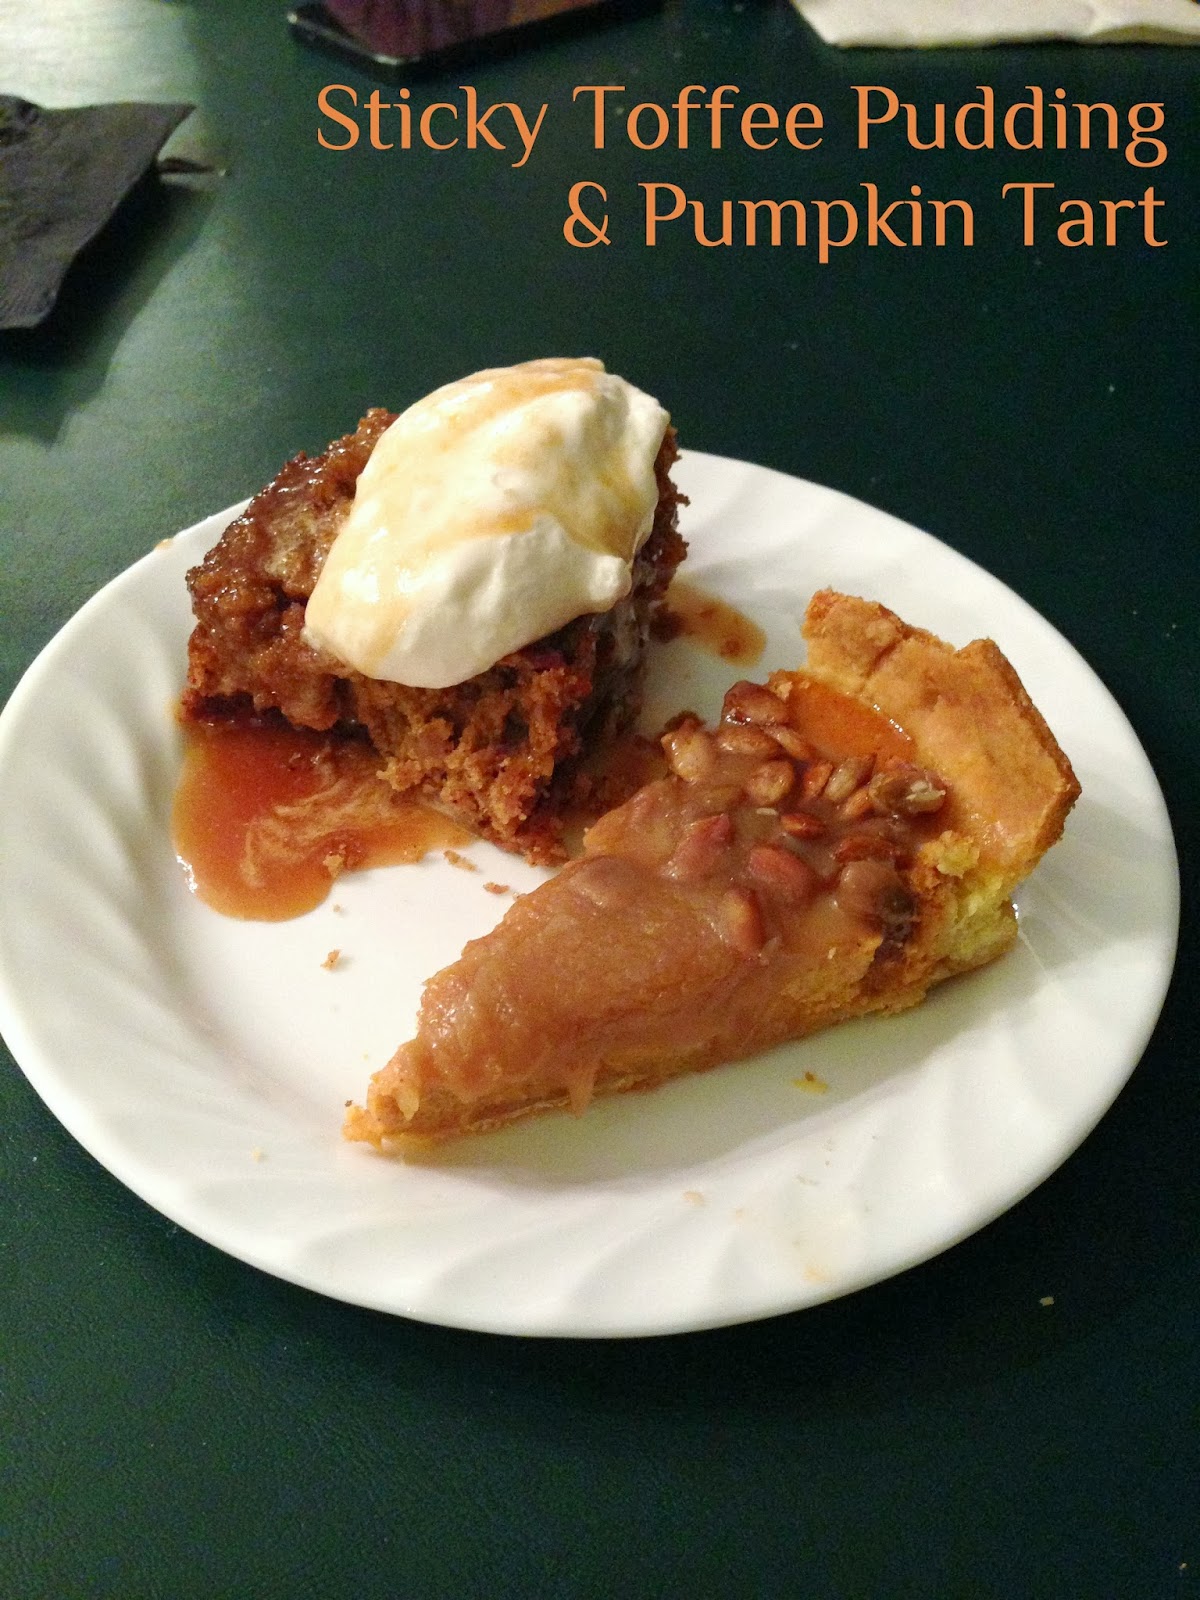
Rather than having a traditional pumpkin pie, my aunt made this bourbon-caramel pumpkin tart from the cover of the the latest issue of Fine Cooking. We all loved this - the crust was perfectly flaky, the filling was nice and creamy and sweet, and I especially liked the crunchy candied pepitas on top!


In addition to the tart, we also enjoyed sticky toffee pudding that my uncle made, topped with a caramel whipped cream. Unfortunately I didn't get the recipe for this one, which is too bad because it was so good! Everyone raved about the whipped cream and most of it was eaten up even after we finished our cake!


Hope you all had a nice weekend and that those of you who celebrated Thanksgiving enjoyed some delicious food too! And I promise I'll have a new recipe to share with you later this week!

October 11, 2013

Recipes for a Vegetarian Thanksgiving

This weekend is one of my favourite holidays because it's mostly about the food - Canadian Thanksgiving! I'm sure most of you who are celebrating Thanksgiving this weekend already have your menus planned, but in case you're still looking for some ideas, I wanted to share some recipes from the blog that might fit into your meal (plus some ideas from other blogs)!

And for my American readers, you can get a head start on planning your own holiday meals next month!

Breakfast

Since you'll probably be busy preparing the big meal all day, a quick and portable breakfast might be the way to go. Muffins and scones can be eaten fresh out of the oven, or prepared a day or two ahead of time to save even more time!


These chai-spiced pear and walnut muffins would be a good choice for a healthy and seasonal grab-and-go breakfast or mid-morning snack to fuel you through a busy day!


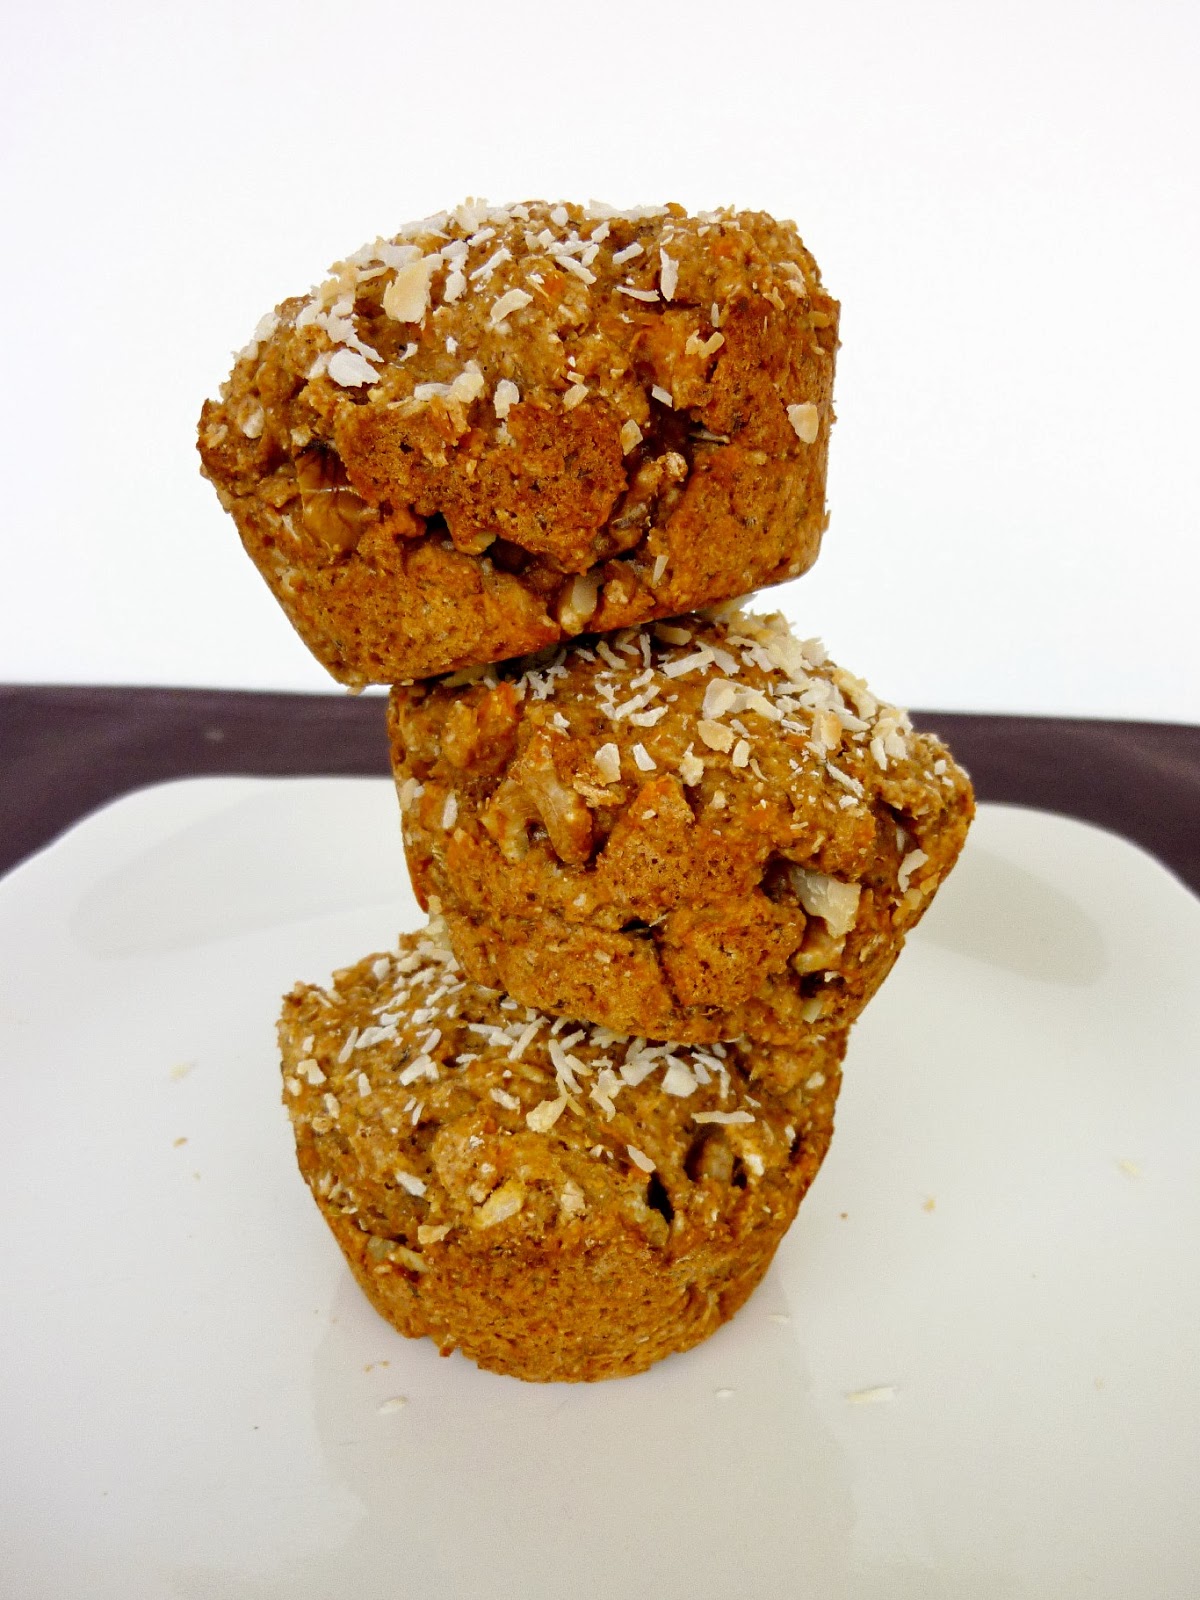
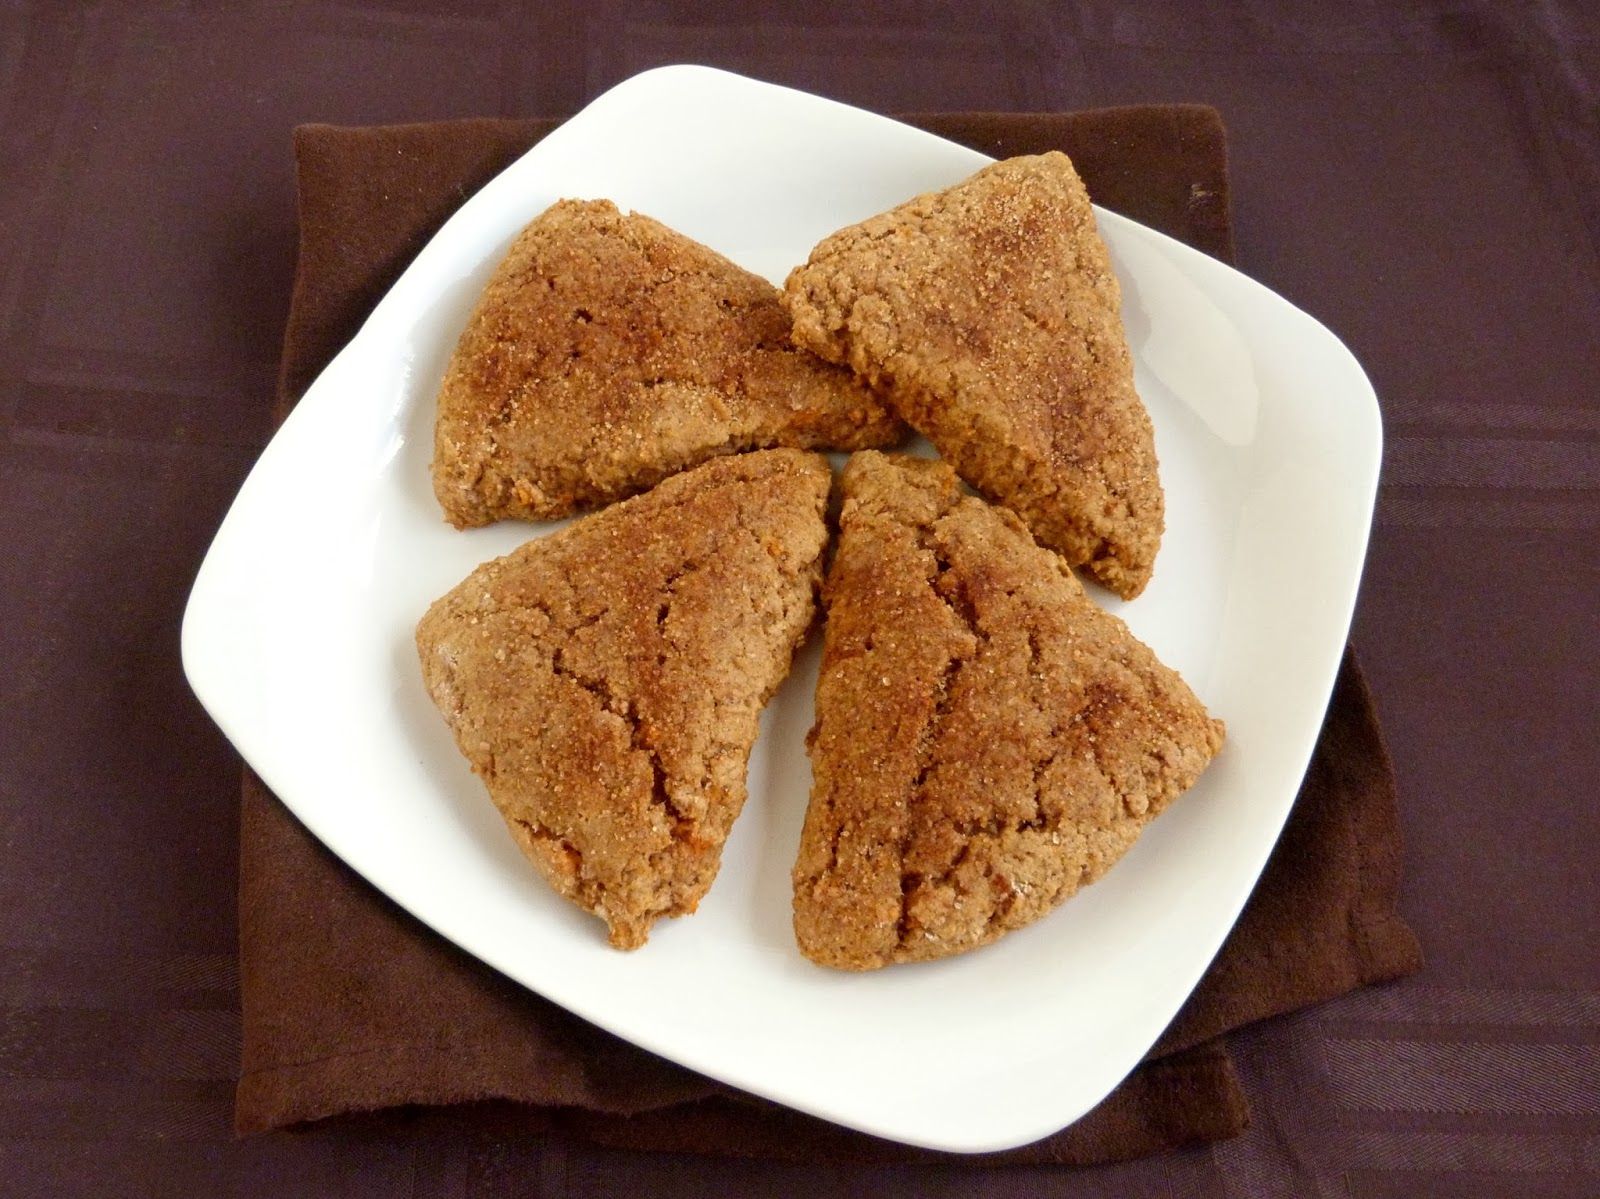
Or, if you have a lot of sweet potatoes lying around, you could make these hearty sweet potato, coconut and ginger muffins (above) or these soft sweet potato cinnamon scones (below). Either of these ideas would be even easier to make the day after Thanksgiving if you end up having leftover mashed sweet potatoes from your meal!


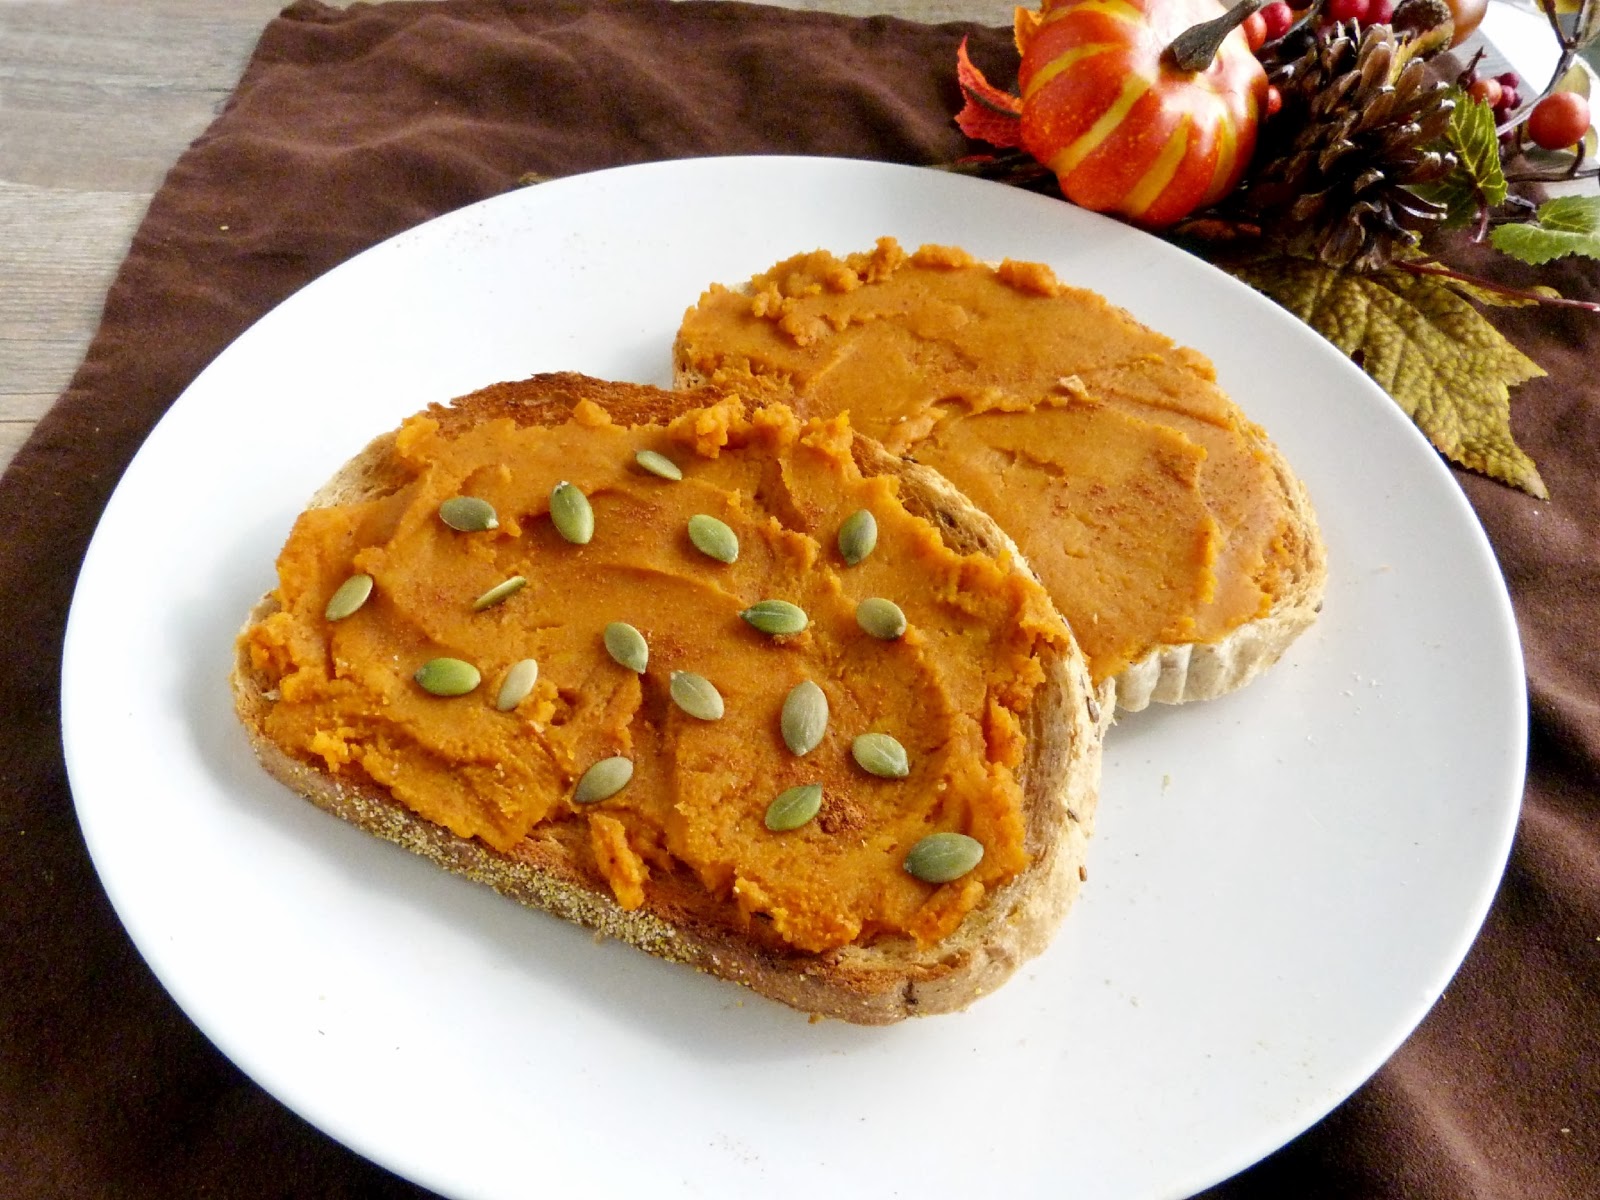
If you're not into baked goods for breakfast, I think this sweet potato-pumpkin spread on toast would make a tasty breakfast too, plus it uses up both leftover sweet potato and pumpkin puree!


On the other hand, if a more elaborate and filling meal is more your style to kick off Thanksgiving morning, all of these vegan pumpkin inspired breakfast recipes sound pretty amazing to me too:

Other breakfast ideas:
Pumpkin Cinnamon Rolls from Eat, Live, Run
Pumpkin French Toast from Post Punk Kitchen
Pumpkin Spice Latte Waffles from Minimalist Baker
Whole Wheat Vegan Pumpkin Pie Pancakes from Prevention RD
Pumpkin Spice Breakfast Quinoa from Once Upon a Cutting Board


Drinks


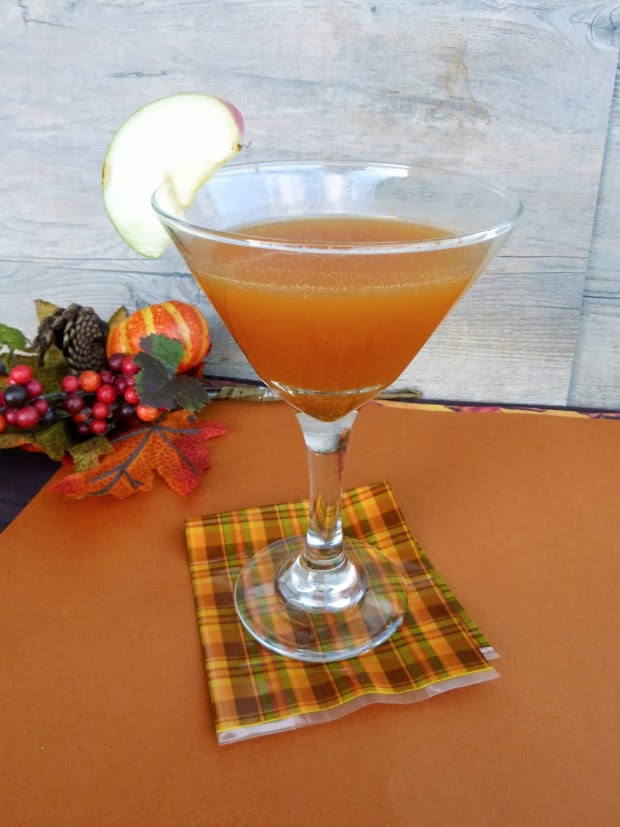
We always like to drink wine at our Thanksgiving get-together, but occasionally we'll complement the wine with a special cocktail - after all, it is a special occasion! Last year I enjoyed making these pumpkin apple cider cocktails with honey flavoured whiskey for myself around this time of year. If you're a fan of sweeter drinks, give this a try!

Other drink ideas:
Apple Orchard Punch from Once Upon a Cutting Board
Autumn Chiller (non-alcoholic) from CHOW
Cranberry Orange Spritzer (non-alcoholic) from Oh My Veggies
Hot Apple Ginger Toddy from the Kitchn to cozy up with at the end of the night!


Appetizers


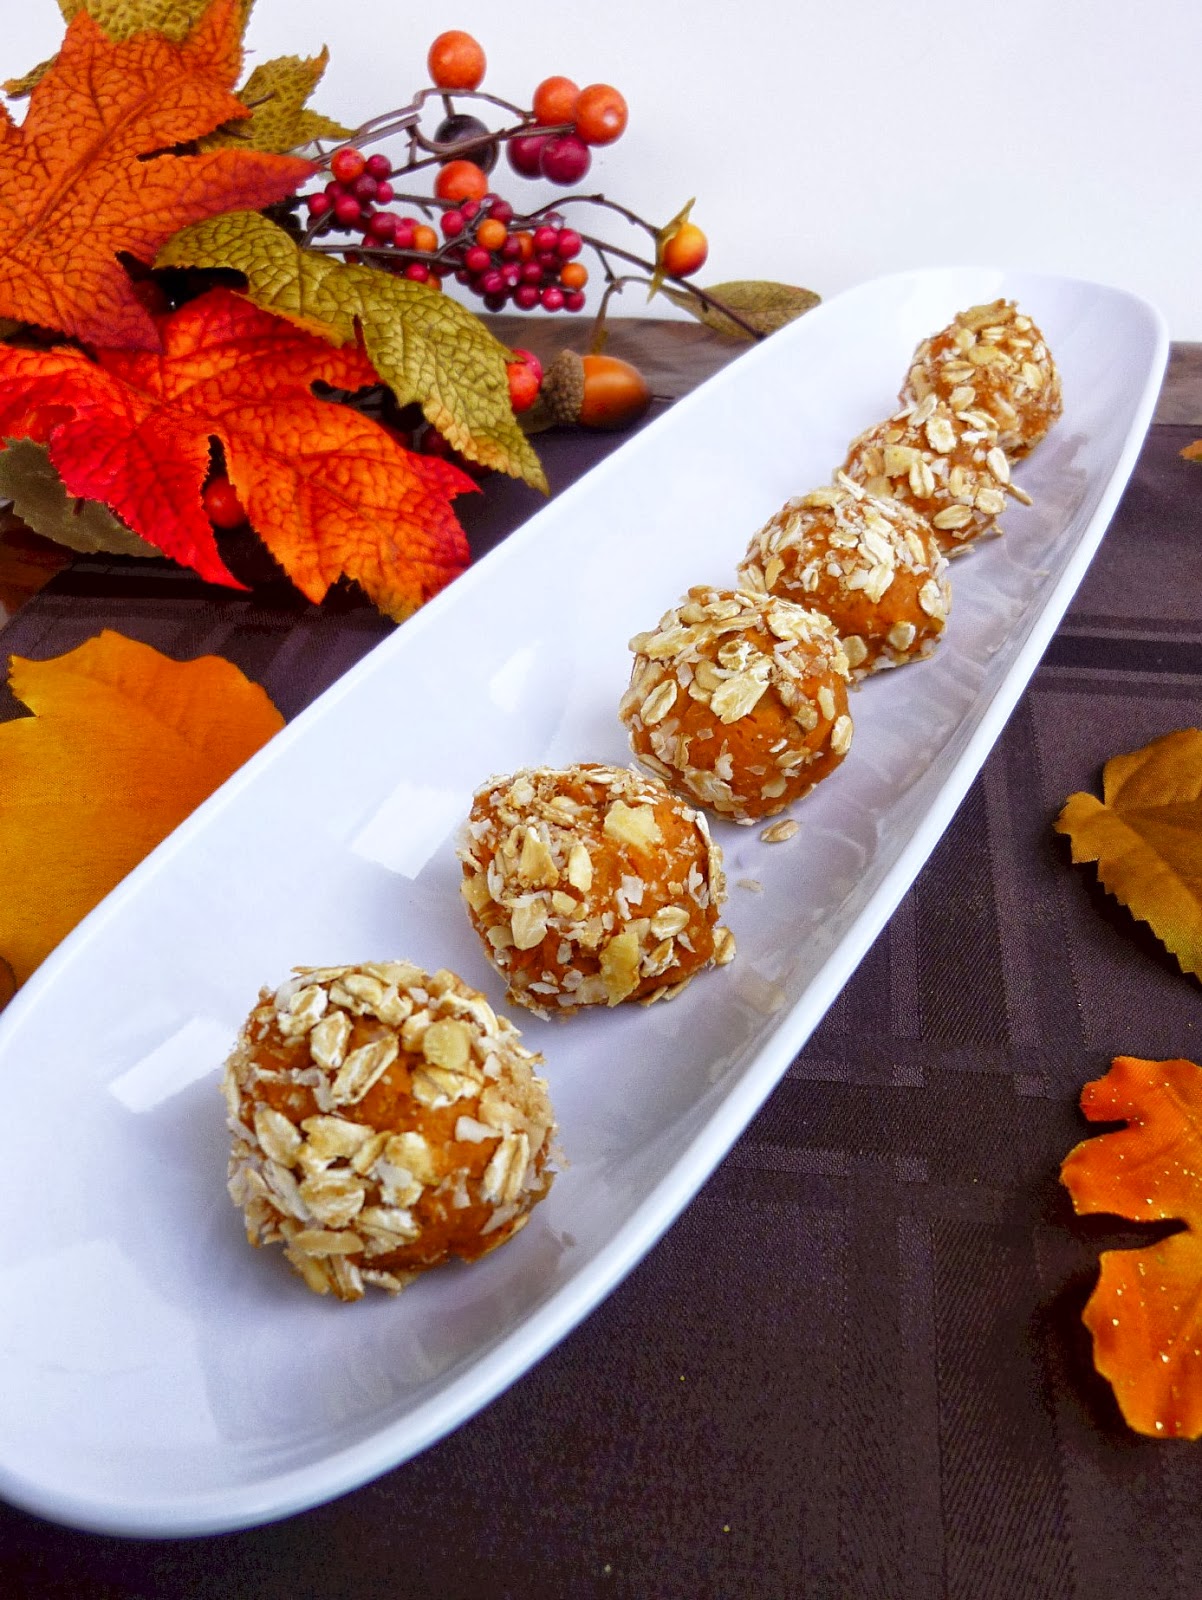
These sweet potato bites are kind of like a bite-sized appetizer version of the classic sweet potato casserole dish found at many Thanksgiving dinners. Made from mashed sweet potato with a bit of maple syrup and spices, rolled in oats, walnuts, and coconut, and baked in the oven, these are a tasty option for people who love sweet potatoes (like me)!


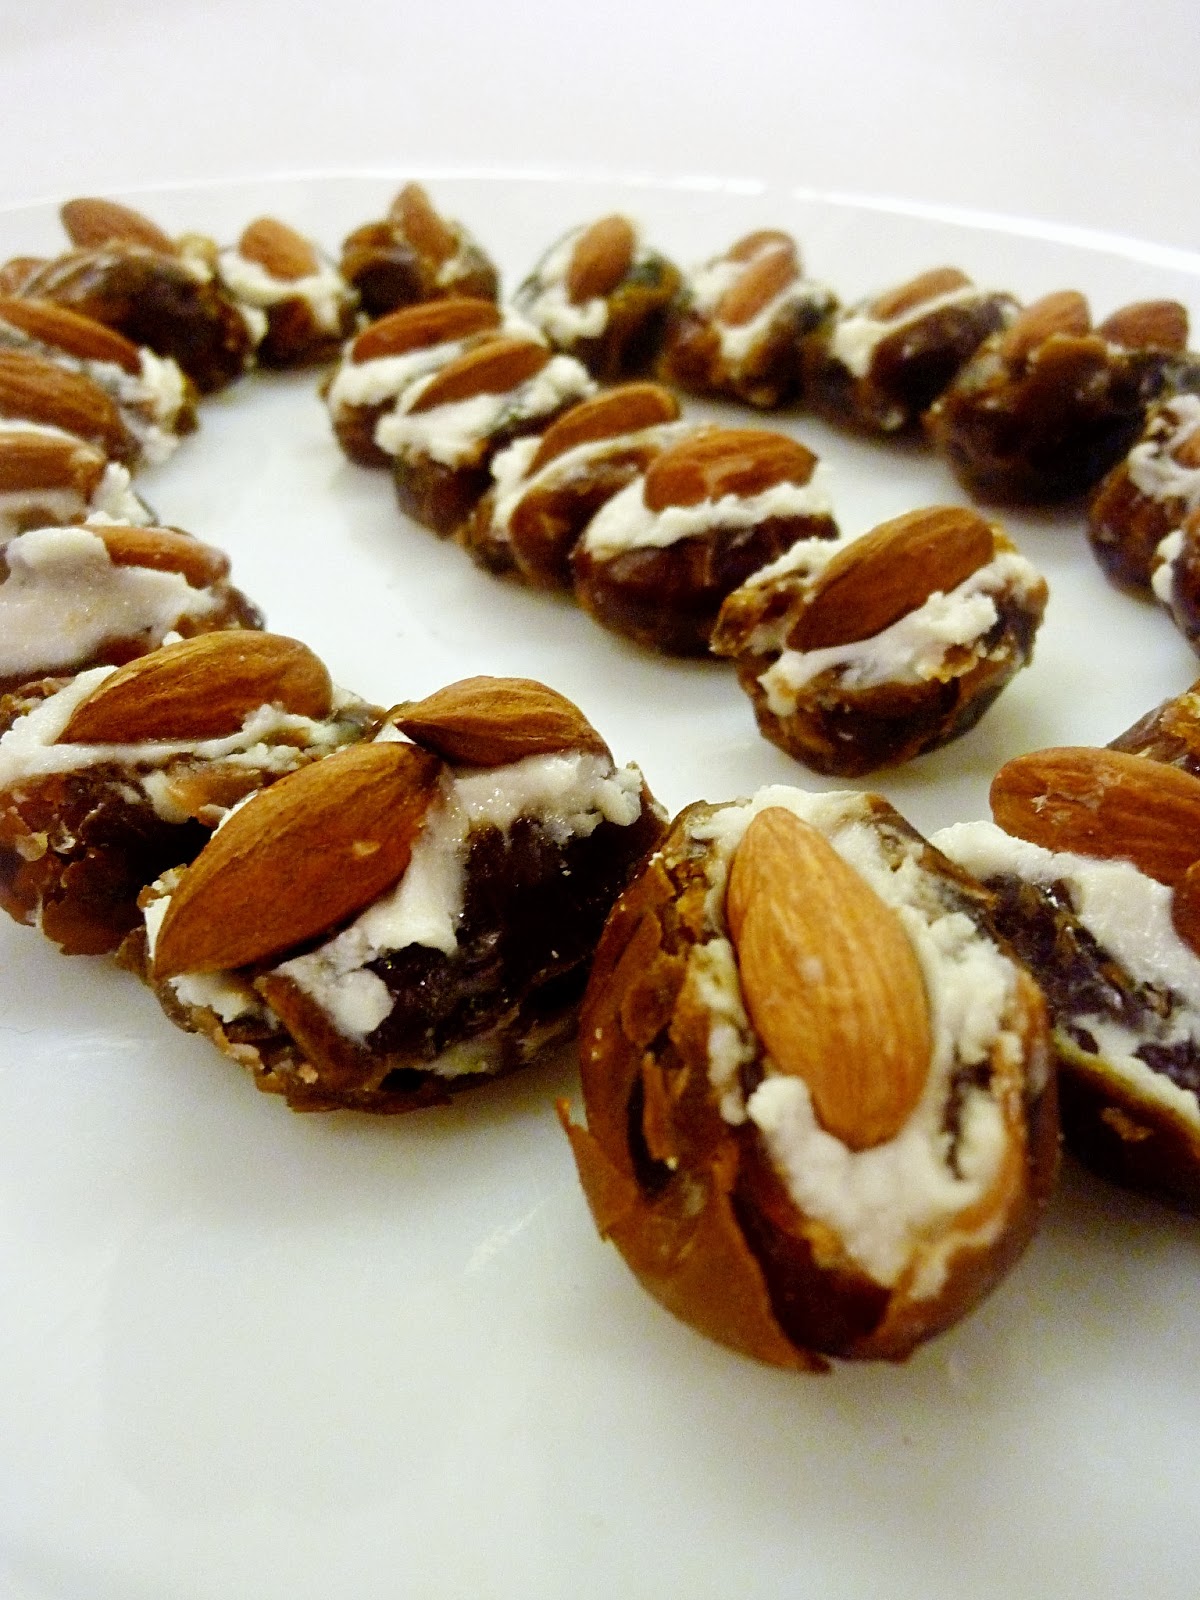
Another appetizer that I've made a few times for holiday get-togethers are these goat cheese and almond stuffed dates. These are even better if you splurge on good quality dates, and you can use a flavoured goat cheese to make them even easier (I like honey-flavoured and fig-flavoured goat cheese). 


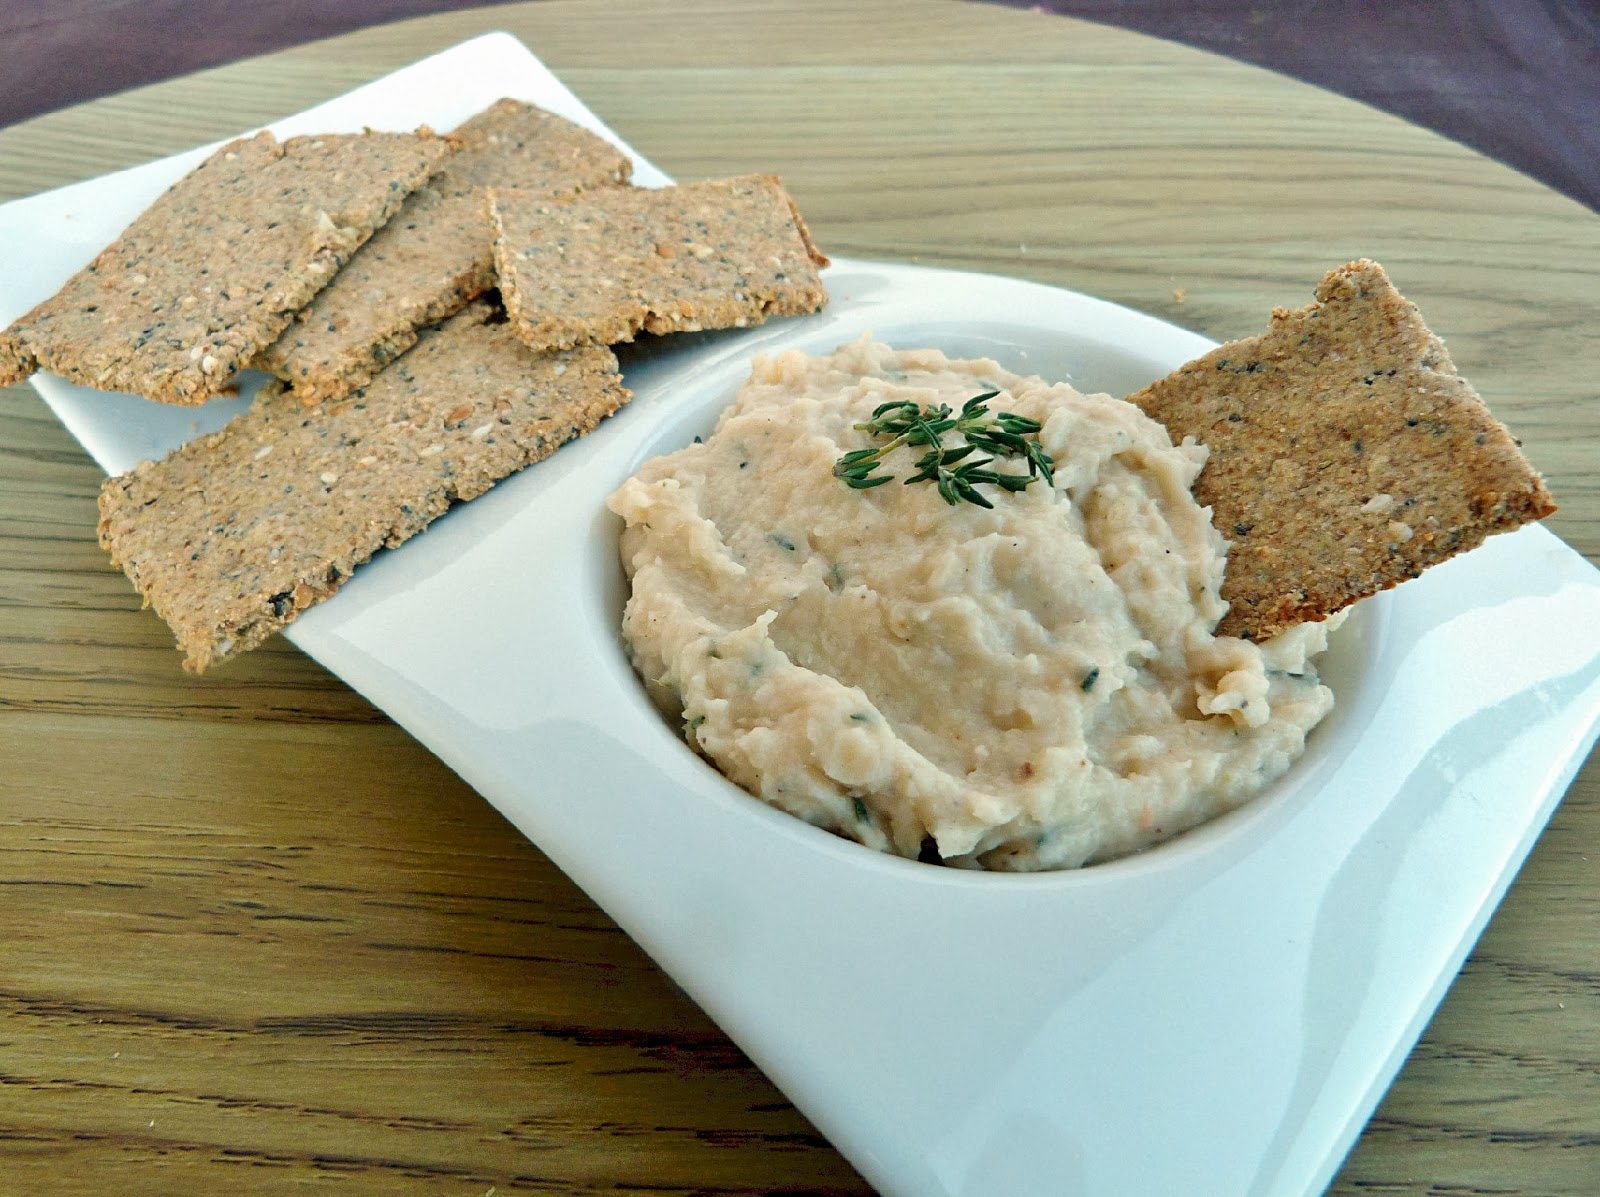
Dips and hummus are always a good option to have sitting out if people are hungry before the meal. This white bean dip with homemade multi-seed crackers would work well as an appetizer, and you could definitely use storebought crackers to save some time!


Other appetizer ideas:
Pumpkin Spice Cashew Cheese Dip from Happy.Healthy.Life
Sweet or Savory Sweet Potato Spread from Diet, Dessert & Dogs
Roasted Pumpkin Seeds from Oh She Glows (add your favourite sweet or savory spice combo)


Bread


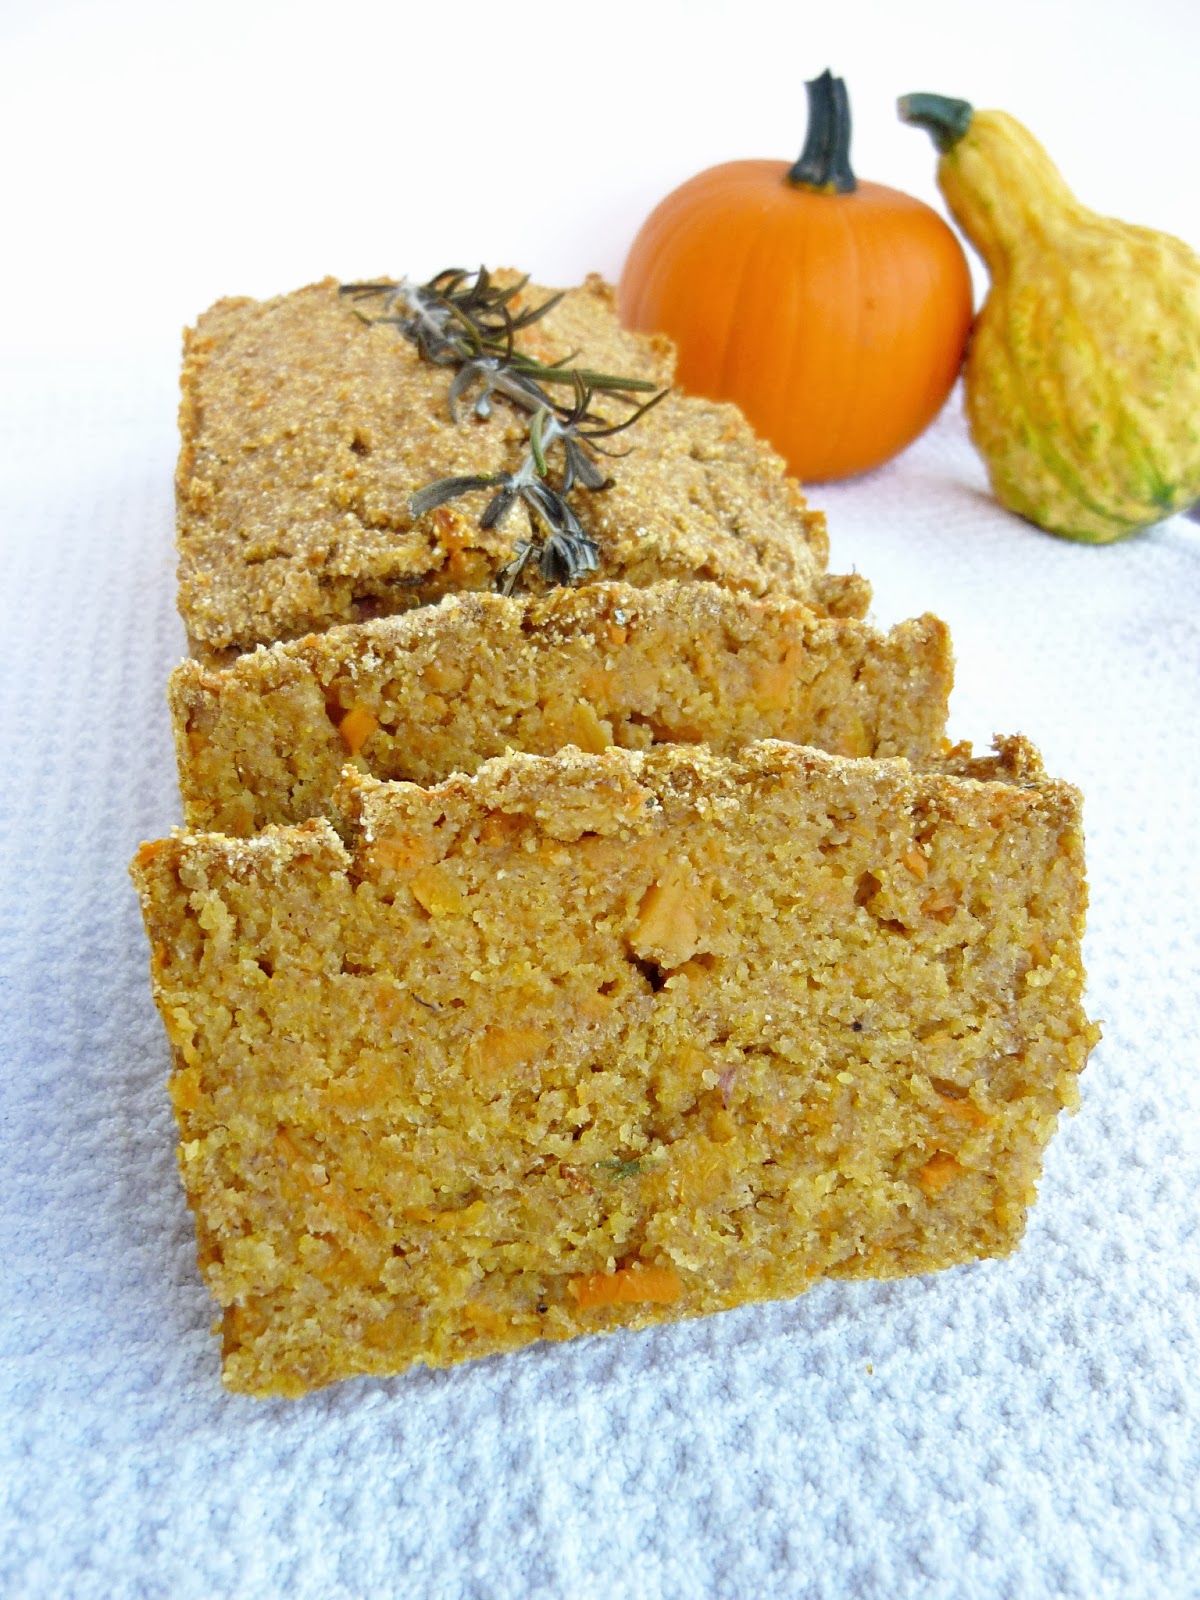
A basket of bread is always a staple on our Thanksgiving table, and I especially like when it's freshly made! This dense and hearty sweet potato cornbread with rosemary and grated carrots would be a nice addition to your meal as something different from the usual dinner rolls. 


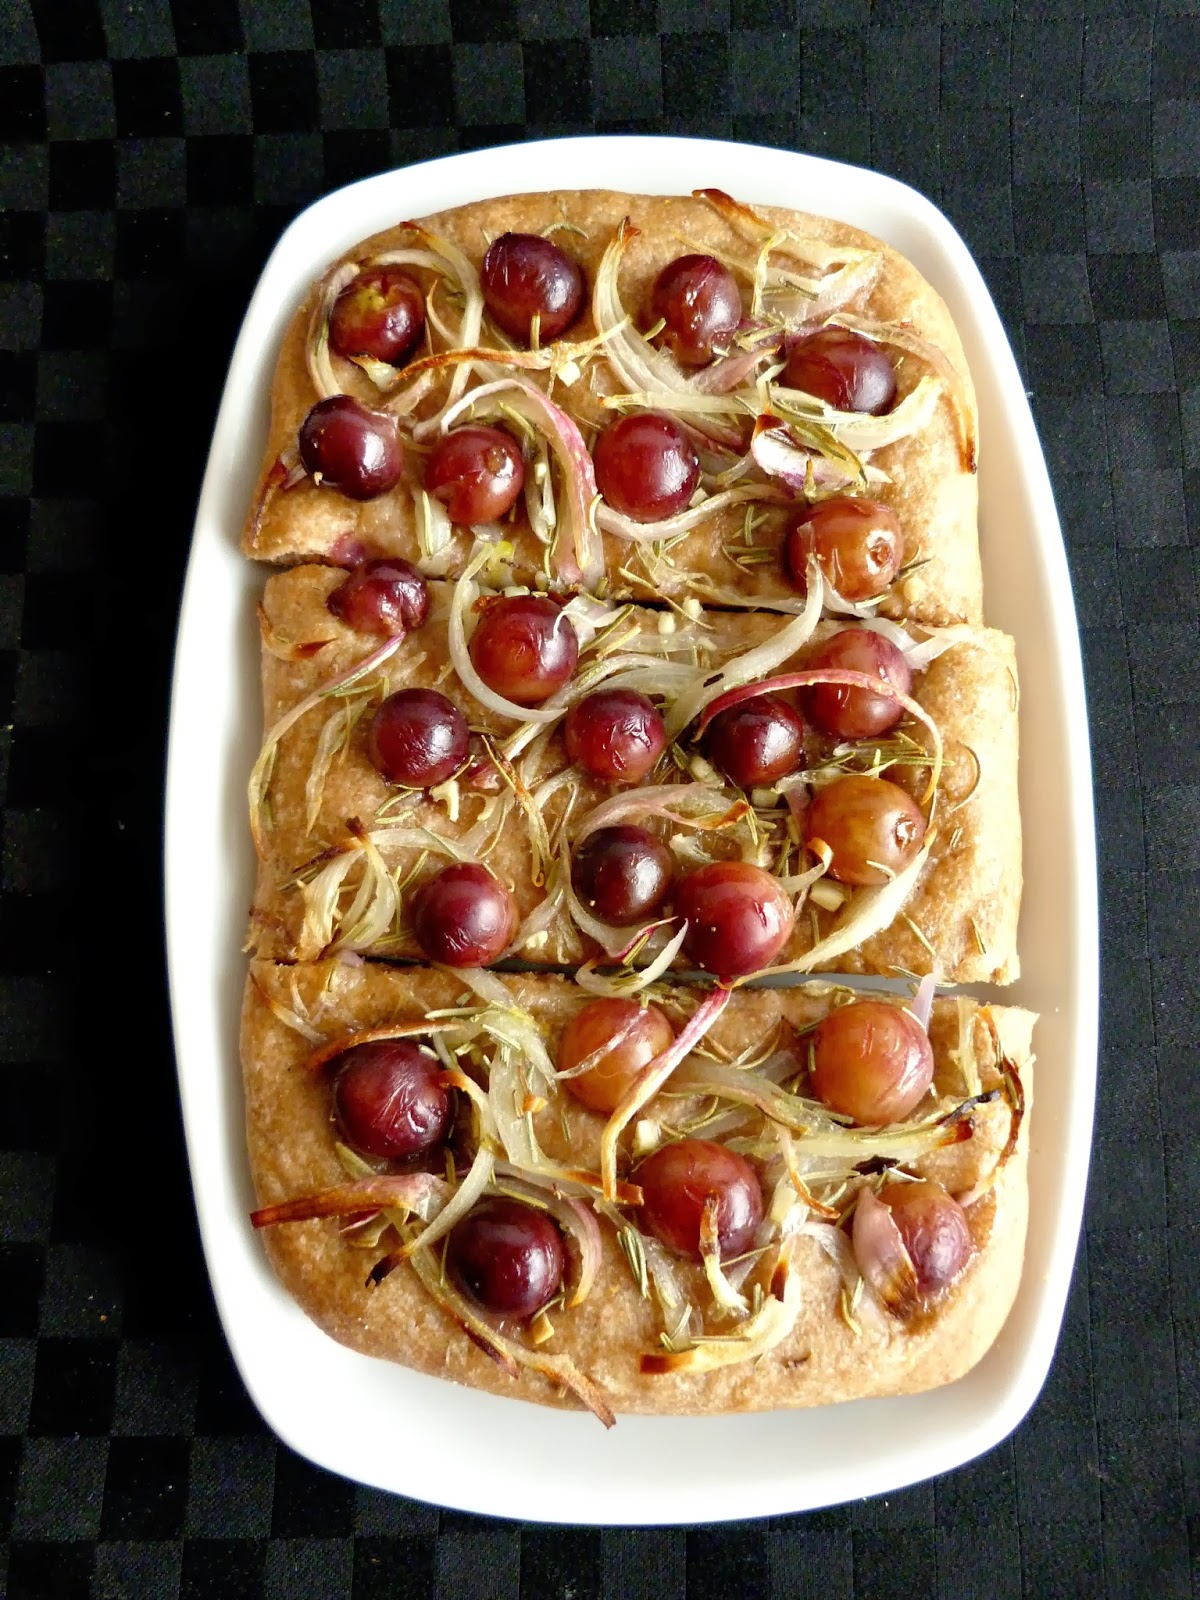
Another idea for a bread that would stand out in the meal is this grape focaccia, which is still one of my favourite recipes from the blog! I love the way grapes break down and get really soft and juicy in the oven, and the crispy shallots and rosemary are a nice touch too!


Other bread ideas:
Hearty Sweet Potato Braids from Once Upon a Cutting Board
Simple Vegan Cornbread from Pickles & Honey
Pumpkin Pull-Apart Rolls from Vegan Dad
Pumpkin Garlic Knots from Oh She Glows


Soups

I can only recall one Thanksgiving where we included soup as part of the meal, but if you like to serve your meal in courses rather than buffet-style, there are lots of recipes out there for warm and spiced soups to start off your meal! 


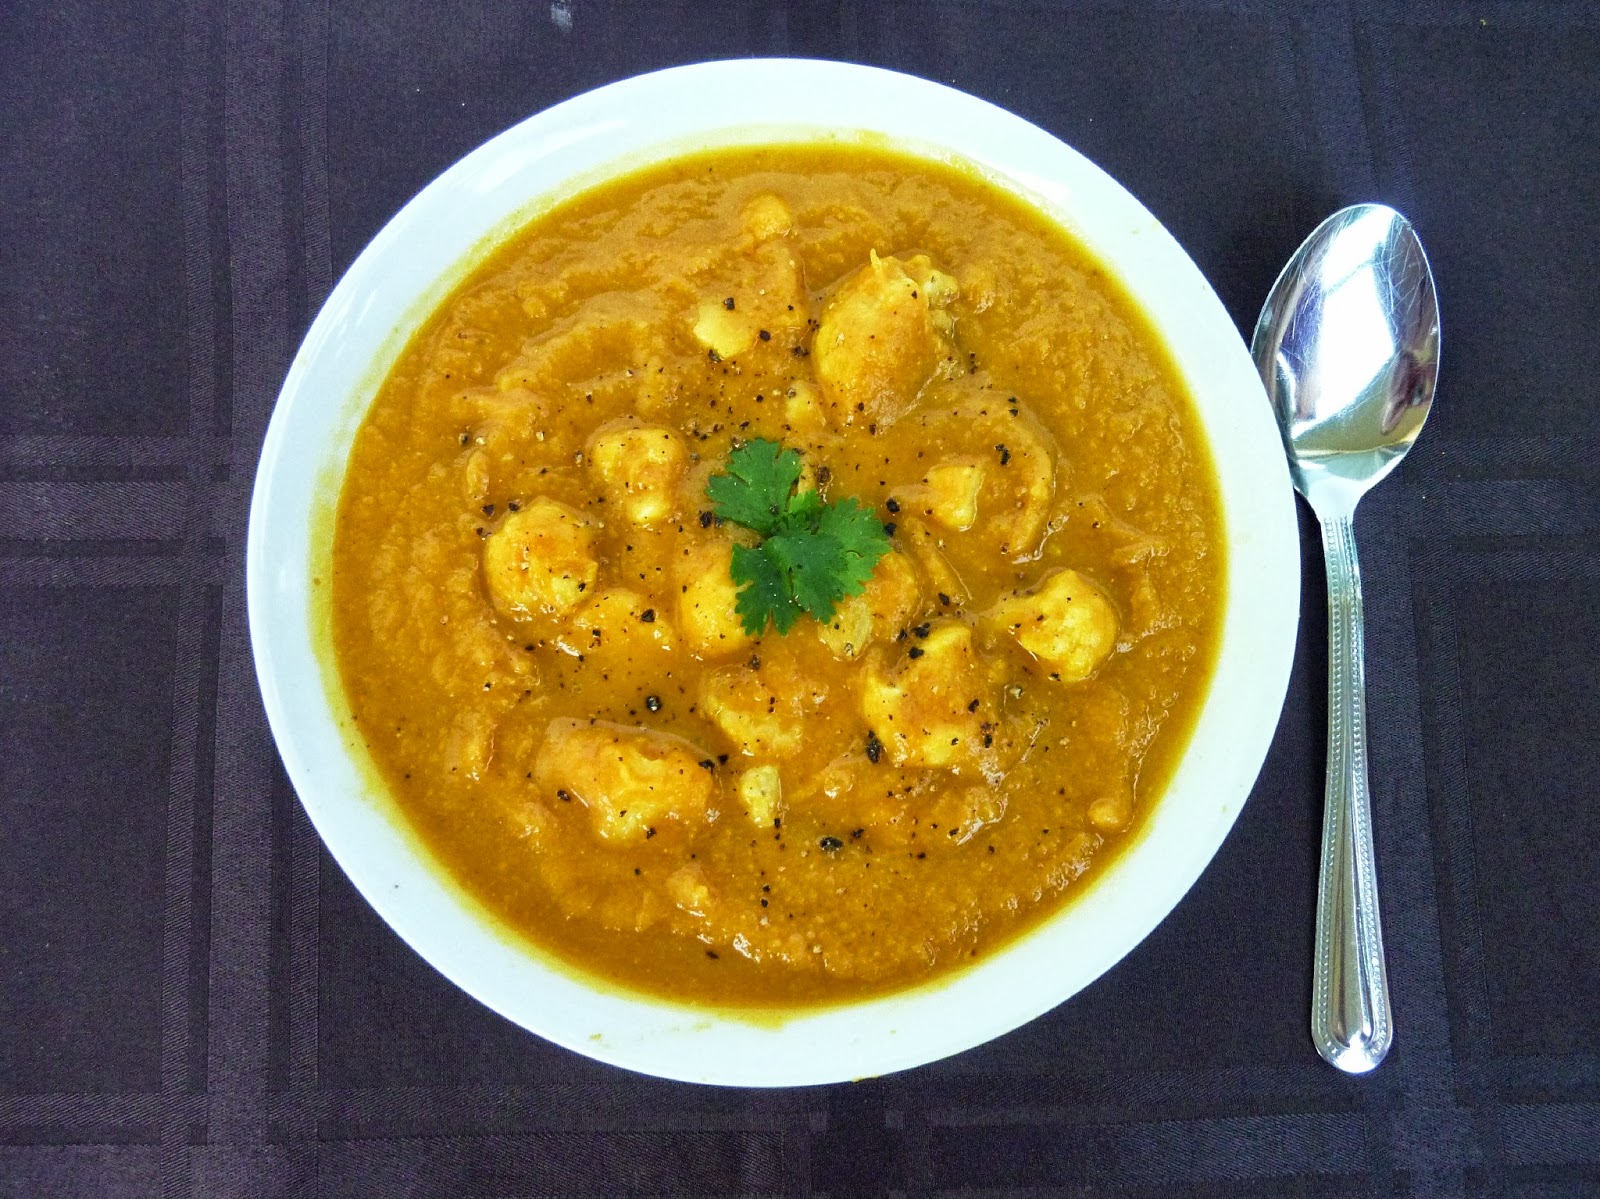
I made this curried pumpkin and cauliflower soup a couple of years ago and I can't believe that I haven't made it again since then because I loved it so much! Rich and smooth from the pumpkin puree without any dairy, this vegan soup would please everyone at the table! 


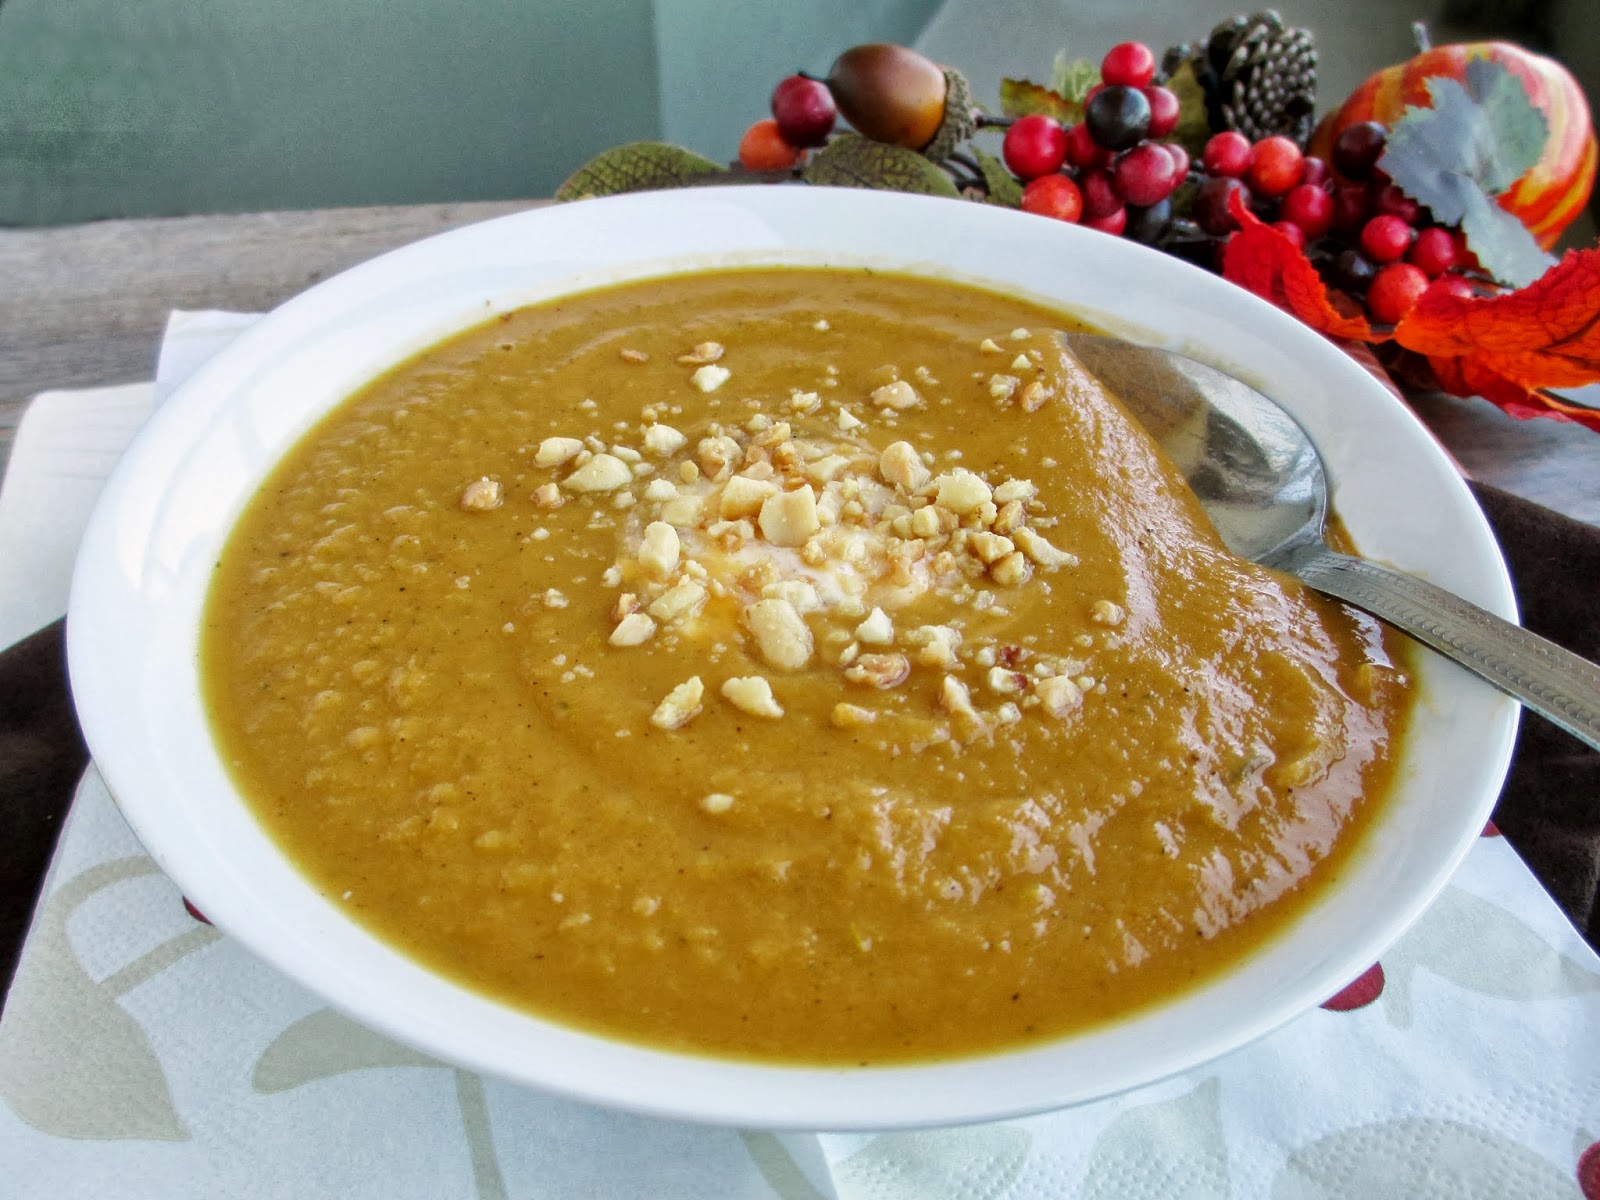
Or in case you have some cauliflower haters in your family, they might prefer this curried sweet potato, apple and peanut soup instead - it's similar in texture and flavour profile, but with some extra sweetness from the sweet potato and apple, and a nice peanut butter flavour. 


Other soup recipes:
Golden Trio Chipotle Soup from Happy.Healthy.Life (I've made this once and loved it!)
Roasted Garlic Soup with Cauliflower from Healthful Pursuit


Salads & Side Dishes


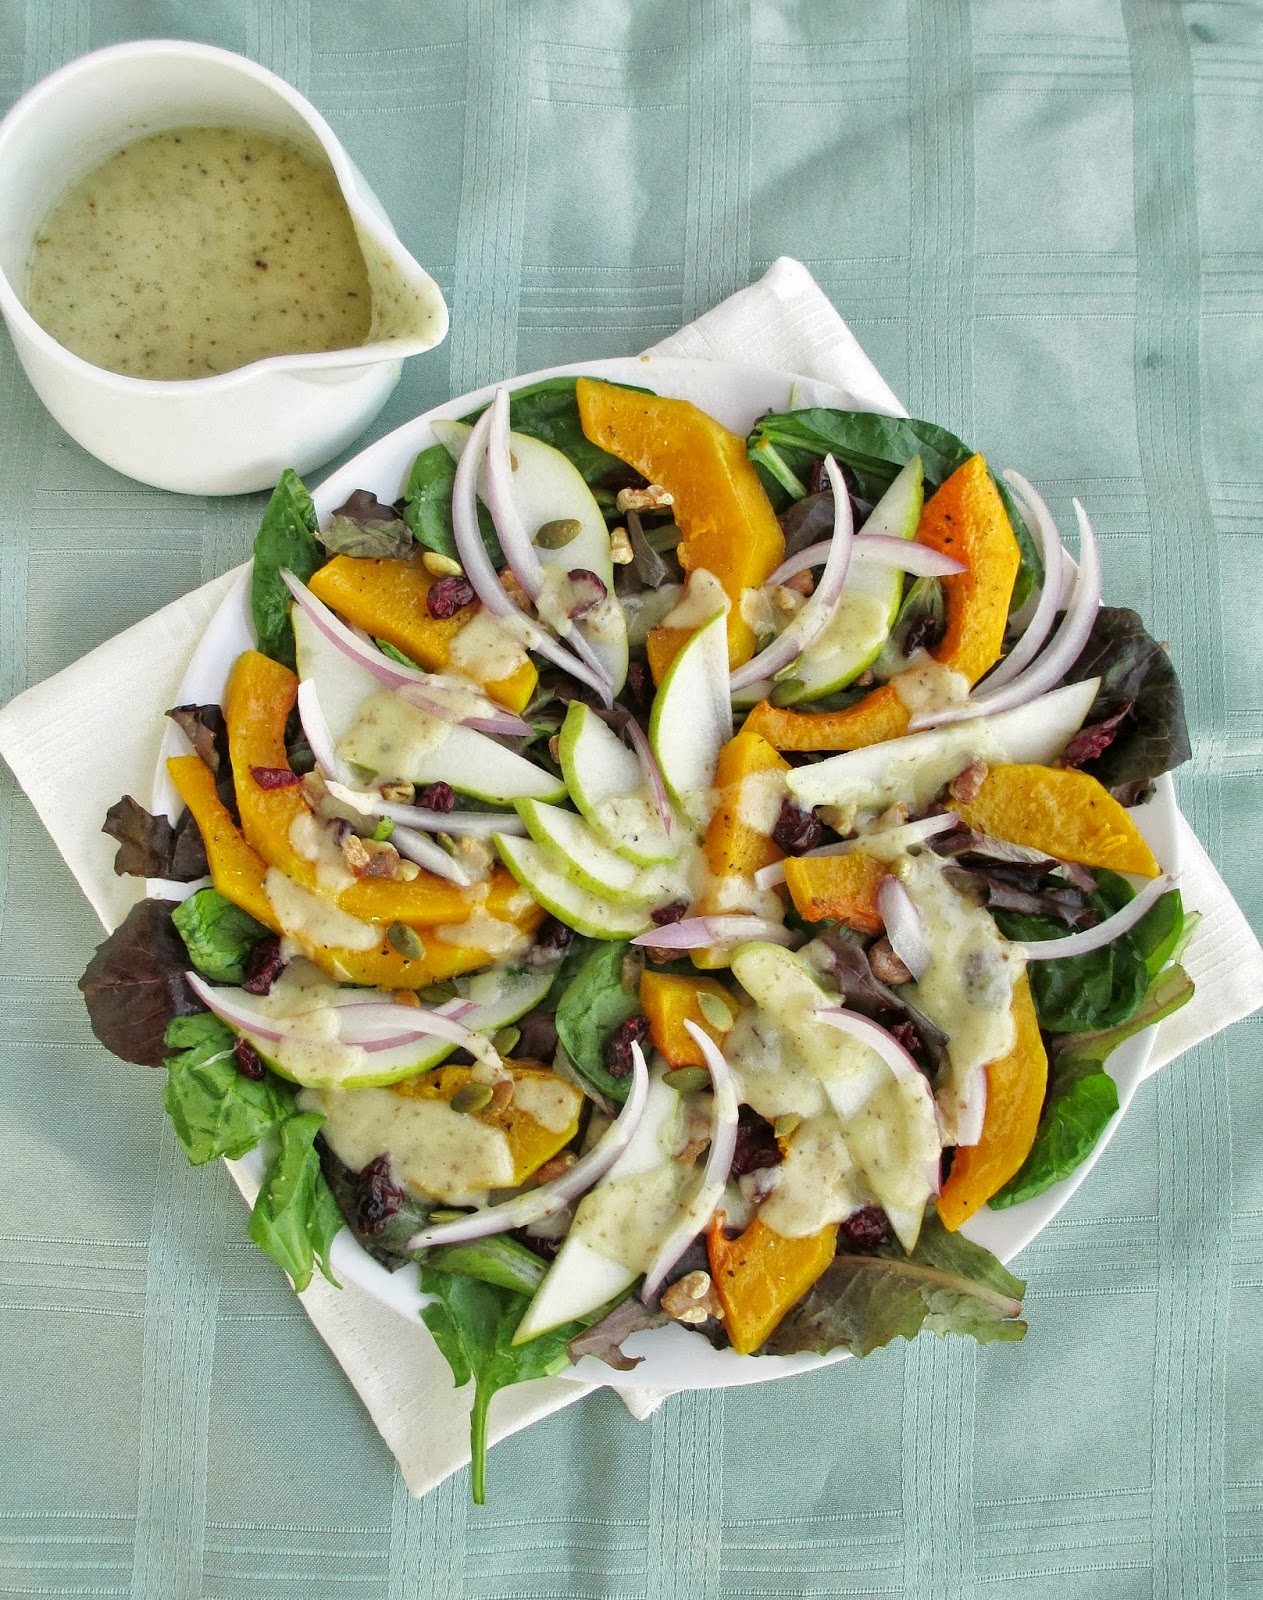
For a salad full of fall ingredients, you could try this pear and roasted squash salad with toasted nuts, pepitas, cranberries, goat cheese, and a sweet and creamy pear dressing. I volunteered to make the salad for our family's Thanksgiving dinner this weekend just so I could make this recipe again!


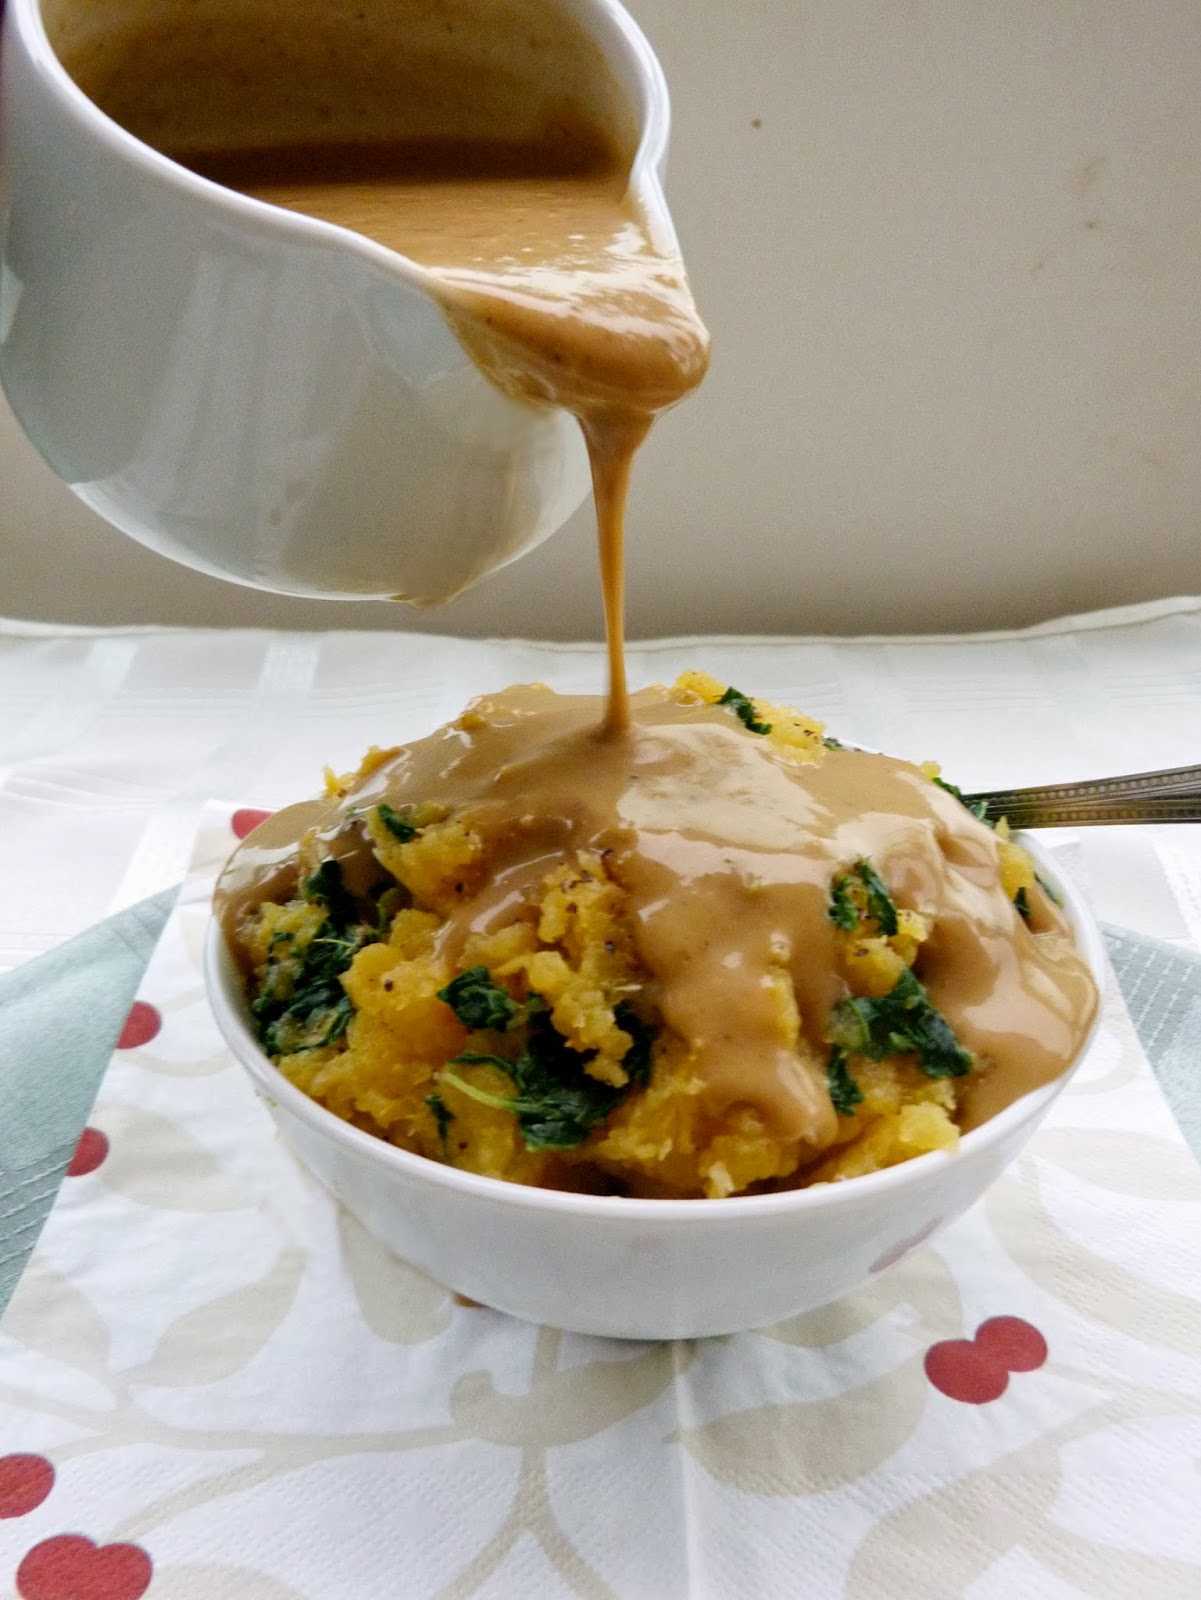
If you're feeling a bit adventurous and are willing to change up your traditional mashed potatoes with gravy this year, you could try this mashed rutabaga with kale and chickpea gravy! It may not taste quite the same as potatoes, but it's still delicious and healthy, and the savory gravy has lots of flavour too.


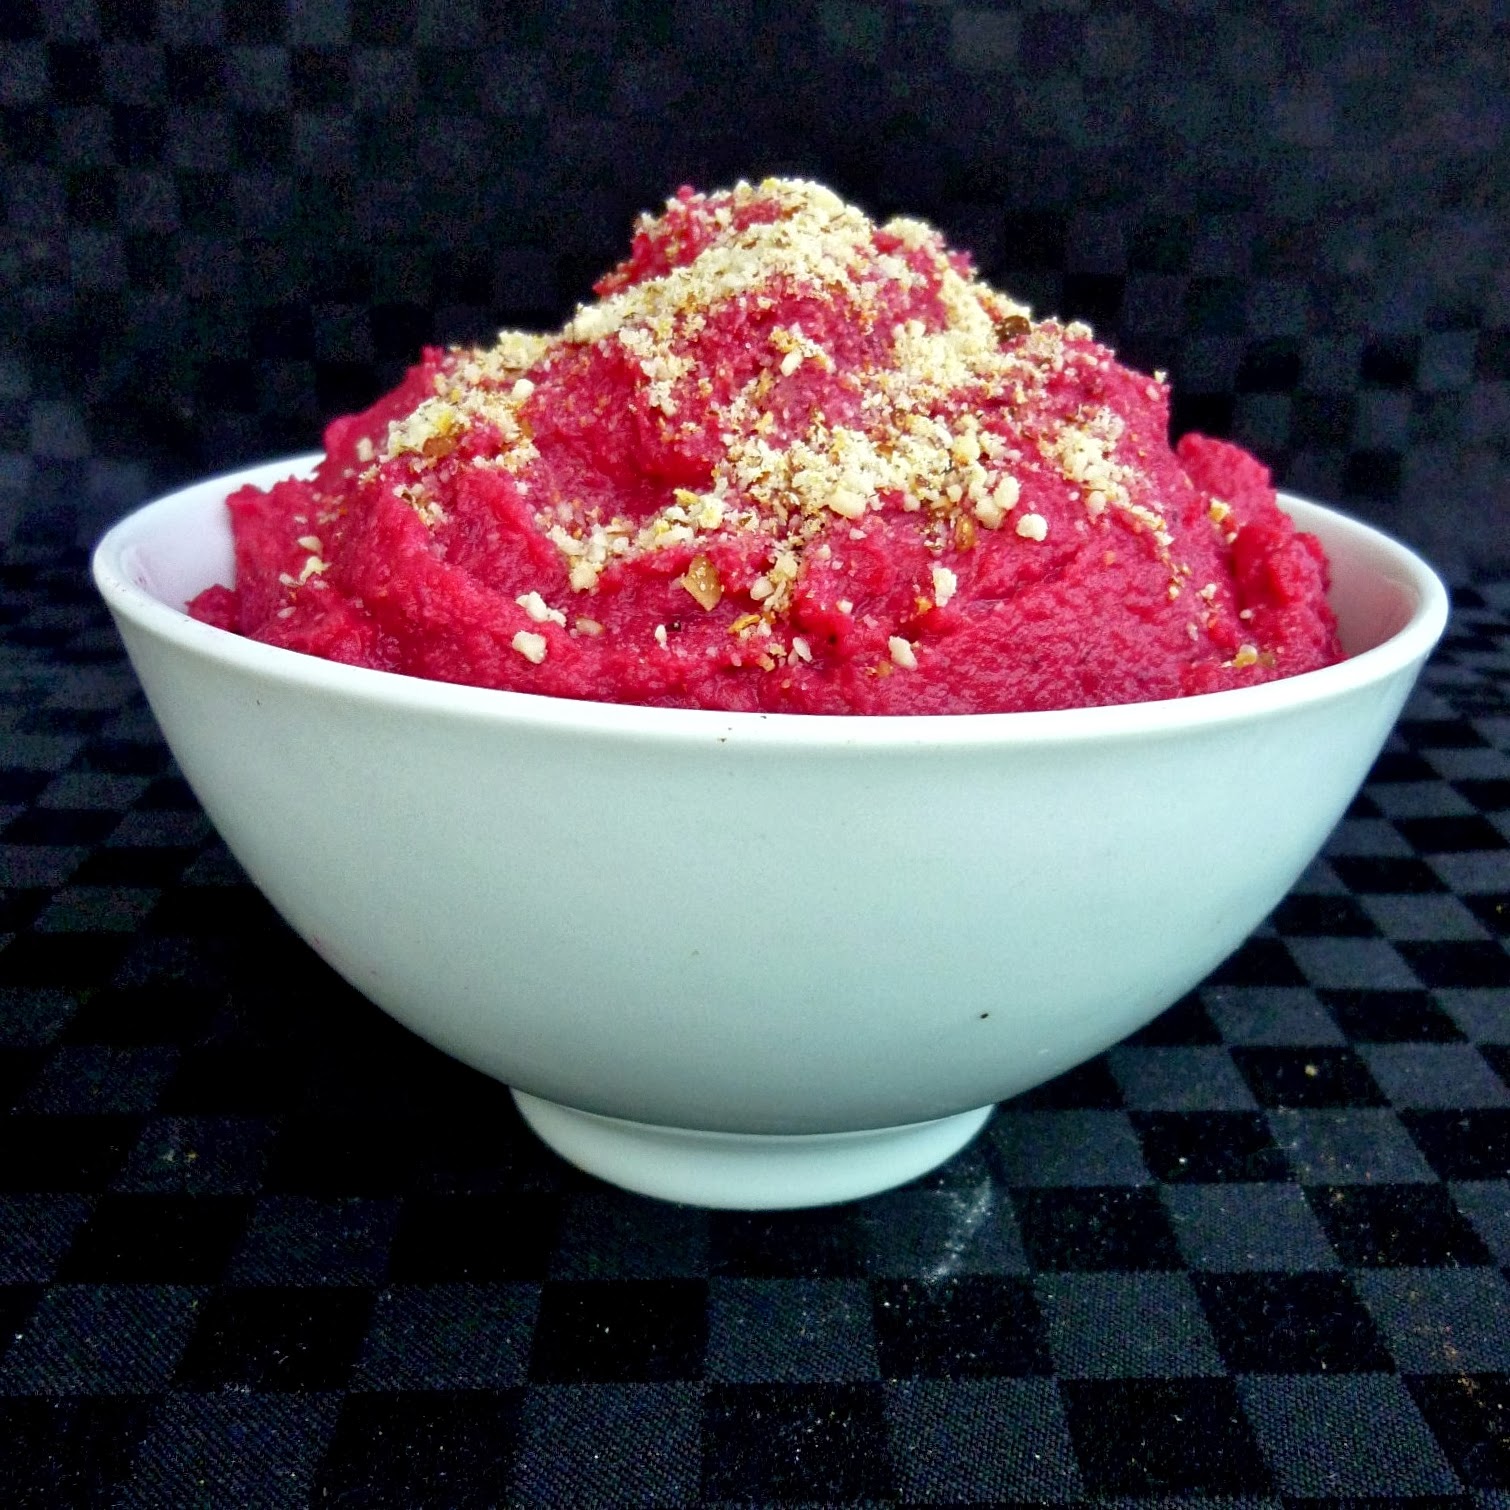
And if you're really adventurous, you might be interested in making this beet and parsnip mash! Thick and creamy, with a bright pink colour, this is a fun twist on mashed vegetables and tastes even better topped with a nutty vegan almond parmesan!


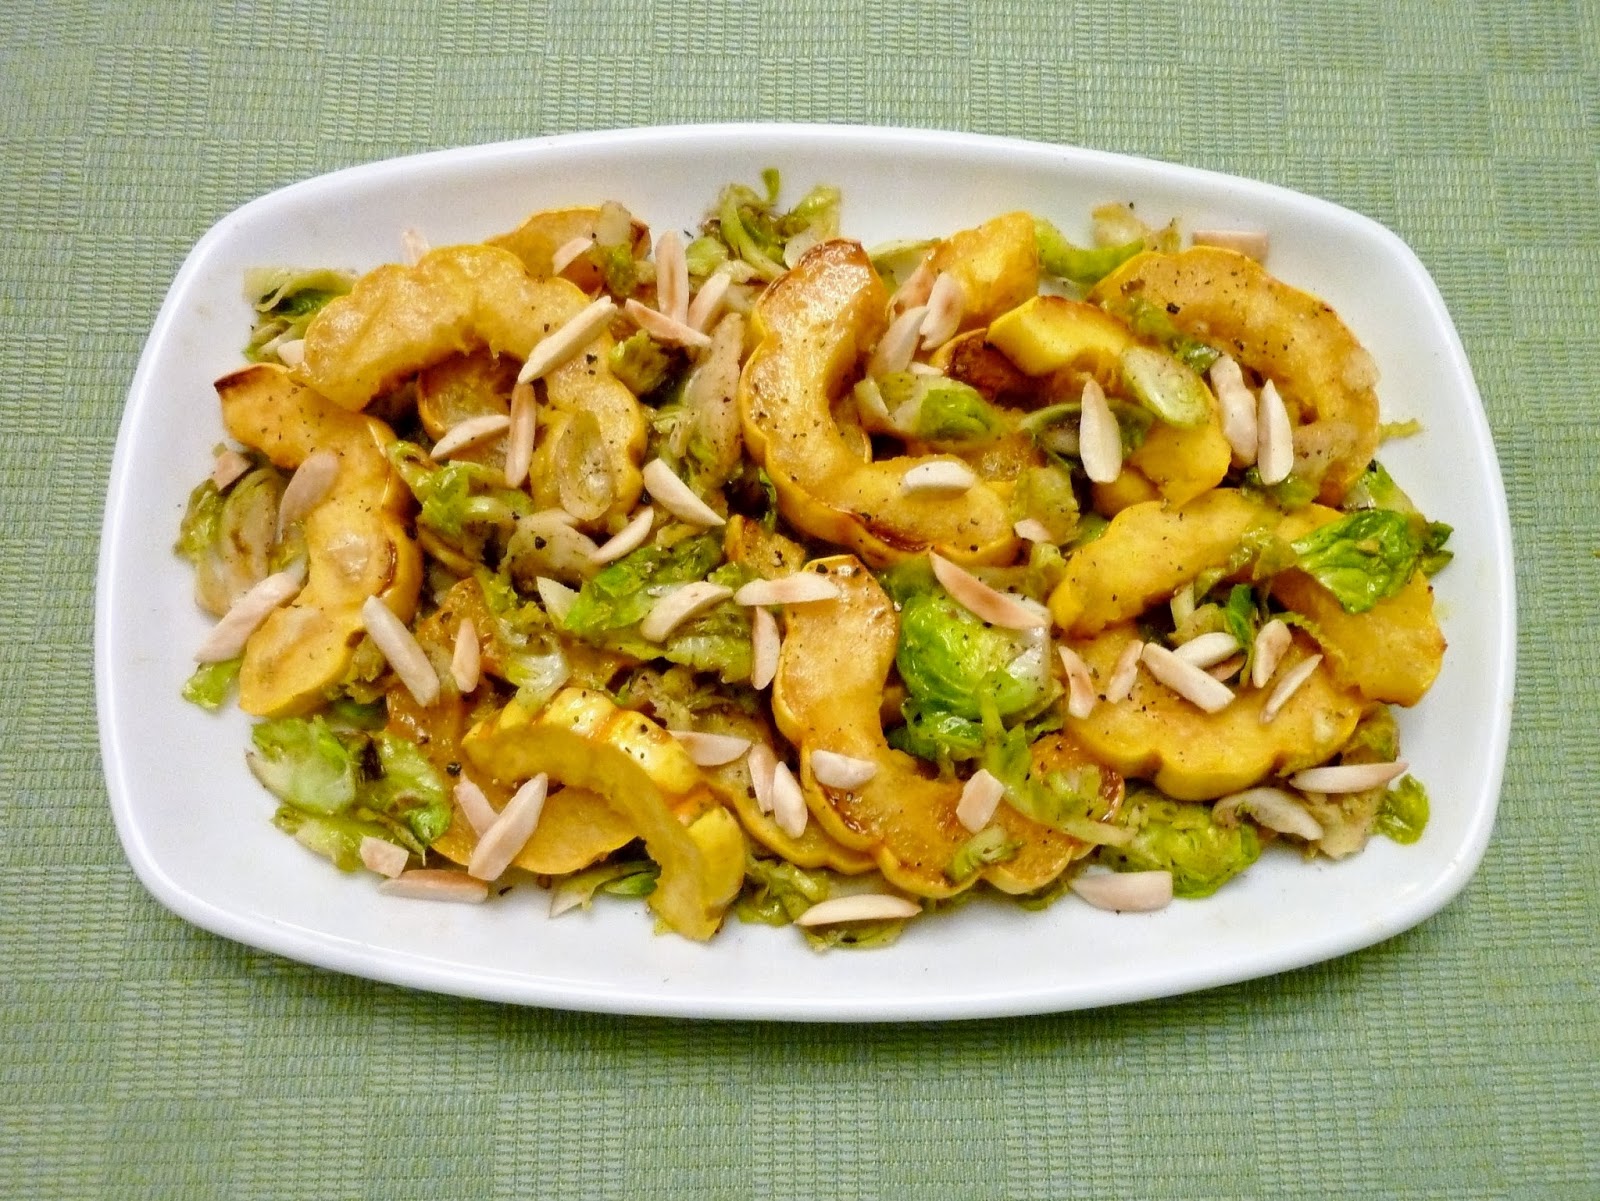
For some reason, my list of side dish ideas is full of vegetables that some people really hate - first rutabaga and kale, then beets and parsnips, and now squash and brussels sprouts! But if you're like me and love both squash and brussels sprouts, then you would love this warm dish with toasted almonds and a touch of sweetness. Plus it can be made on the stovetop, freeing up some of that precious oven space!


Other side dish ideas:
Onion Flowers from Once Upon a Cutting Board (these are gorgeous if you want to impress guests!)
Mashed Cauliflower with a Butternut Swirl from Dashing Dish (yet another mashed vegetable option!)
Roasted Brussels Sprouts with Grapes from Whole Living (I plan on making this one for my family)

Main Dishes

I don't have a lot of main dish recipes on my blog that would be appropriate for Thanksgiving because most of the recipes that I make are just for myself! Even though there are two vegetarians in my immediate family, we don't bother to make a vegetarian main course at Thanksgiving because there's always enough veggie side dishes to fill our plates (not to mention bread, appetizers, and dessert!).


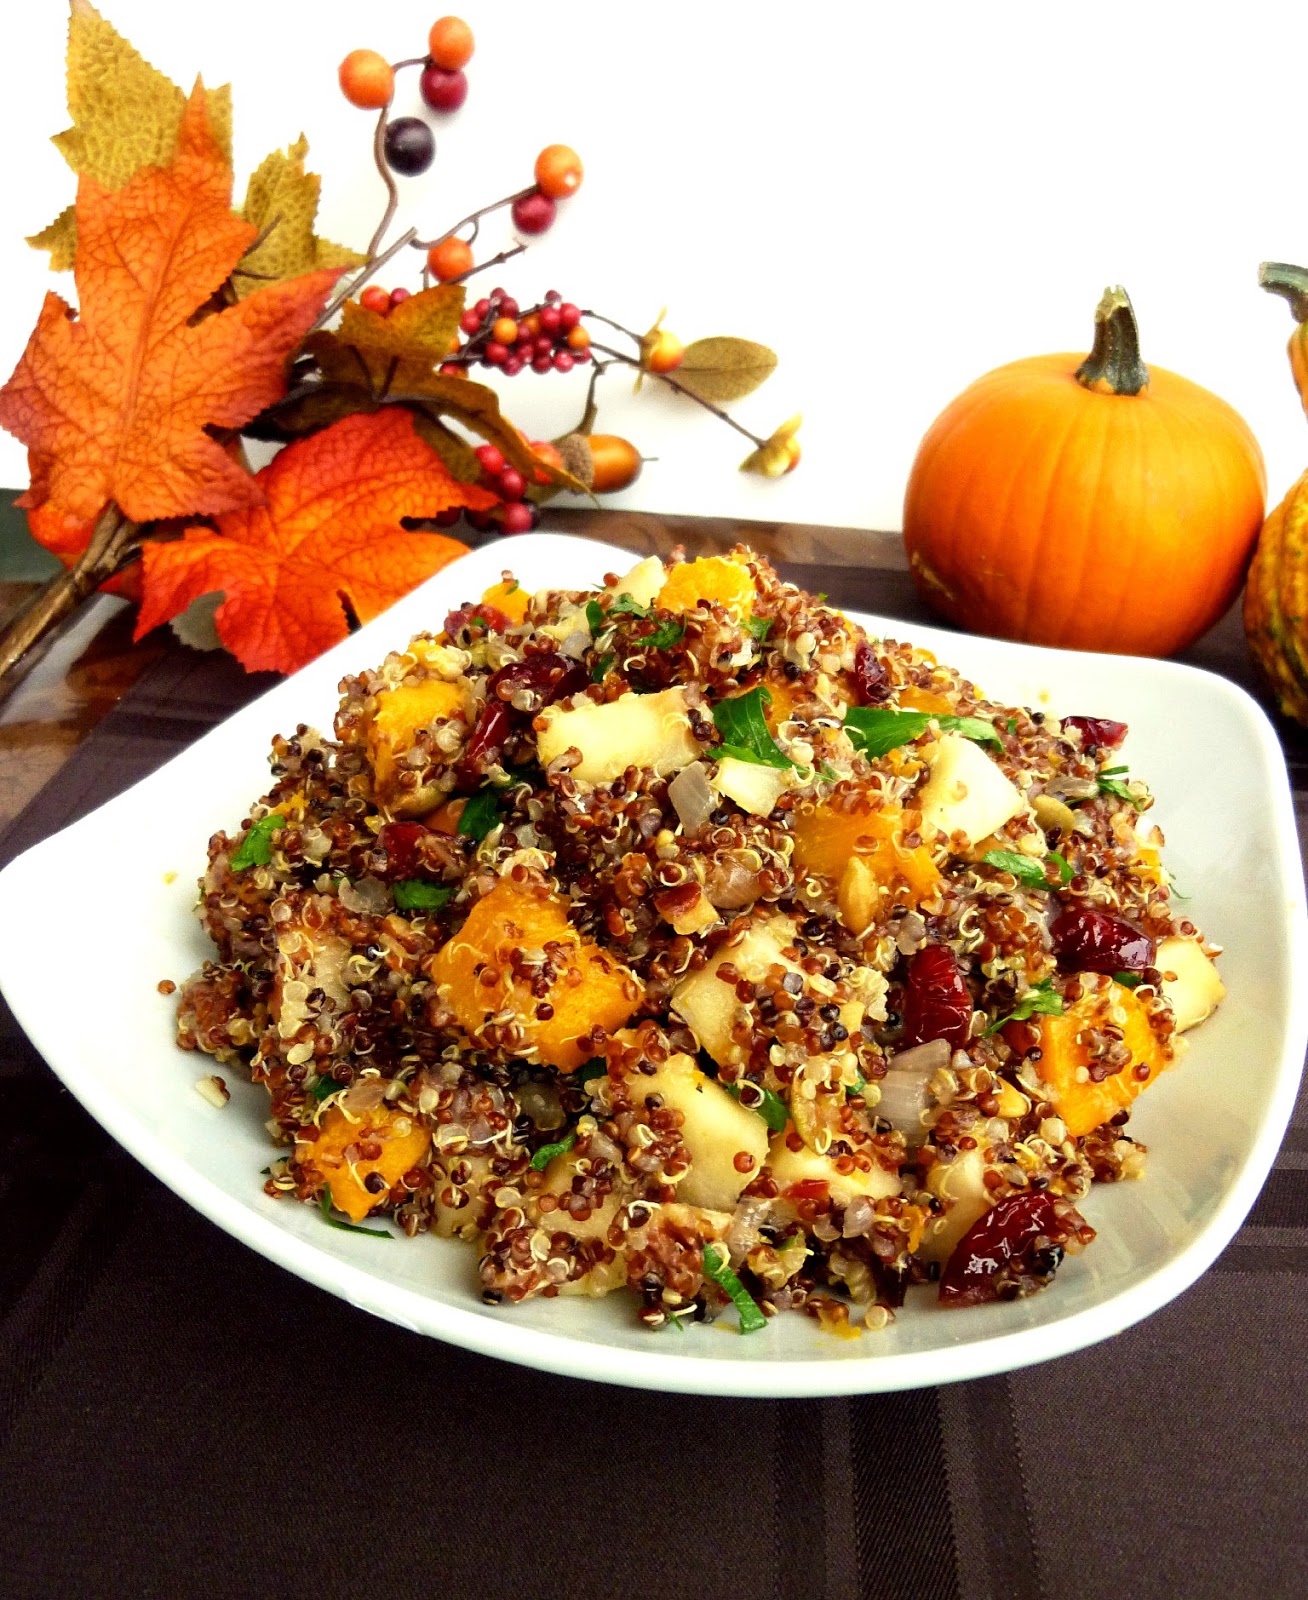
If I had to come up with a vegetarian main course to serve though, it would probably be this butternut squash and apple quinoa. This is probably the one recipe from my blog that I've made the most (I actually just made it again this week to have for lunches!) and I love it because it's full of lots of tasty ingredients! It makes for a prettier presentation if you can find red or tricoloured quinoa, but it tastes just as good with regular white quinoa.


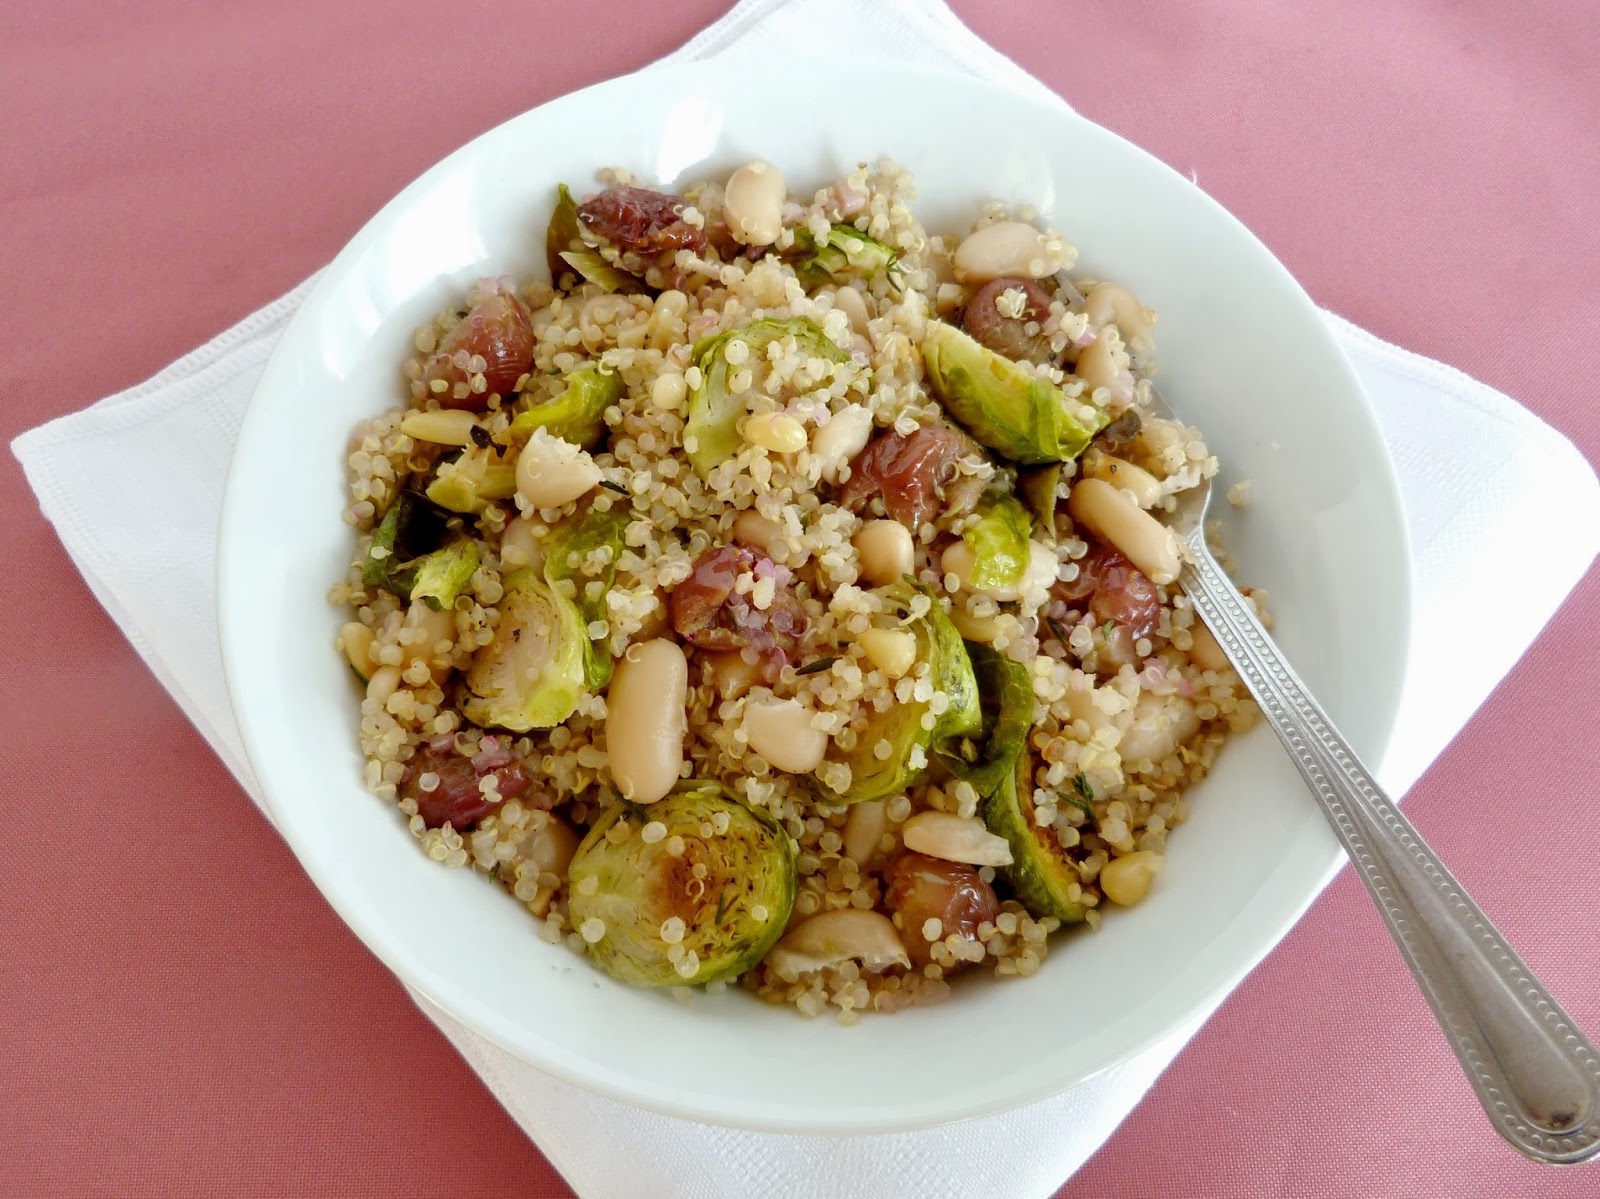
Another main dish quinoa recipe is this version with roasted grapes, brussels sprouts and white beans. I love the sweetness of roasted grapes and brussels sprouts belong in any Thanksgiving dish in my opinion!


Other main dish ideas:
40 Vegetarian Main Dishes for Thanksgiving from Oh My Veggies - this list pretty much covers every type of main course, from stuffed veggies to casseroles and meatless loaves!

Desserts


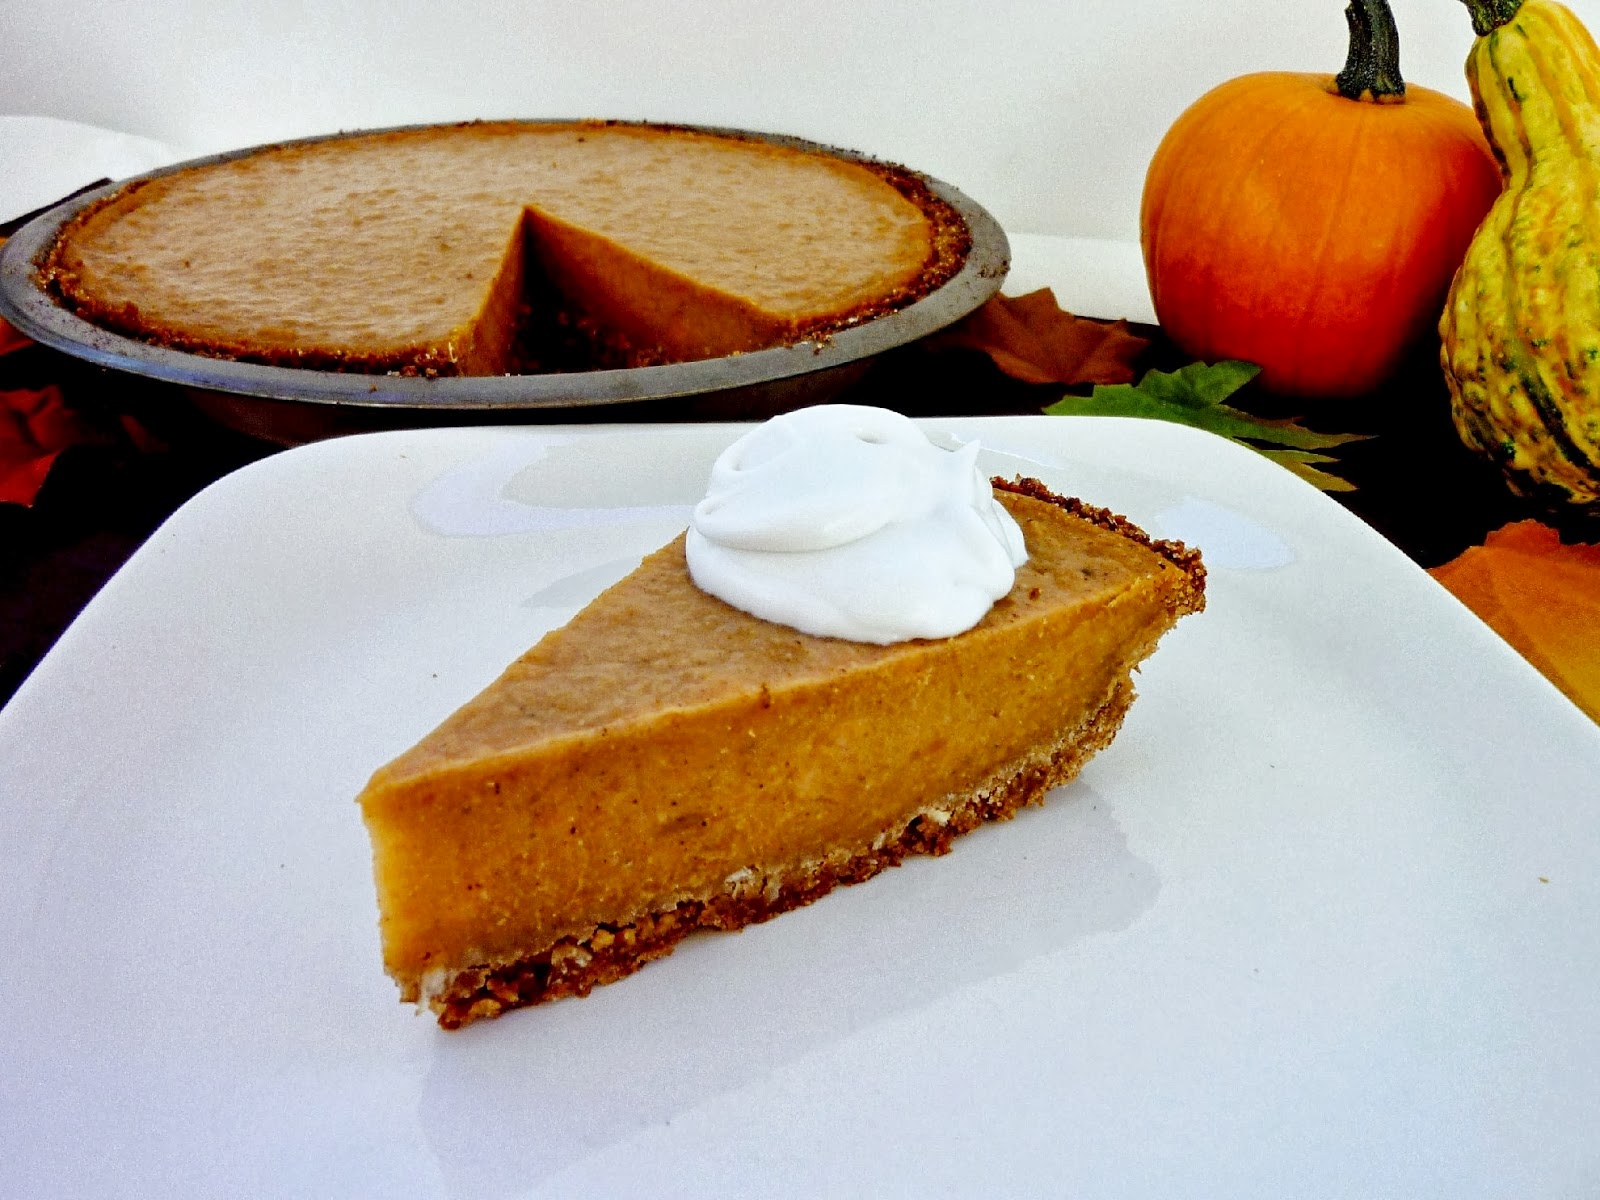
Pumpkin pie is my favourite part of the whole Thanksgiving meal, but if you're looking for something a bit different this year, why not try a sweet potato pie? This version is completely vegan, including the coconut whipped cream, and has an easy no-bake crust. 


Other dessert ideas besides pumpkin pie:
Concord Grape and Apple Pie from Eyes Bigger Than My Stomach
Vegan Pumpkin Pie Pudding from Girl Makes Food (if you love pumpkin pie but want a lighter option) 
Cranberry Pear Tart from My New Roots


And for a few more vegetarian/vegan Thanksgiving ideas, check out my Pinterest board!

Hope you all have a great weekend - whether you're celebrating a holiday with friends and family or just enjoying this beautiful sunny October weekend! 

March 25, 2013

Peanut Butter Bunnies and Raw Cookie Chicks for Easter


If you've been following my blog for awhile, you've probably realized that I love to make themed recipes for every holiday that comes around, and Easter is no different!

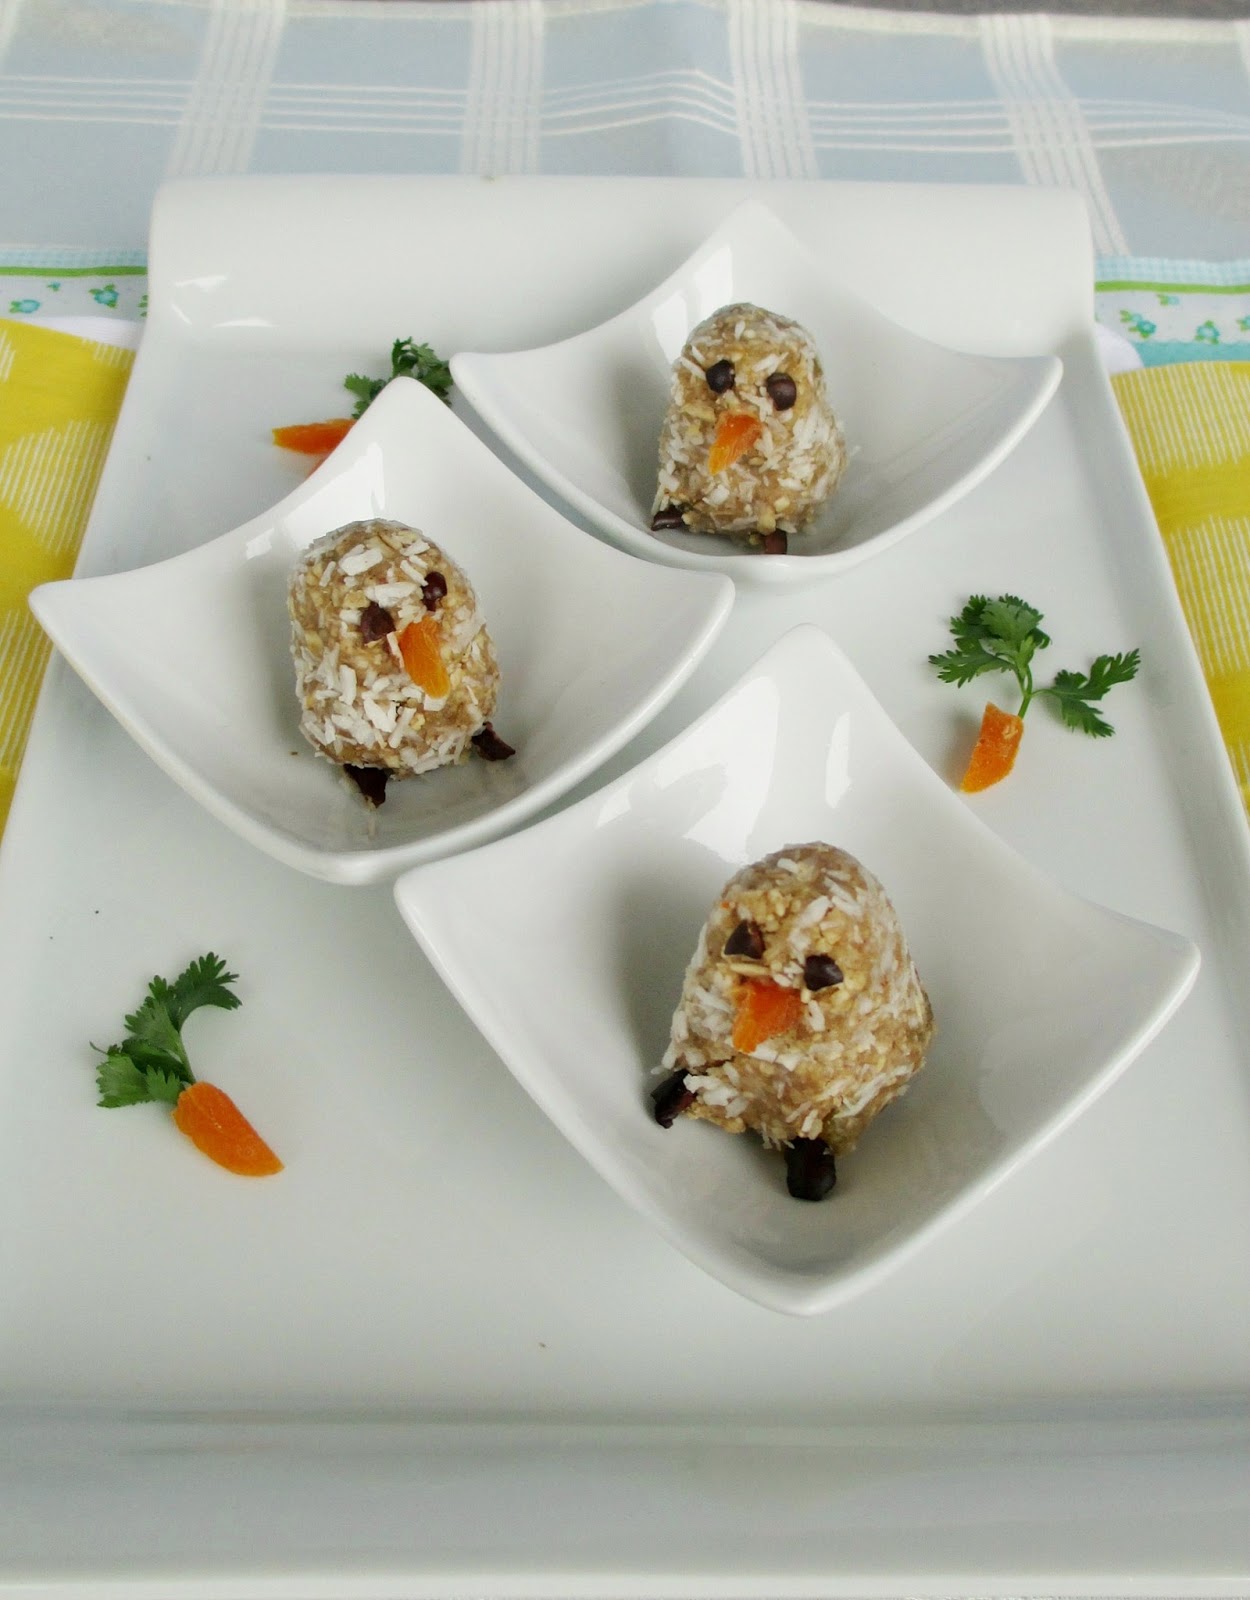
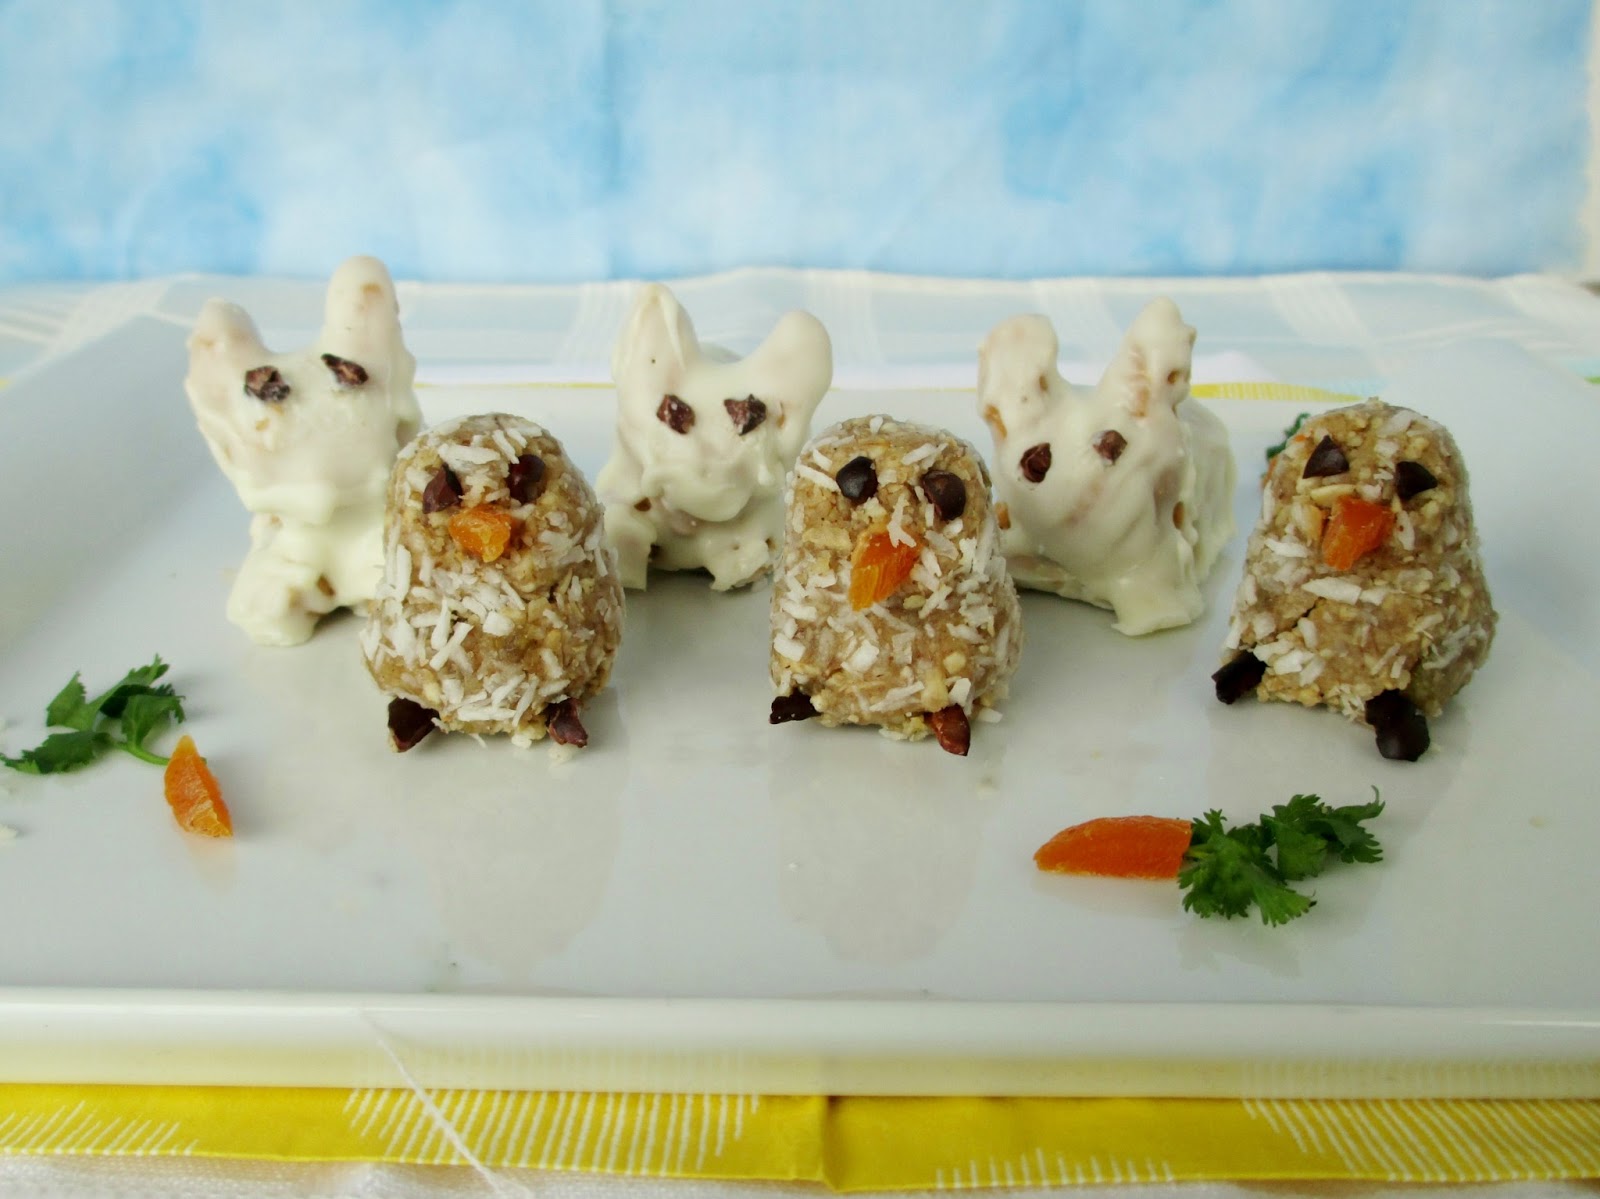
I couldn't wait to share these Easter themed treats that I made last week because they actually turned out even more adorable than I had imagined!

I started developing these chicks and bunnies in my head when I was bored (ie. procrastinating) one day. I knew I wanted to make healthy-ish, bite-sized, no-bake treats and since I came up with different ideas for both chicks and bunnies, I decided to make both.


The chicks are a raw cookie base, like the energy balls that I'm used to making as snacks for myself. I went with a mixture of cashews, walnuts and oats with a dash of cinnamon and salt to get a cookie flavour. And while I would usually use dates in a raw cookie recipe to add sweetness and stickiness, I went with golden raisins this time so that the chicks would have a light, golden colour.

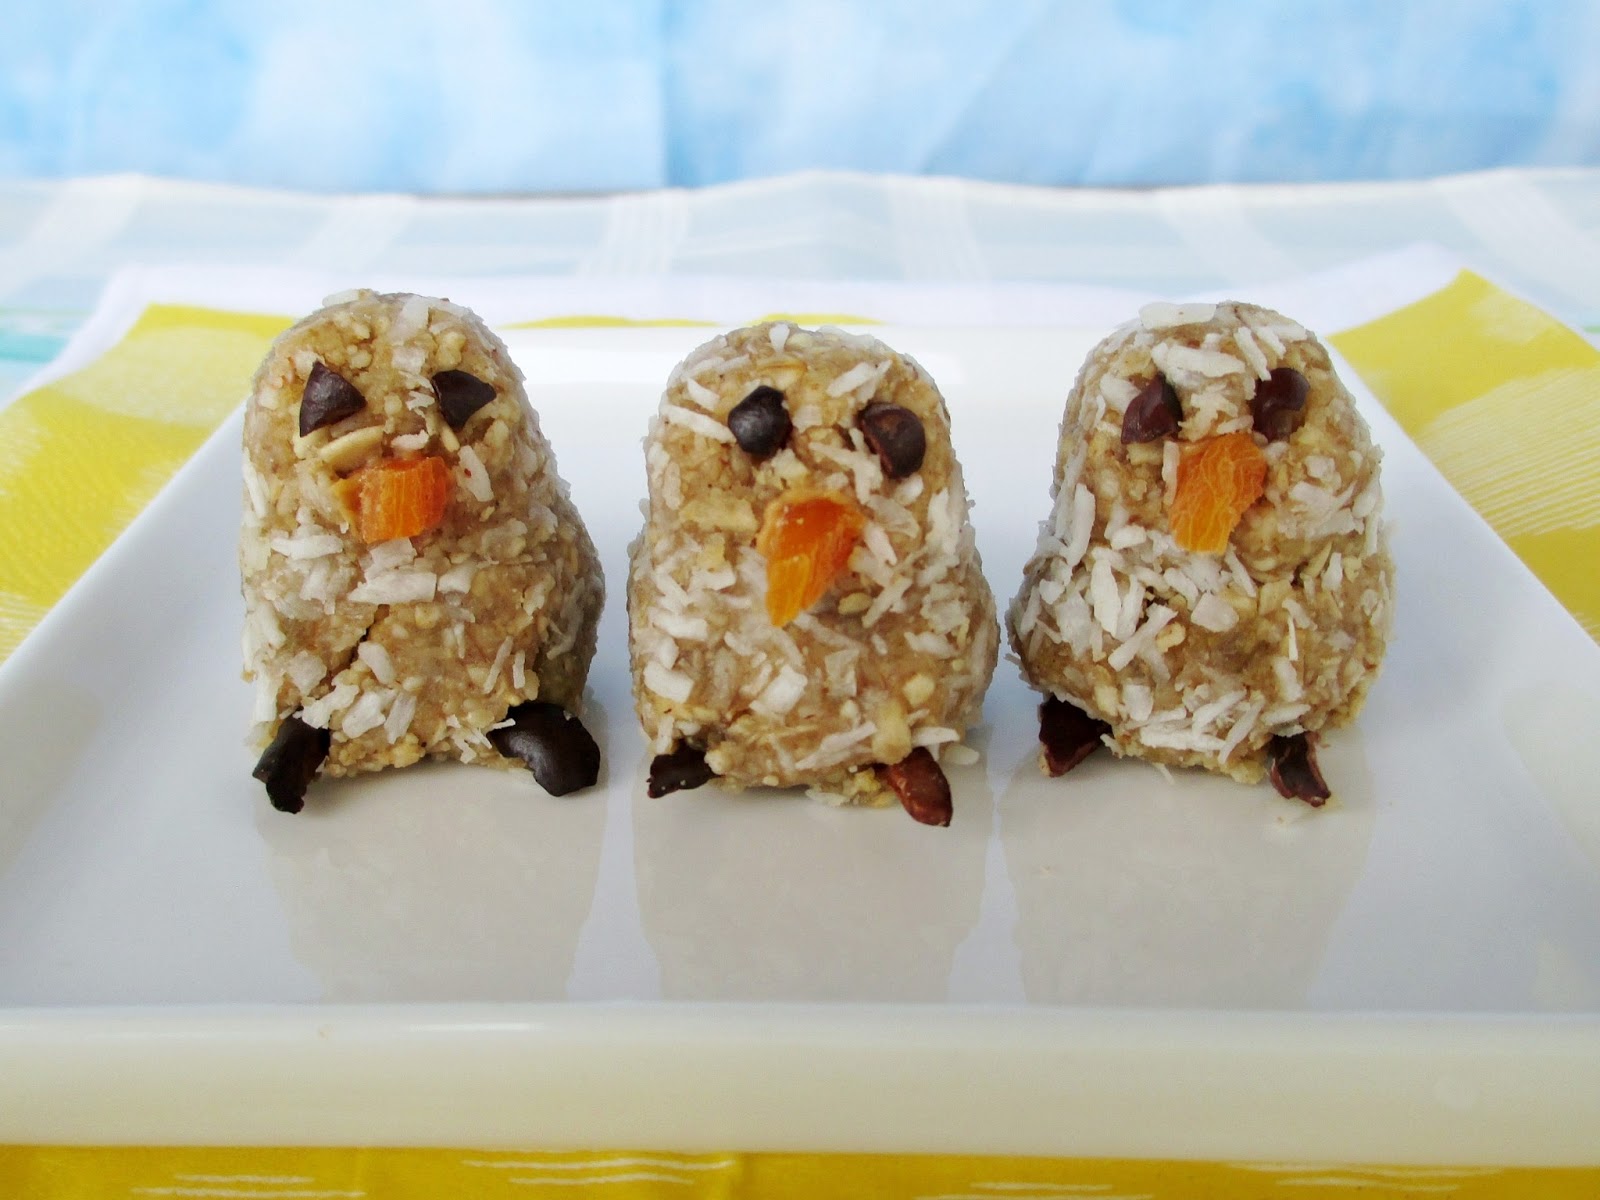
Once I shaped the cookie mixture into chicks, I rolled them in coconut to create a feather effect, and decorated them with raw cacao nibs and dried apricots to complete their features.


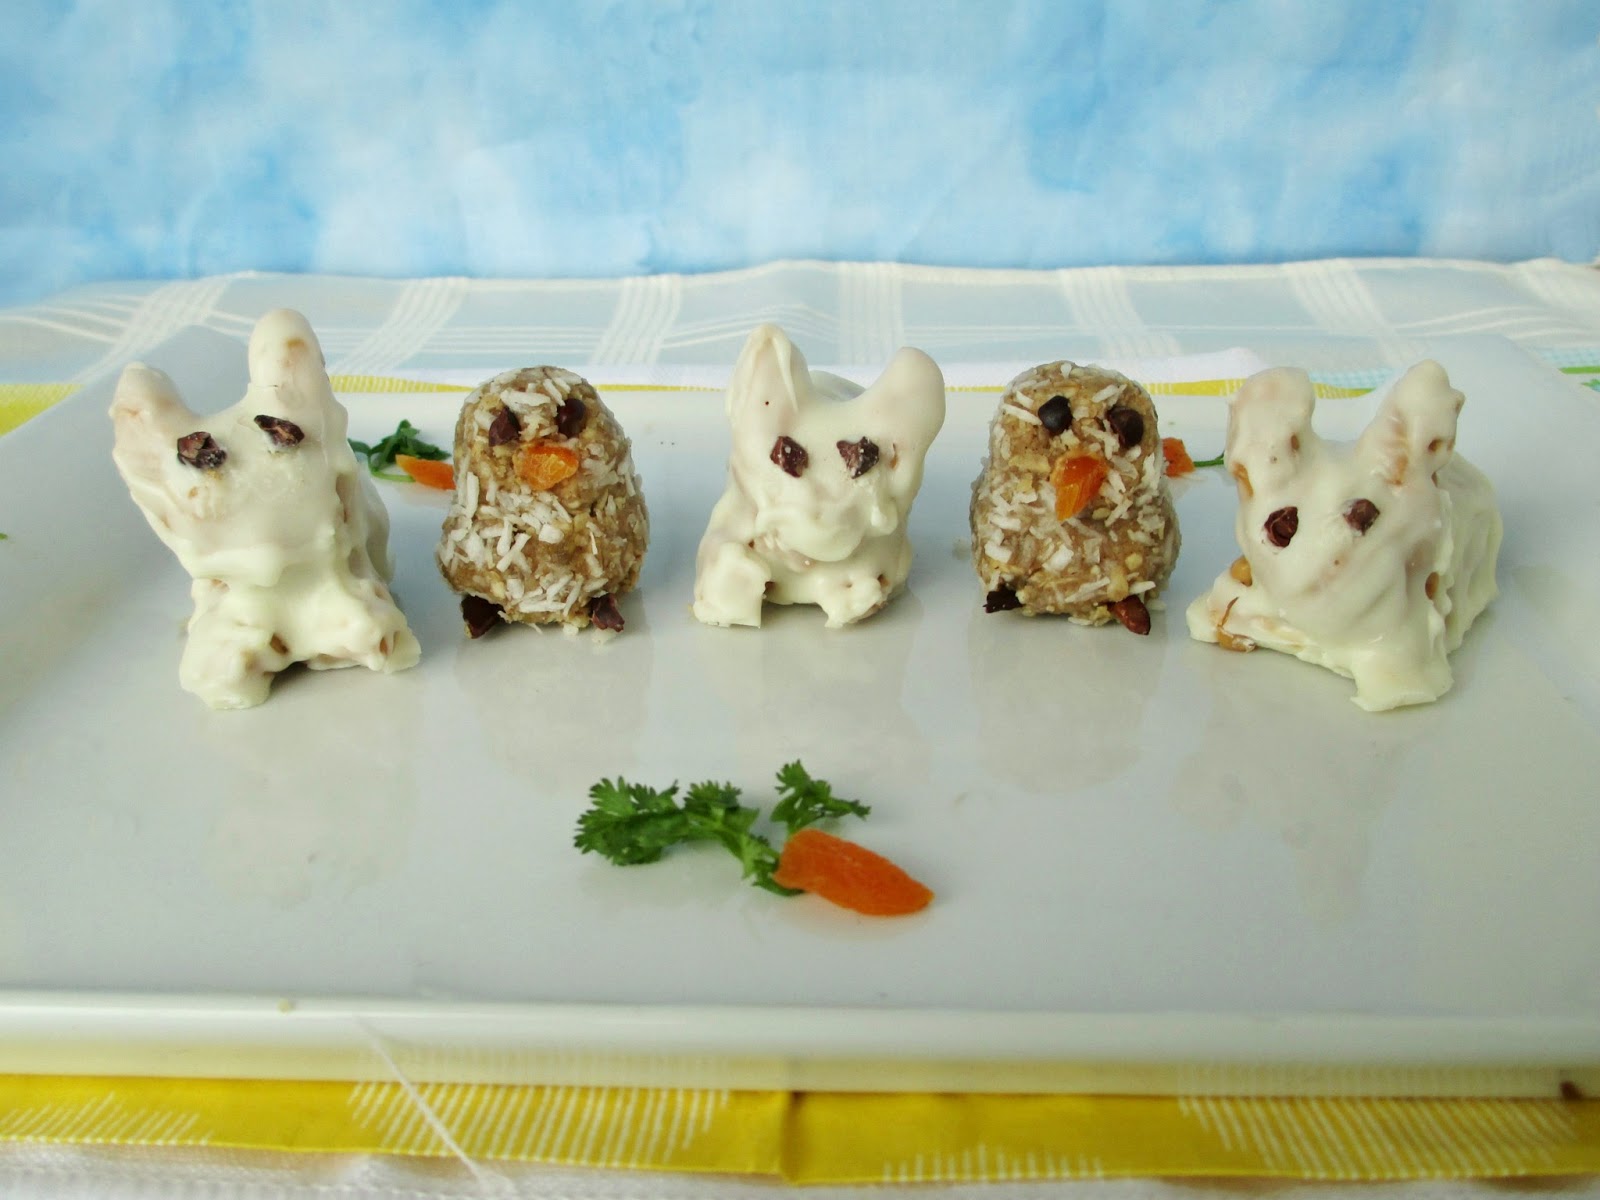
While they certainly weren't perfect (especially the one on the left!), they did end up looking like chubby little baby chicks, which was what I was going for!

The chicks themselves had just the right texture - chewy and crumbly, with a touch of sweetness from the golden raisins and a hint of coconut flavour.  They did taste more on the healthy side rather than a dessert (especially since I forgot to add any extra sweetener), but as long as you're not expecting a sweet, rich treat than I think you'll love them as a snack!


These bunnies on the other hand, are definitely on the tasty dessert side of the scale!  The filling is a mixture of creamy peanut butter with a bit of icing sugar for sweetness and rice puffs for crispiness. I also added a bit of coconut flour to help thicken the mixture and make it a bit easier to work with.

I wasn't really sure how to go about creating rabbit shapes from scratch, but managed to make shapes of different sizes from the peanut butter mixture and stuck them together to create something that (hopefully) resembles bunnies!

Once I had formed the bunnies, the last step was to coat them in melted white chocolate so that they would have a firm shell in a nice Eastery white colour (although as you can see, I didn't do a very clean job with the coating so bits of brown are still poking through!). Of course, you're welcome to use dark chocolate instead if that's your preference!


I admit I did feel a bit guilty when I first went to bite one of these little guy's heads off, but once I knew how delicious they tasted, all my guilt went away!

I loved the creamy peanut butter filling mixed with the white chocolate coating, and the rice puffs helped to lighten up the texture a bit so that it didn't taste as rich.

The only downside of the bunnies was the effort and time it took to make them, especially since you need to keep chilling the mixture in between steps. That was one reason why I only made small batches of each treat for myself, but feel free to double or triple the recipes below if you want to share these Easter treats with others!


Note: the recipes below include instructions for shaping into chicks or bunnies. If you don't have time to do this, you can still use the recipes to make simple ball shapes, like truffles, instead!

Raw Cookie Chicks

2 tbsp raw cashews
2 tbsp raw walnuts
2 tbsp rolled oats
Dash of cinnamon
Dash of sea salt
2 tbsp golden raisins
1/4 tsp vanilla extract
1/2-1 tsp agave nectar (I forgot this and I still liked them - they just weren't very sweet)
1 tbsp unsweetened shredded coconut
1/2 tbsp non-dairy milk
Dried apricot and raw cacao nibs for decorating


Place the first five ingredients in a food processor and process until finely ground. Add the raisins, vanilla and agave and process again until it forms a sticky mixture. 

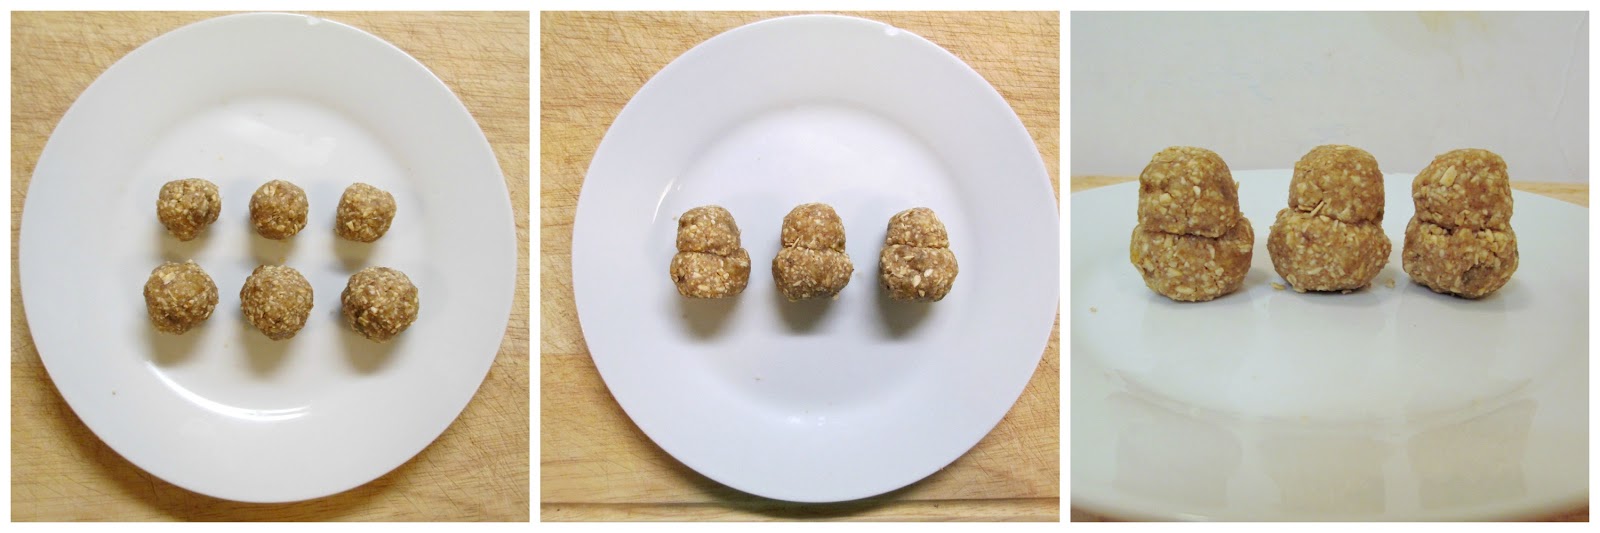
Roll dough into 6 balls - 3 should be a slightly bigger size for the bodies and 3 should be smaller to form the heads. Carefully stick the heads onto the bodies, pressing together to make sure it sticks and reforming the balls so that they keep their shape. (see pictures below):


Place the coconut on a shallow plate. Brush the milk onto the outsides of the chicks and then roll chicks in the coconut, pressing in to help it stick. 

Push two small cacao nibs into each head to make eyes, and two more cacao nibs into the bottom of each body to make feet. Cut small slices of dried apricot into triangle shapes and stick on to each head to make noses (Note: If the nose won't stick on its own, dot some peanut butter on the end first to help it stick). 

Store in the fridge. 

Makes 3 chicks


Peanut Butter Bunnies

1/4 cup smooth peanut butter
1 tbsp icing sugar
1/4 tsp vanilla extract
Dash of sea salt
1 tbsp coconut flour
1/4 cup rice puffs (I used kamut puffs and chopped them in half to make smaller pieces)
~2 oz white chocolate (can substitute vegan chocolate chips)
1/2 tsp coconut oil
Cacao nibs for eyes


In a small bowl, stir together the peanut butter, icing sugar, vanilla, salt, and coconut flour until smooth.  Stir in the rice puffs. Chill mixture in the fridge for at least 15 minutes to firm up.

Roll mixture into shapes to make the bunnies: you will need 3 larger ovals for the bodies, 3 small round balls for the heads, 6 thin logs for the ears, 3 tiny balls for the tails, and 6 small ovals for the feet. I recommend forming the shapes in stages, chilling in between (as soon as the mixture gets too soft to work with, stick it back in the fridge for about 10-15 minutes before continuing).

Put the shapes together to make three bunnies: Lay the oval shaped body on the plate, stick the head onto one end, add the ears to the head, place the tail on the back end of the body, and stick the feet onto the front end of the body. Place bunnies in the freezer for 10-15 minutes to firm up. 

Meanwhile, heat the white chocolate in the microwave on high for 1 minute. Add the coconut oil and microwave again for 15 seconds. Stir until smooth and heat once more if it is not melted yet. 

Use a spoon or small spatula to spread the melted white chocolate onto the bunnies. As soon as you coat one bunny, stick the cacao nibs on for the eyes (Note: if the chocolate hardens before you can add the eyes, just dip one side of the cacao nib into melted white chocolate and then stick it on the head). Let the coated bunnies firm up in the fridge. 

Store in the fridge and serve chilled or at room temperature. 

Makes 3 bunnies. 

LinkWithin

Related Posts Plugin for WordPress, Blogger...